
Concepts of Pre-Warping
Pre-Warping
During the packaging design stage (for example, plastic bottles, metal cans, or paper cups), Pre-Warping generates a 3D model along with corresponding mesh deformation data based on the container’s shape and defined settings. This provides the foundation for accurate distortion of artwork.
Pre-Warping Workflow
- Launch Adobe Illustrator and open the document.
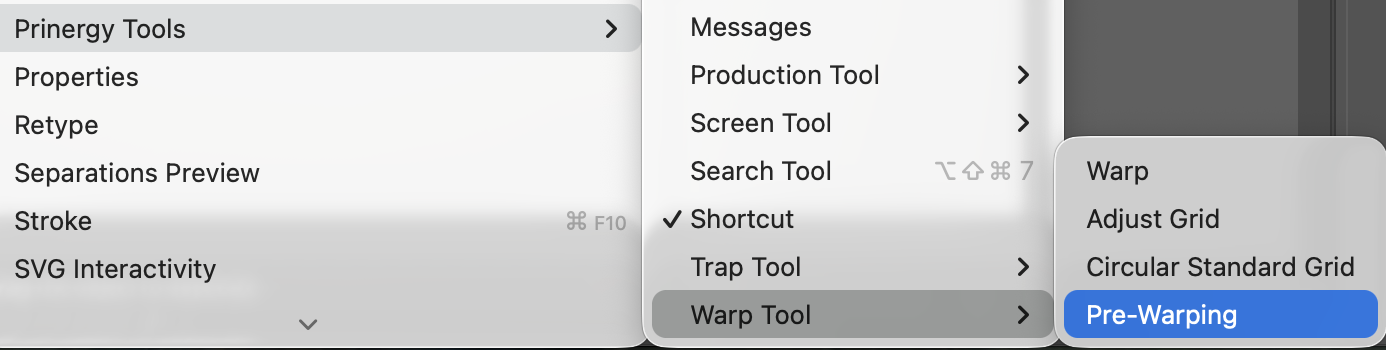
- Click “Windows”menu → “Prinergy Tools” → “Warp Tool” → “Pre-Warping”.
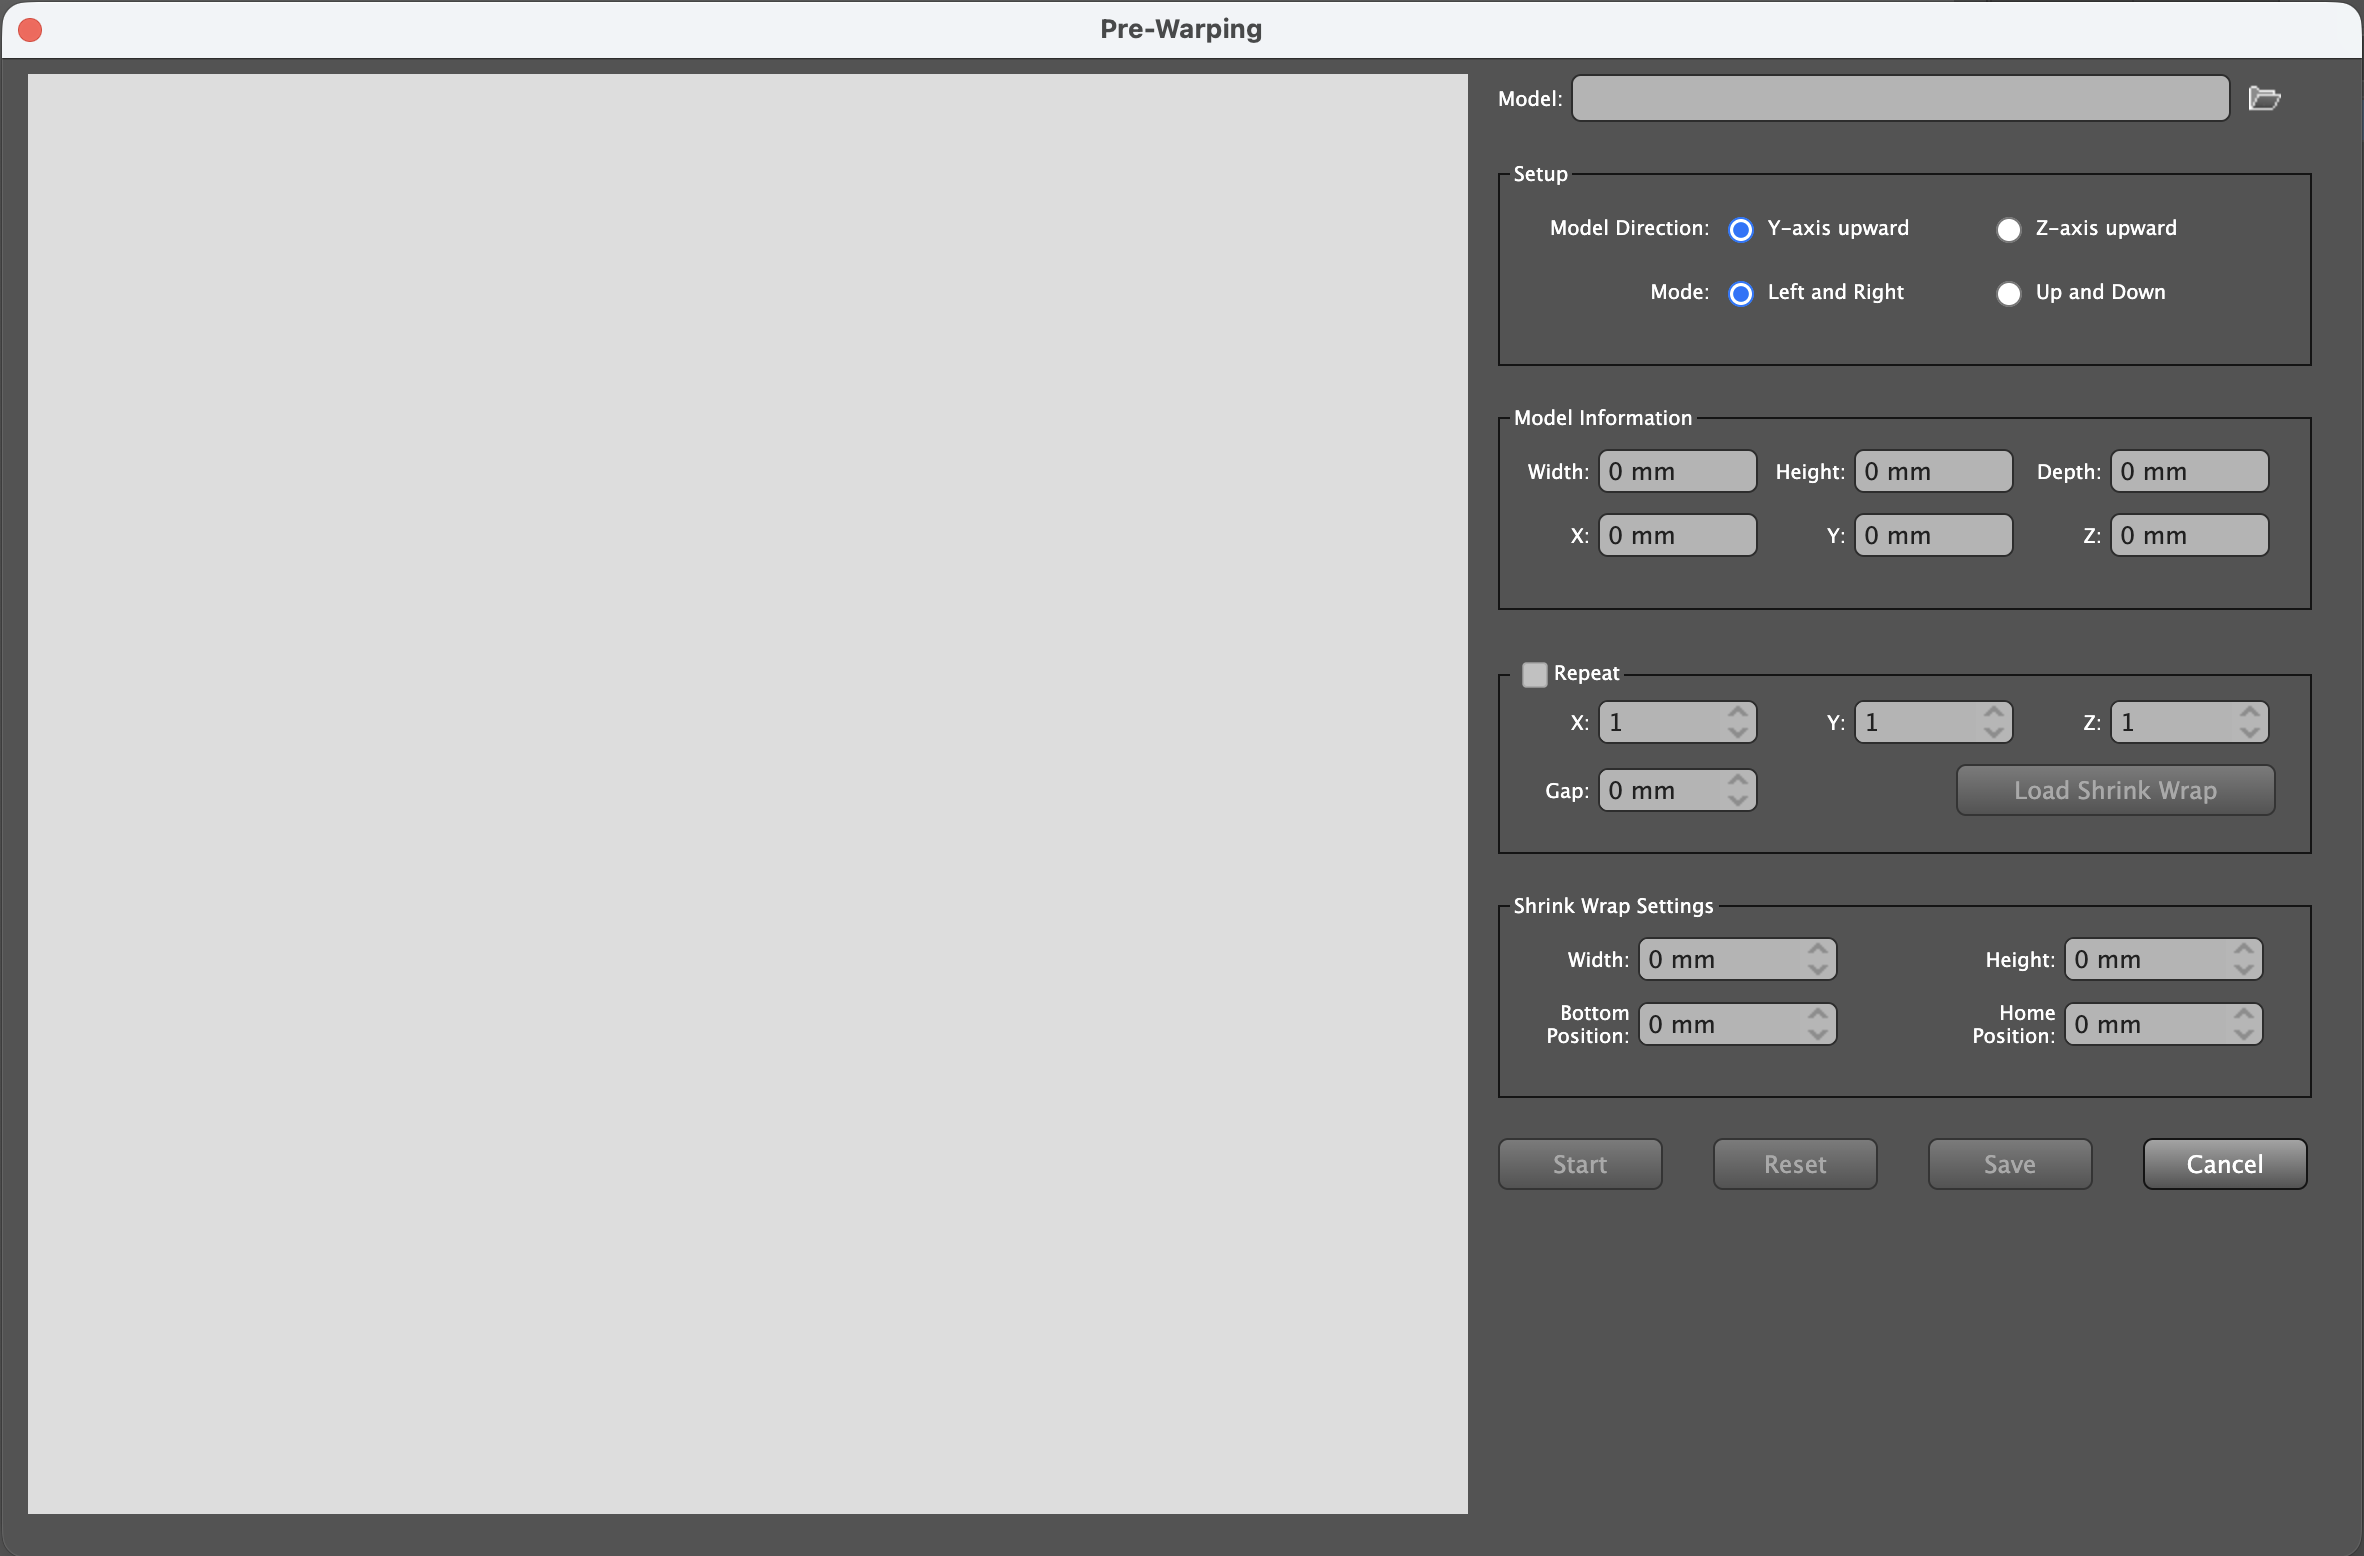
- A pre-warping dialog box window pops up
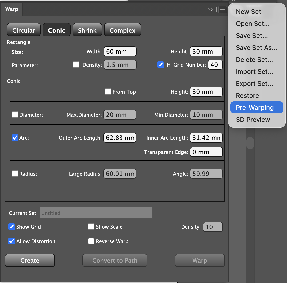
- The Pre-Warping window can also be opened via the menu bar to the right of the Warp Tool.
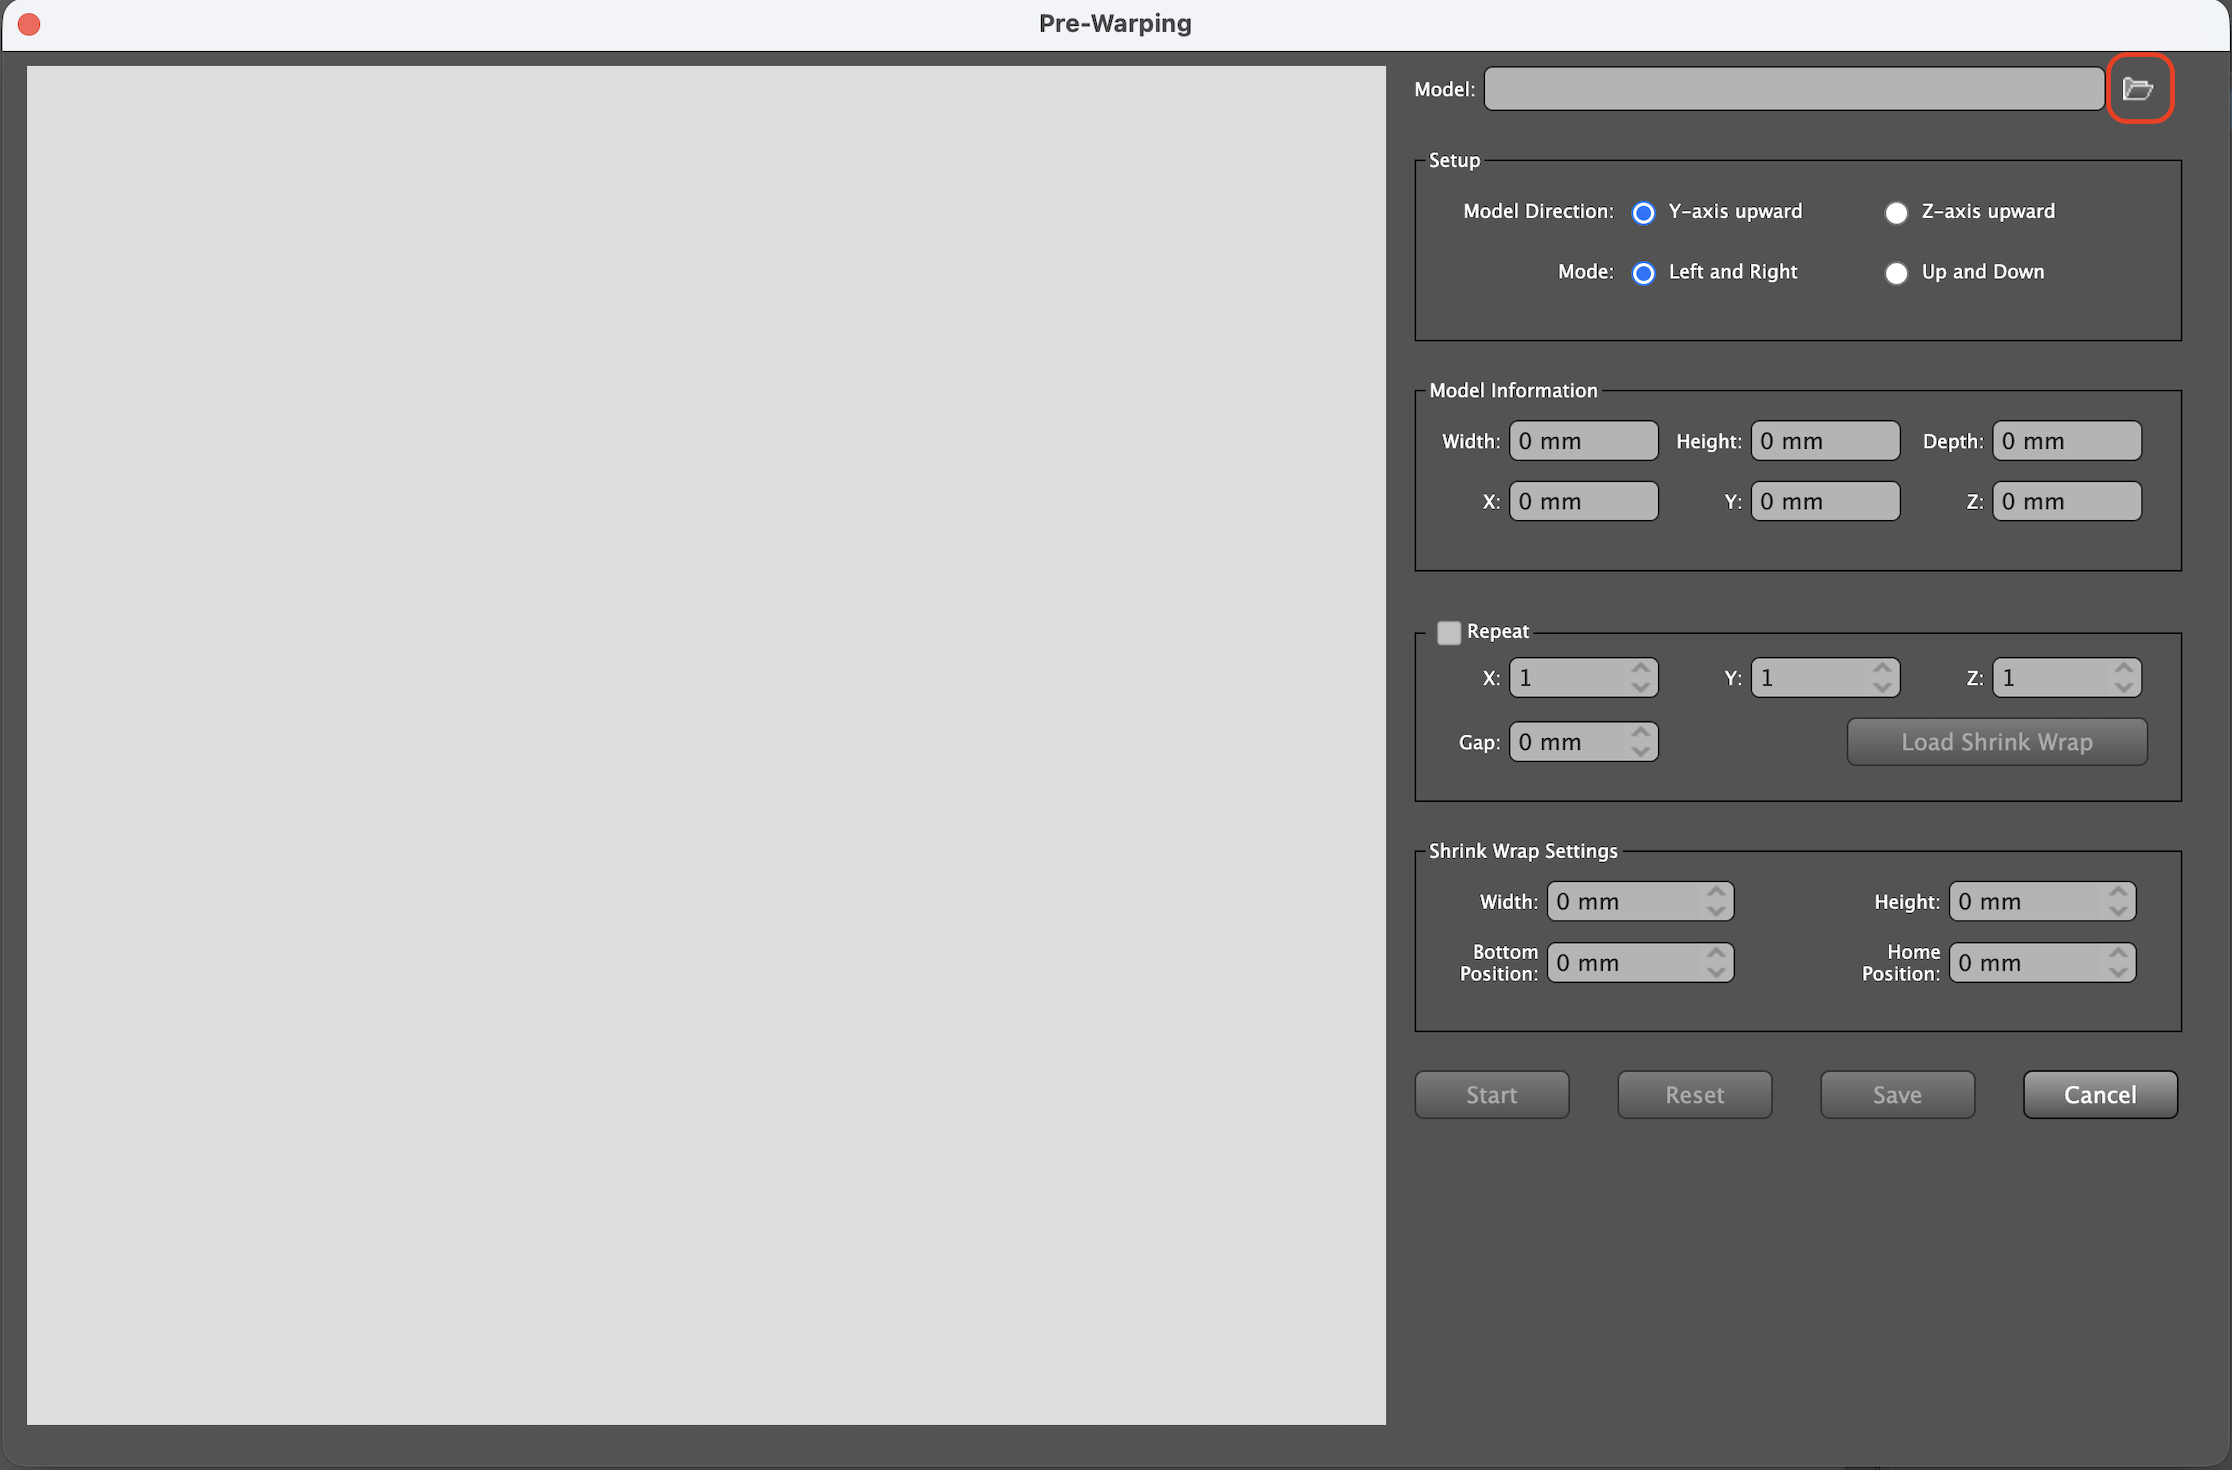
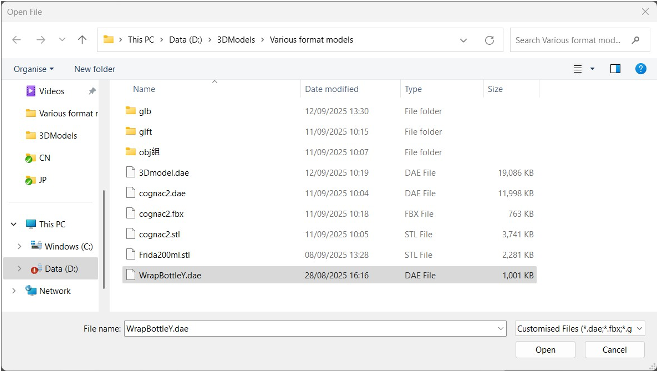
- Click the Import Model button to select the model file to be imported.
- Set up
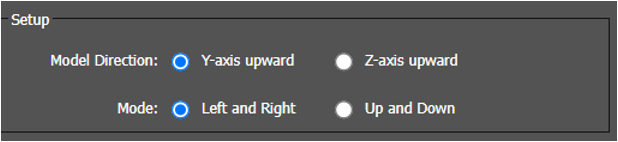
- Model Direction: The display orientation of the model can be set to Y-up and Z-up.
- Shrinkage Mode: The wrapping method of the heat shrinkable film can be set, which can be set to left-right or up-down.
- Model Information
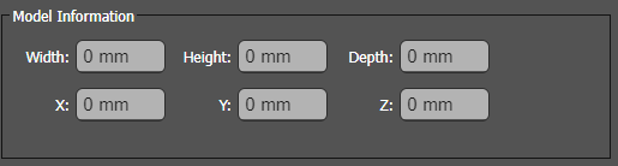
- Display the basic information of the current model, which is greyed out and cannot be modified.
- Repeat
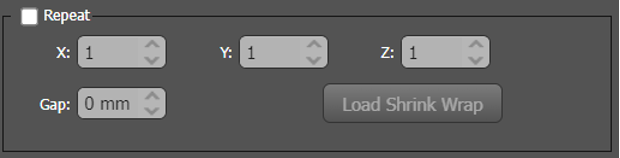
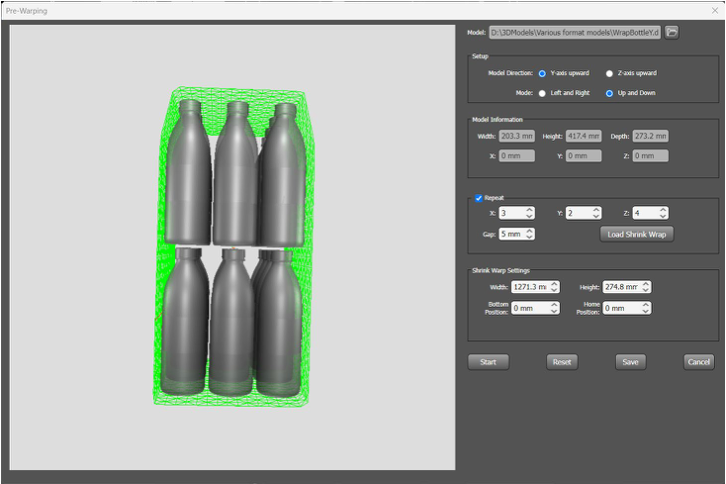
- Check to enable the duplicate model. The heat-shrinkable film for individual models will be hidden.
- X、Y、Z:You can set the number of models in the corresponding direction either via buttons or by directly entering the numbers.
- Gap: You can set up the distance between each model.
- Load Shrink Wrap: After clicking the button, load heat shrink film for multiple models based on the settings.
Shrink Wrap Settings:
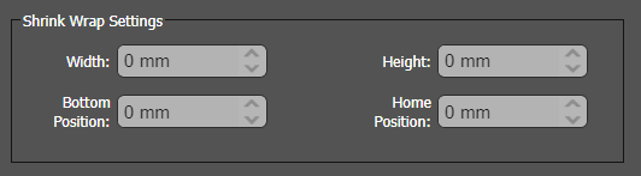
- Width: Displays the width of the current heat shrink
- Height: Displays the height of the current heat shrink
- Bottom Position: Shrinking Direction (Non-Rotating Model)
When the model is not rotating, the movement direction of the shrinkable film depends on the selected shrinking mode:
Left-Right Shrinking Mode
The shrinkable film moves vertically (up and down), starting from the bottom of the model.Up-Down Shrinking Mode
The shrinkable film moves horizontally (left and right), starting from the front side of the model.
Note: This parameter supports negative values, which can be used to reverse the movement direction if needed.
- Home position: The starting position of the heat shrink
Start Button
Click Start to begin the heat-shrink process. Once activated, the button label changes to Stop.
- The button is disabled (greyed out) when the dialog box is open.
- The button becomes enabled when the heat-shrink film is visible.
Reset Button
Click Reset to clear all values in the interface and restore them to their default settings.
- The button is disabled after clicking Start.
- The button becomes enabled again after clicking Stop.
Save Button
After the heat-shrink process is complete, click Save to store the heat-shrinked model.
Once saved successfully, the dialog box will close automatically.
The grid information will be written to the Illustrator file.
A new locked layer named Shrink Area will be created.
The Save button is disabled during the process (after clicking Start) and becomes enabled again after clicking Stop.
Cancel Button
Click Cancel to close the pre-warping dialog box without saving changes.