All files in PRINERGY Access are processed and managed within Jobs.
Jobs are specific to each Customer and cannot be viewed by other Customers.
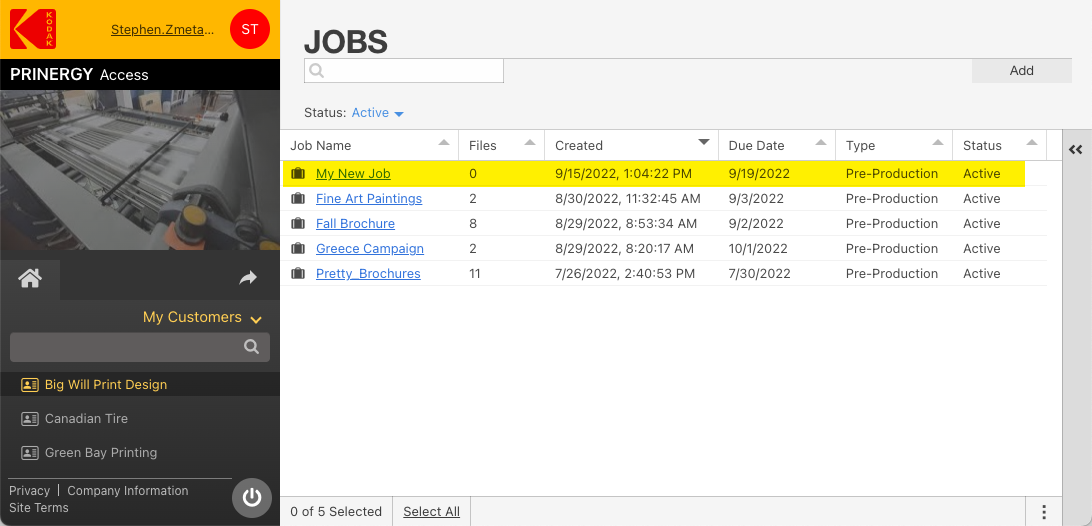
To Create a Job
- In PRINERGY Access, select a Customer from the list
In the Jobs area, click the Add button. Requirement: You must have a job role that includes the Create Job right.
- In the Job Name box, enter a name for the job. The job name must be unique; it can include up to 31 alphanumeric characters and special characters. A printing company or Customer may have a naming convention for job names.
- (Optional) Type a description in the Description box
- Due Date: Click the Select Date field to assign a due date to the job
- Job Info Sheet: select the Job Info Sheet you wish to use to provide job information.
- Upload Info Sheet: select the Upload Info Sheet you wish to appear in the Uploads window.
- (Optional) Type a comment in the Comments box. (Eg: number of inks required.)
- Click Save
- The new Job will now appear in the Jobs list