- Perform one of the following actions:
- On the Marks palette, open the
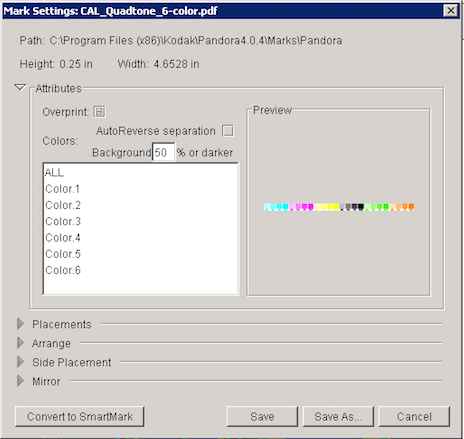
Pandorafolder and double-clickCAL_Quadtone_6-color.pdf. - Click
CAL_Quadtone_6-color.pdfand then click Edit at the top of the Marks palette.
- On the Marks palette, open the
- In the Mark Settings dialog box, click Convert to SmartMark.
- Click New to make the selected mark appear in the Placements box.
- With the mark highlighted in the Placements box, under Anchored To, select Layout.
In order for a SmartMark to know where it is positioned, you define a placement relative to the Substrate, Film, Plate, Die, Layout, Artwork, DieStation, or Step & Repeats. - In the Mark section, choose the center point in the reference point diagram.
- In the Vertical section, select the Top position, and type an offset value of
1in.(25.4 mm). - In the Horizontal section under Position, select Left.
- In the Horizontal section under Type, select Stepped.
Keep all other items at their default settings.
- Click Save As and browse to Pandora > Marks > User and click New Folder.
- Type
SIS_Custom Marks XX_Custom Marks(where XX represent your initials) and click Create. - Open the SIS_Custom Marks XX_Custom Marks folder and in the Save As box, type
Custom_SmartMarkand click Save. - The new mark now appears as a SmartMark in the Marks palette in the
SIS_Custom Marks XX_Custom Marksfolder.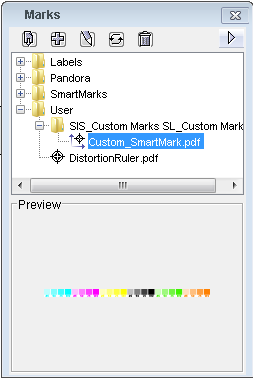
- Drag the new custom SmartMark to the layout.
Notice the automatic placement of the mark. Because the mark placement is specified to anchor to the layout, it automatically places itself in relation to the artwork on the substrate.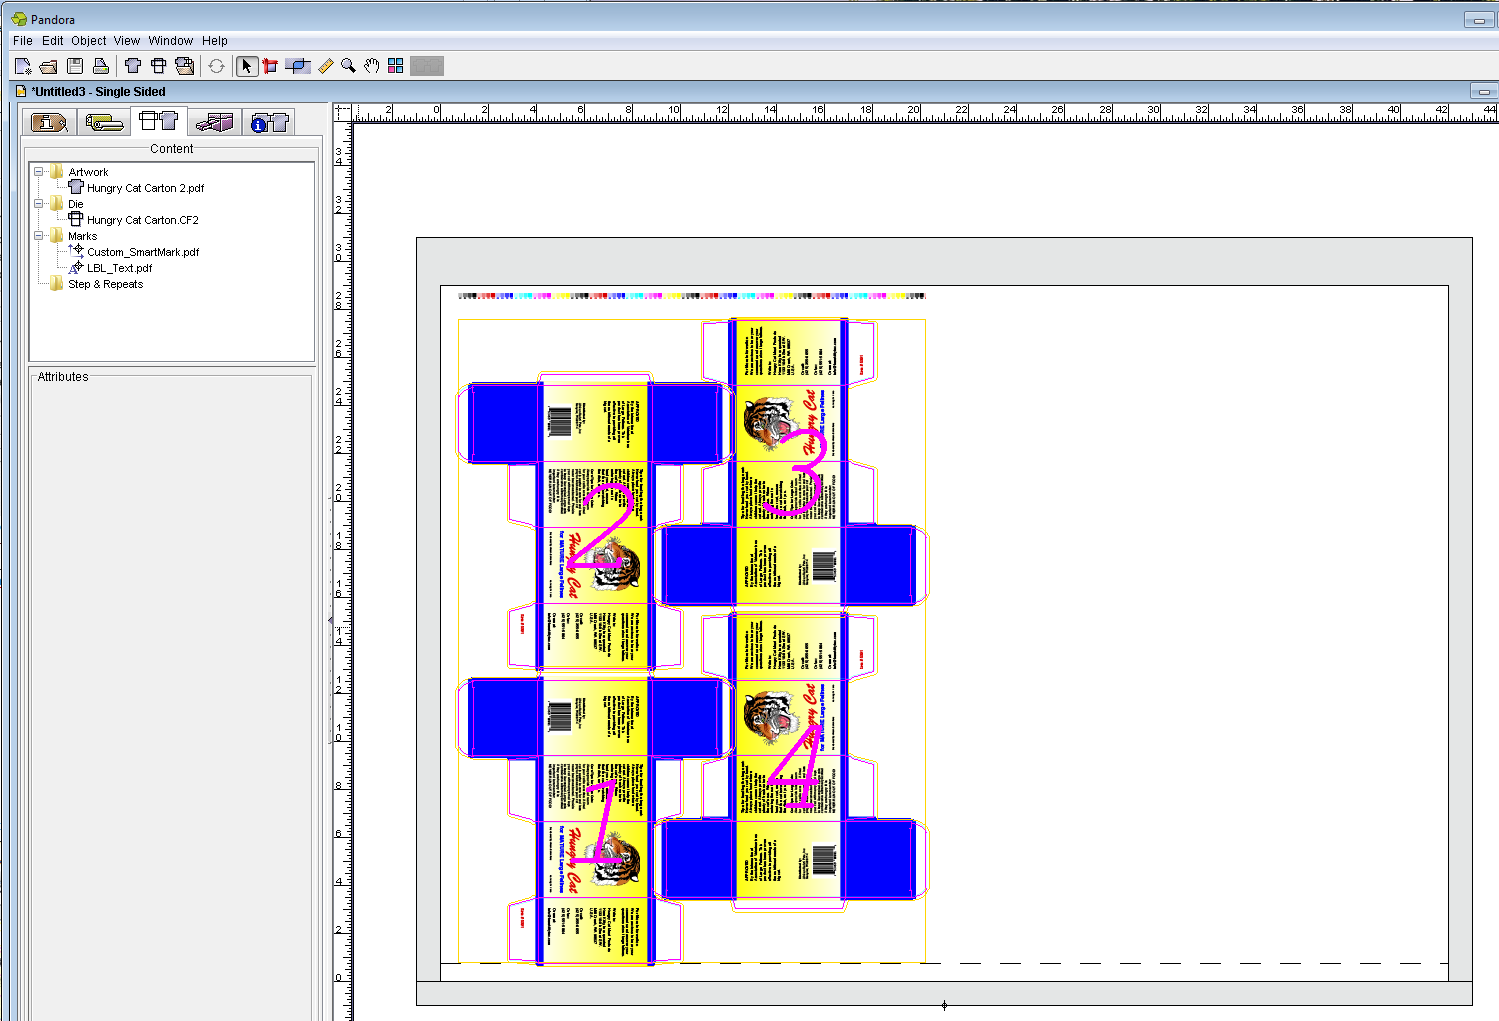
Overview
Content Tools