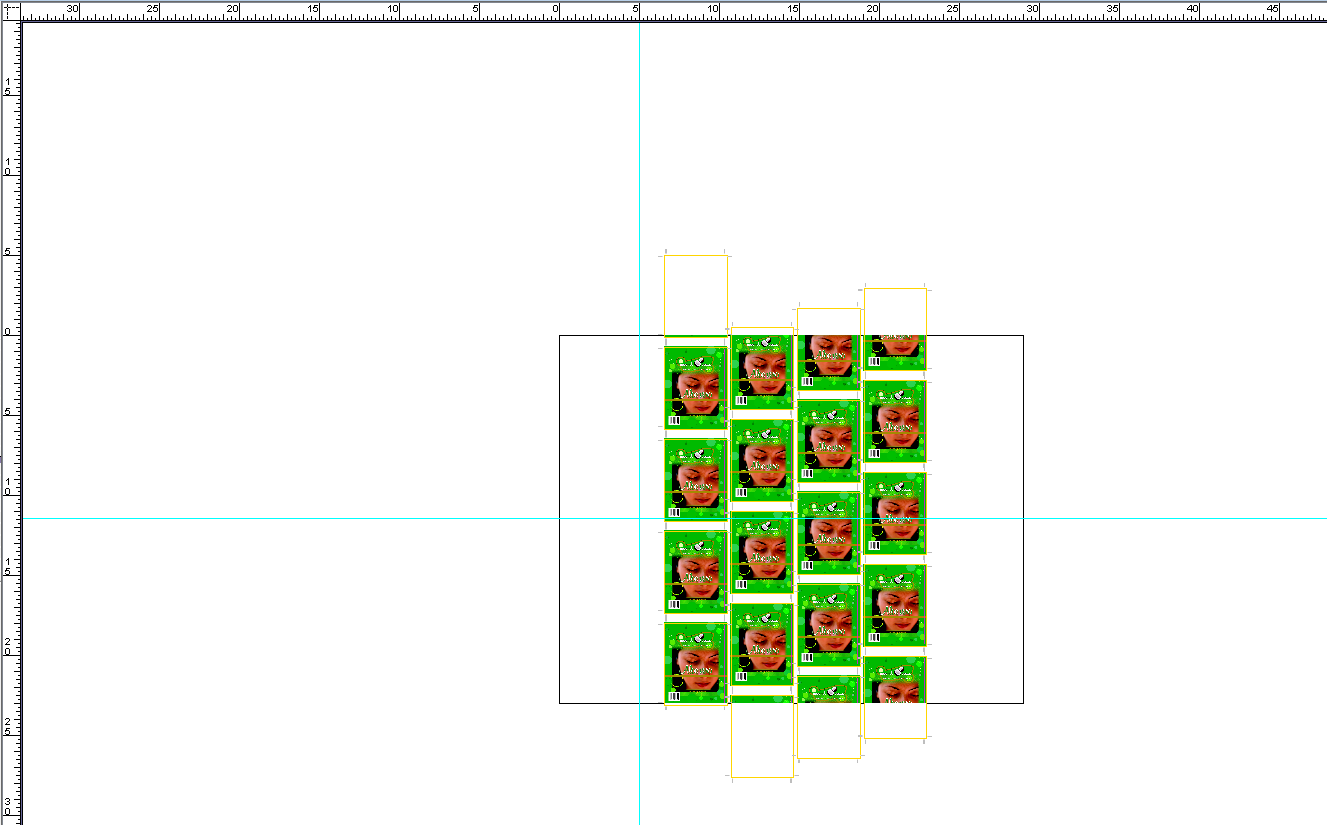
- From the upper-left corner of the rulers section, drag the cross-hair symbol to the upper-left corner of the substrate.
The upper-left corner of the substrate is now the 0 point. - Drag some guides onto the layout:
- Click and drag a guide from the vertical ruler section and place it 5 in. (126 mm) in from the left side margin.
- Add another guide from the horizontal ruler section and place it 11.5 in. (292 mm) in from the top of the substrate.
- From the Window menu, select Show Marks Palette.
- Open the Pandora folder and drag the CAL_2-tone.pdf mark into the left-center margin of the layout, close to where the ruler guides intersect.
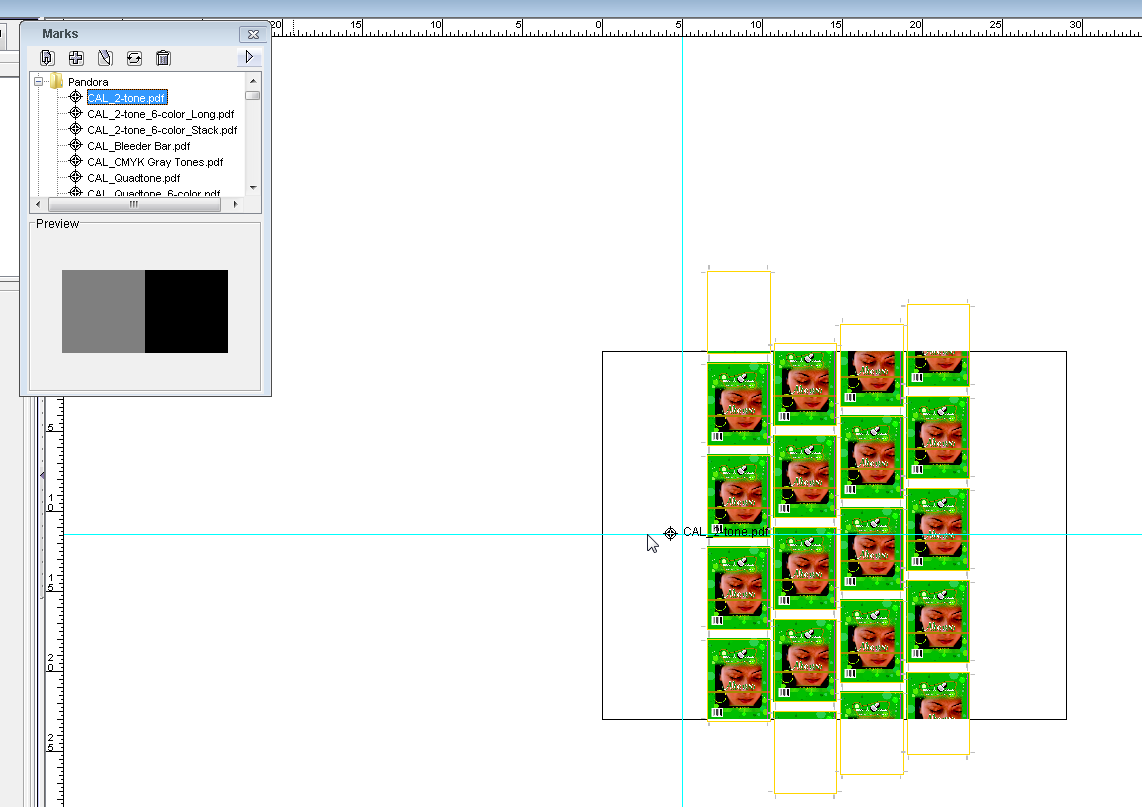
- Using the Zoom Tool
 and Selection Tool
  , center the mark on the intersection of the ruler guides.
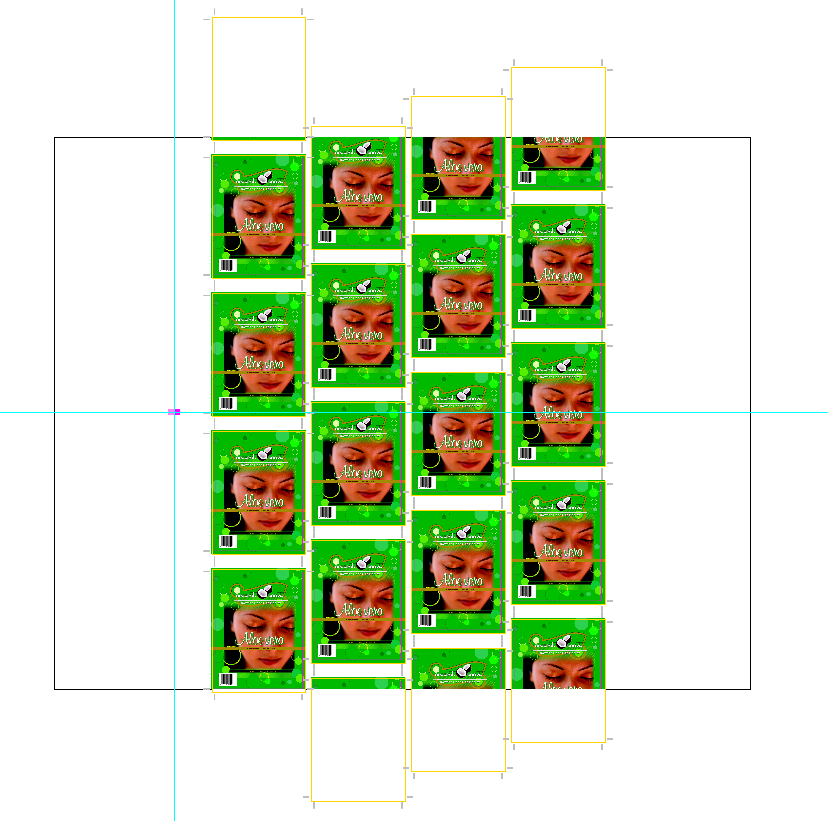
In the Attributes dialog window, the Output Color Attributes for theCAL_2-tone.pdfmark show that the mark will print as color DieLine.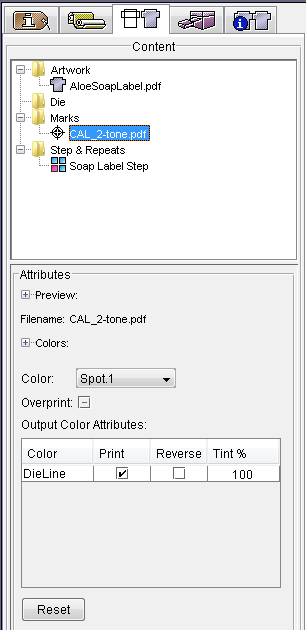
- With the mark selected, in Attributes on the Content tab, change the Color from Spot.1 to PANTONE 349 U.
Note: To ensure that certain colorants are not used in marks, see information on setting Preferences for Do not use in marks. - With the mark selected, perform one of hte following actions:
- Right-click and select Duplicate.
- From the Object menu, select Duplicate.
The Duplicate dialog box opens. The Duplicate dialog box enables you to copy and paste selected objects, and adjust the distance between these objects. For example you can create a series of micro dot marks, and then adjust each of these marks individually.
In the Duplicate dialog box, enter the following information and click OK:
Repeat: Horiz: 3 Distance: 9.75 in. (247.65 mm) 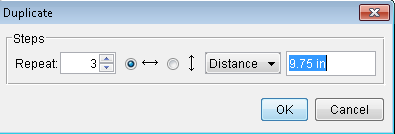
- From the View menu, select Fit In Window.
In the Layout view, noticeCAL_2-tone.pdfis duplicated three times across the substrate.
Note that you can select each mark individually and move or edit them, unlike when you step-and-repeat a mark in which all objects move together.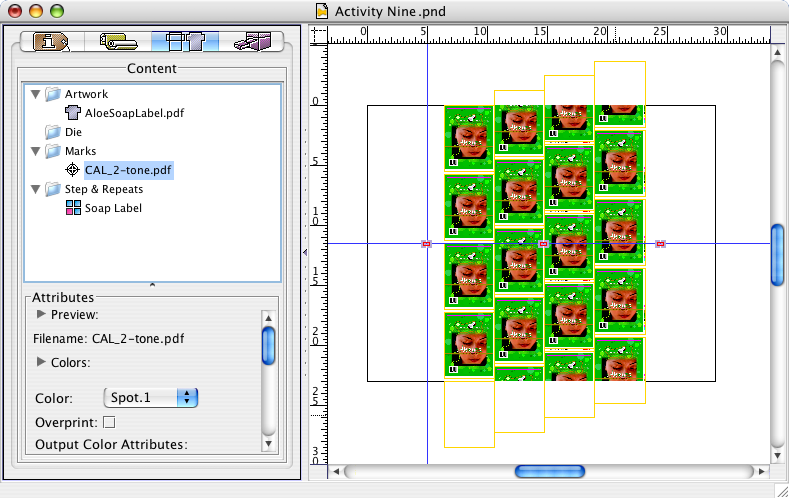
Overview
Content Tools