- Before adding marks to the layout, it is helpful to use guides to assist in the accurate placement of marks. Guides are lines dragged from the rulers to the layout area. If rulers aren't displayed, from the View menu, select Rulers.
- From the View menu, select the Zoom To item and choose 200%. Using the Hand tool
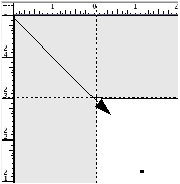
 , locate the upper-left corner of the substrate.
 - From the upper-left corner of the rulers section, drag the cross-hair symbol to the upper-left corner of the substrate. The upper-left corner of the substrate is now the 0 point for the x and y coordinates. From the View menu, select Fit in Window.
- Click and drag guides from the vertical ruler and place them 0.5 in. (12.7 mm) in from both the left and right side margins, and place another vertical guide in the center of the layout at 14.5 in. (368.3 mm). Drag two horizontal guides and place one at 1 in. (25.4 mm) from the top of the substrate, and the other at 11.5 in. (292.1 mm).
Note: If you have difficulty seeing the color of the guides, change the color in the Preferences dialog box.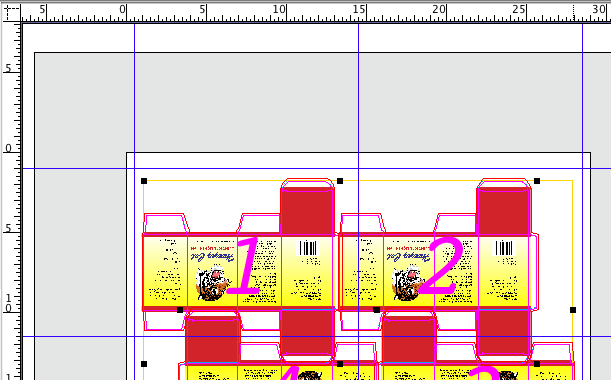
- From the Window menu, select the Show Marks Palette.
- Inside the Marks palette, open the
Pandoramarks folder. Scroll down the marks list to the mark namedREG_Target.pdf. Click the mark to preview it. - Select the mark and drag it into the left-center margin of the layout, close to where the ruler guides intersect. Using the Zoom Tool
 , zoom in on the mark.
 - From the Window menu, select Show Geometry Palette. With the mark selected, enlarge the mark to 200%. Select the Selection Tool
 . Using the arrow keys on your keyboard, nudge the registration mark to the point where the ruler guides intersect.
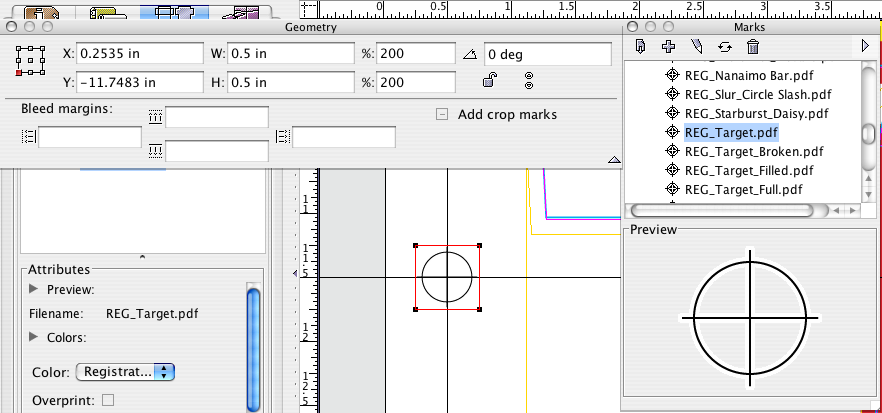
- With the mark still selected, copy the mark then paste it anywhere in the layout. In the Geometry palette, perform the following steps:
- Select the center reference anchor (located in left corner of palette)
- Enter an X coordinate of
28.5 in.(723.9 mm) - Enter a Y coordinate of
-11.5 in.(-292.1 mm)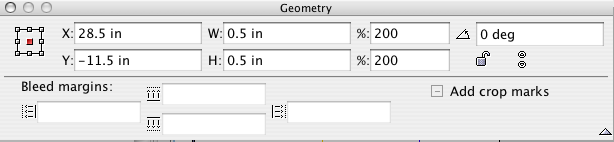
- From the View menu, select Fit In Window.
- In the Marks palette, close the
Pandoramarks folder, and open theSmartMarksfolder. Locate the mark namedCB_4-color.pdfand select the mark to preview it. - Drag the
CB_4-color.pdfmark anywhere in the layout. Because the mark is a SmartMark, it automatically positions itself on the substrate.
Note: Marks are covered in depth in a Activities 12 and 13. - Close the Marks palette.
Overview
Content Tools