Pandora palette functionality
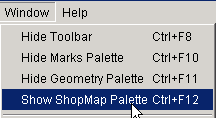
Use options in the Window menu to show or hide the ShopMap palette, the Marks palette, and the Geometry Palette.
ShopMap Palette
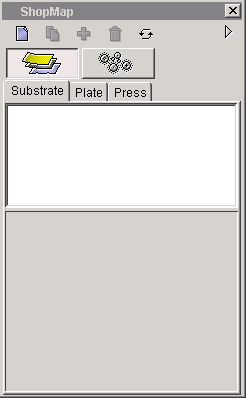
The ShopMap palette stores information about all of your shop's:
 Materials: substrates, plates, and presses
  Equipment: output devices and film
You enter information about these resources into the ShopMap palette and then the resources are available for use with Pandora jobs. Using the ShopMap palette saves you the trouble of entering resource specifications every time you start a new Pandora job or every time you add an installation of Pandora to your shop.
Marks Palette
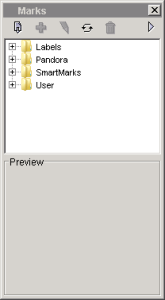
The Marks palette contains a wide selection of supplied marks. You can also import your own custom PDF marks into the Marks palette. You add a mark to a job by dragging the mark from the Marks palette to the desired location in the layout view.
Marks are organized in sets of folders located in the Marks palette. You can preview a mark simply by selecting it within a folder. You can also set up a hierarchy of subfolders within the user folder to organize your marks in a manner that fits your needs.
Geometry Palette

The Geometry palette enables you to position dies, art, and marks precisely, as well as to size and scale single or multiple objects. You can type the coordinates of any reference point to position a selected object or a group of objects. When you change the position, size, or scale of an object, the new coordinates or dimensions appear on the Geometry palette. Use the Geometry palette to rotate objects, or to lock them so they cannot be changed. The Geometry palette also indicates whether the selected mark is bound to a die station.
The lower section of the Geometry palette adjusts bleed margins and enables you to add crop marks. The bleed margin controls are active only when the artwork in the job is rectangular. If the artwork has an irregular shape, the controls are unavailable.