Trapping is a printing technique in which adjacent printed colors are slightly overlapped to ensure that white space does not appear between the colors if there is mis-registration on press.
The goal of this activity is to use the Prinergy Tools Auto Trapping function to trap a file.
Task 1: Apply Auto Trapping to a file
- Launch the Adobe Illustrator application.
- Open this document:
- In the Illustrator menu bar, from the Window menu, select Prinergy Tools > Trap Tool > Auto Trapping.
- In the Trap dialog box, from the Trap Ticket list, select Default.
- Click the Trap button:
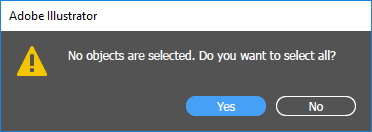
If no objects have been selected, a message window will appear asking if you want to select all objects. - To apply trapping to the entire file, click Yes.
After trapping, a new trapping layer will be automatically generated, and the dialog box of the trapping color pairs will appear.
When this dialog box appears, the automatic trapping has finished.
Task 2: View the trapped objects
To view the trapped objects, toggle the View icon on and off in the Prinergy Trap-1 layer.


