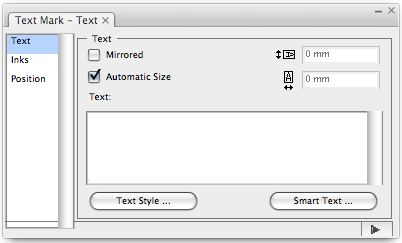
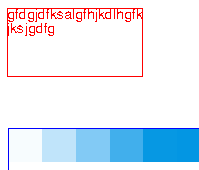
Mirrored: Sets a mirror effect to text. For example, after entering 123 in the text box, if the Mirrored option is not selected, the text image will be as shown in the left side of the figure . After selecting Mirrored, the created image will be as shown in the right side ![]()
![]()
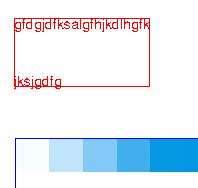
Automatic Size: If this option is selected, the software will automatically set the size of text box. If this function is not used, set the size of text box by typing the size of the Text Mark. As shown below, the text box is 10x10 mm, the left effect doesn't select this function while right one can display Automatic Size effect. 
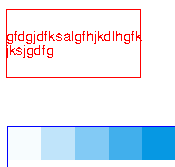
Autoadjust text size: Autoajust text size according to text box size. As shown below, the text box is 10x10 mm, the left effect doesn't select this function while right one can display Autoadjust text size effect

Text: Type the custom text image or insert smart text into the text field.
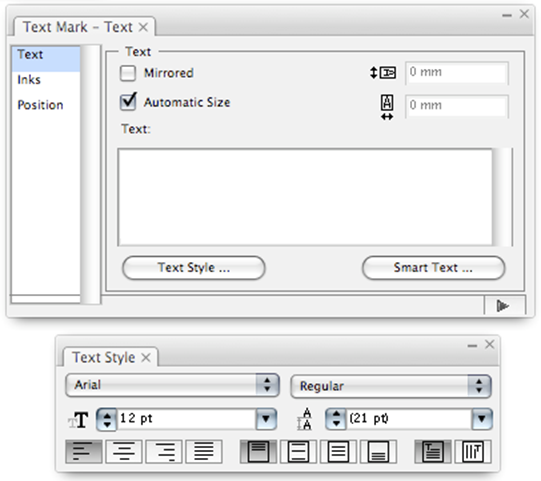
Text Styles
| Alignment | |
| Align text to the left |
| Center text |
| Align text to the right |
| Based on the length of the row to align text with at same interval |
| Align text inside region | ||
| Normal arrangement of text from top to bottom | |
| Distribute the text vertically to fill the whole region | |
| Center text in middle of the region | |
| Align the text to the bottom of the region | |
| Text Direction | |
| Horizontal Text Orientation |
| Vertical Text Orientation |
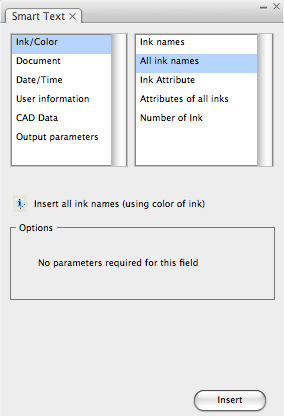
Smart Text
Ink: Five smart text marks can represent the following Ink attributes: "Ink names", "All ink names", "Ink Attribute", "Attributes of all inks", "Number of ink".
Ink names: Insert the name of the selected ink. In the "Ink names" palette choose the sequence number of the desired ink, then click Insert.

All ink names: Insert all ink names of the document.
Ink Attribute: Insert the selected ink attribute. First, select the ink number to insert from the "Ink Attribute" palette, then choose the ink attribute from the properties list, there are five options to choose from: "name", "number", "shortname", "type" and "fullname".

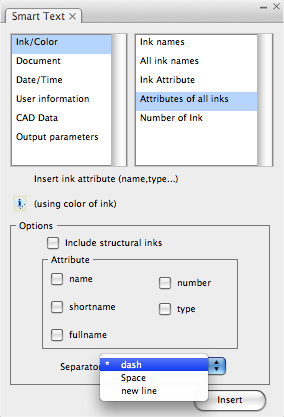
Attributes of all inks: Insert attributes of all inks. First, select the attributes to insert from the property options of the "Attributes of all inks" palette. There are five options to choose from: "name"、"number"、"shortname"、"type" and "fullname". After selecting, you also can use "dash"、"Space" or "new line", to separate each ink (as shown in Figure 1 91). If choosing the "Include structural inks" option, then the structural ink also will be included in the statistics.
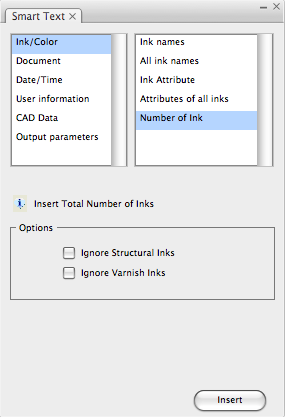
Number of all inks: Insert number of all inks. After selecting "Ignore Structural Inks" and "Ignore Varnish Inks", the two ink types will not be included in the statistics.
Document
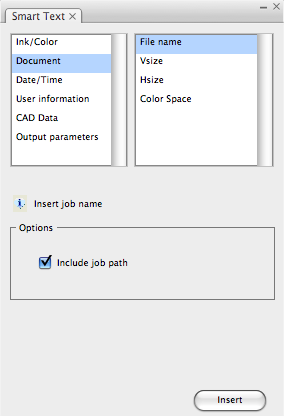
File name: Insert document. After choosing "Include job path", the save folder of the document will also be displayed.
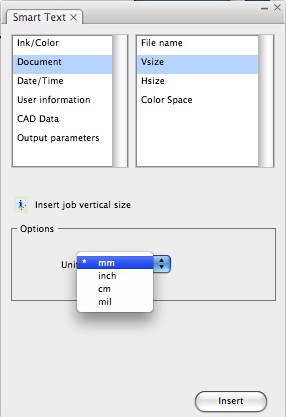
Vsize: Insert the job vertical size. There are four unit types to choose from: "mm", "inch", "cm","mil".
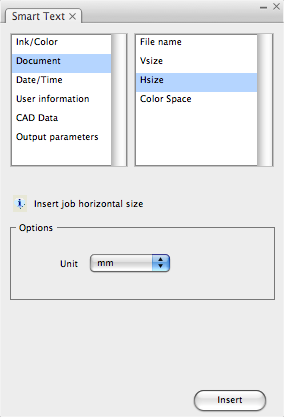
Hsize: Insert the job horizontal size. There are unit four types to choose from: "mm", "inch", "cm", "mil".
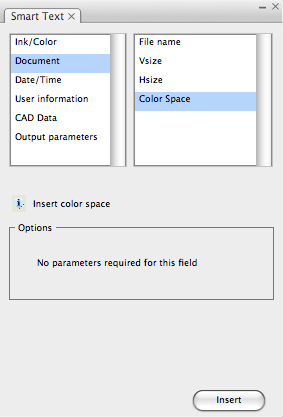
Color Space: Insert the job color space.
Date and Time
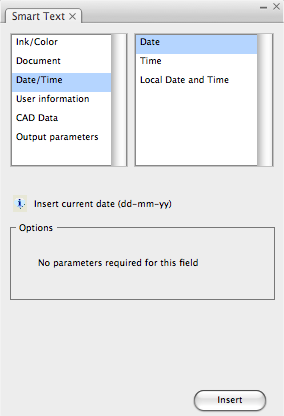
Date: Insert the current date in the "dd-mm-yy" format.
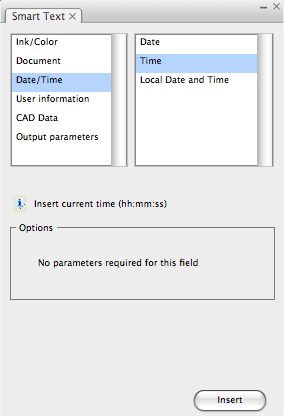
Time: Insert the current time in the "hh:mm:ss" format.
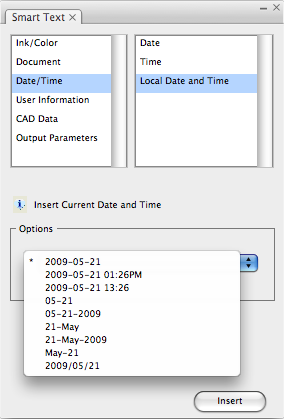
Local Date and Time: After selecting, choose the format needed from the formats list to insert the local date and time.
User information
User Name: Insert the current computer user name.

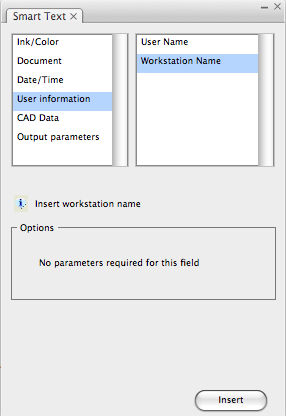
Workstation Name: Insert the name of the current workstation being used.
CAD Data
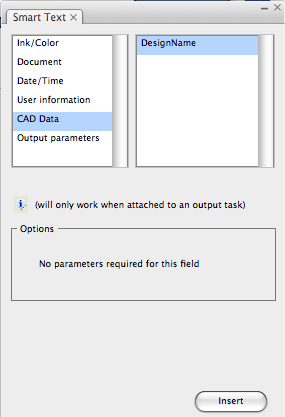
DesignName: Insert the CAD file name that is used by the CADLayout Step & Repeat mode.
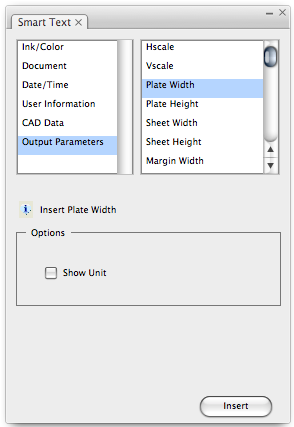
Output parameters
| H-scale | Insert the horizontal scale rate that has been set in Plate & Sheet Setup. |
| V-scale | Insert the vertical scale rate that has been set in Plate & Sheet Setup. |
| Plate Width | Insert the plate width value that has been set in Plate & Sheet Setup. |
| Plate Height | Insert the plate heightvaluethat has been set in Plate & Sheet Setup. |
| Sheet Width | Insert the sheet width value that has been set in Plate & Sheet Setup. |
| Sheet Height | Insert the sheet height value that has been set in Plate & Sheet Setup. |
| Margin Width | Insert the margin width value that has been set in Plate & Sheet Setup. |
| Margin Height | Insert the margin height value that has been set in Plate & Sheet Setup. |
| Oneup Width | Insert the cutline width value of oneup files in Step&Repeat with Chart layout. |
| Oneup height | Insert the cutline height value of oneup files in Step&Repeat with Chart layout. |
| Oneup Bleed | Insert the bleedwidth value of oneup files in Step&Repeat with Chart layout. |
| Row | Insert the row number of Step&Repeat with Chart layout. |
| Center Gap Width | Insert the horizontal center gap value of oneup files in Step&Repeat with Chart layout. |
| Center Gap Height | Insert the vertical center gap value of oneup files in Step&Repeat with Chart layout. |