- In the Preps application folder for your current version of Preps:
- Back up the templates, marks, and/or jobs that you will be moving or copying to the new version of Preps.
- Move the backup file out of the Preps application folder structure.
- Move or copy the templates, marks, and/or jobs from your current version of Preps to the appropriate folders in the new version of Preps.
- On the client that has the new version of Preps installed:
- Go to the
Preps> Utilities > Preps Template Migration Utilityfolder (ensure that you are not in thePreps Migration Utilityfolder). - Double-click
PrepsTemplateMigrationUtility.exe.
- Go to the
- Under Template and Marks Folder, click Select and browse to the Preps folder on the client that has the Templates and Marks subfolders with the files that will be migrated.
- Under Jobs Folder, click Select and browse to the Preps folder on the client that contains the Jobs folder with the jobs that will be converted.
Important: For the Jobs Folder setting, browse to the folder that contains the Jobs folder, not to the Jobs folder itself. If you direct the PTMU to the same level that the .jobfiles are in, it won't find them.
For both settings, ensure that you select the Preps folder that contains the Preps Template Migration utility that you just launched.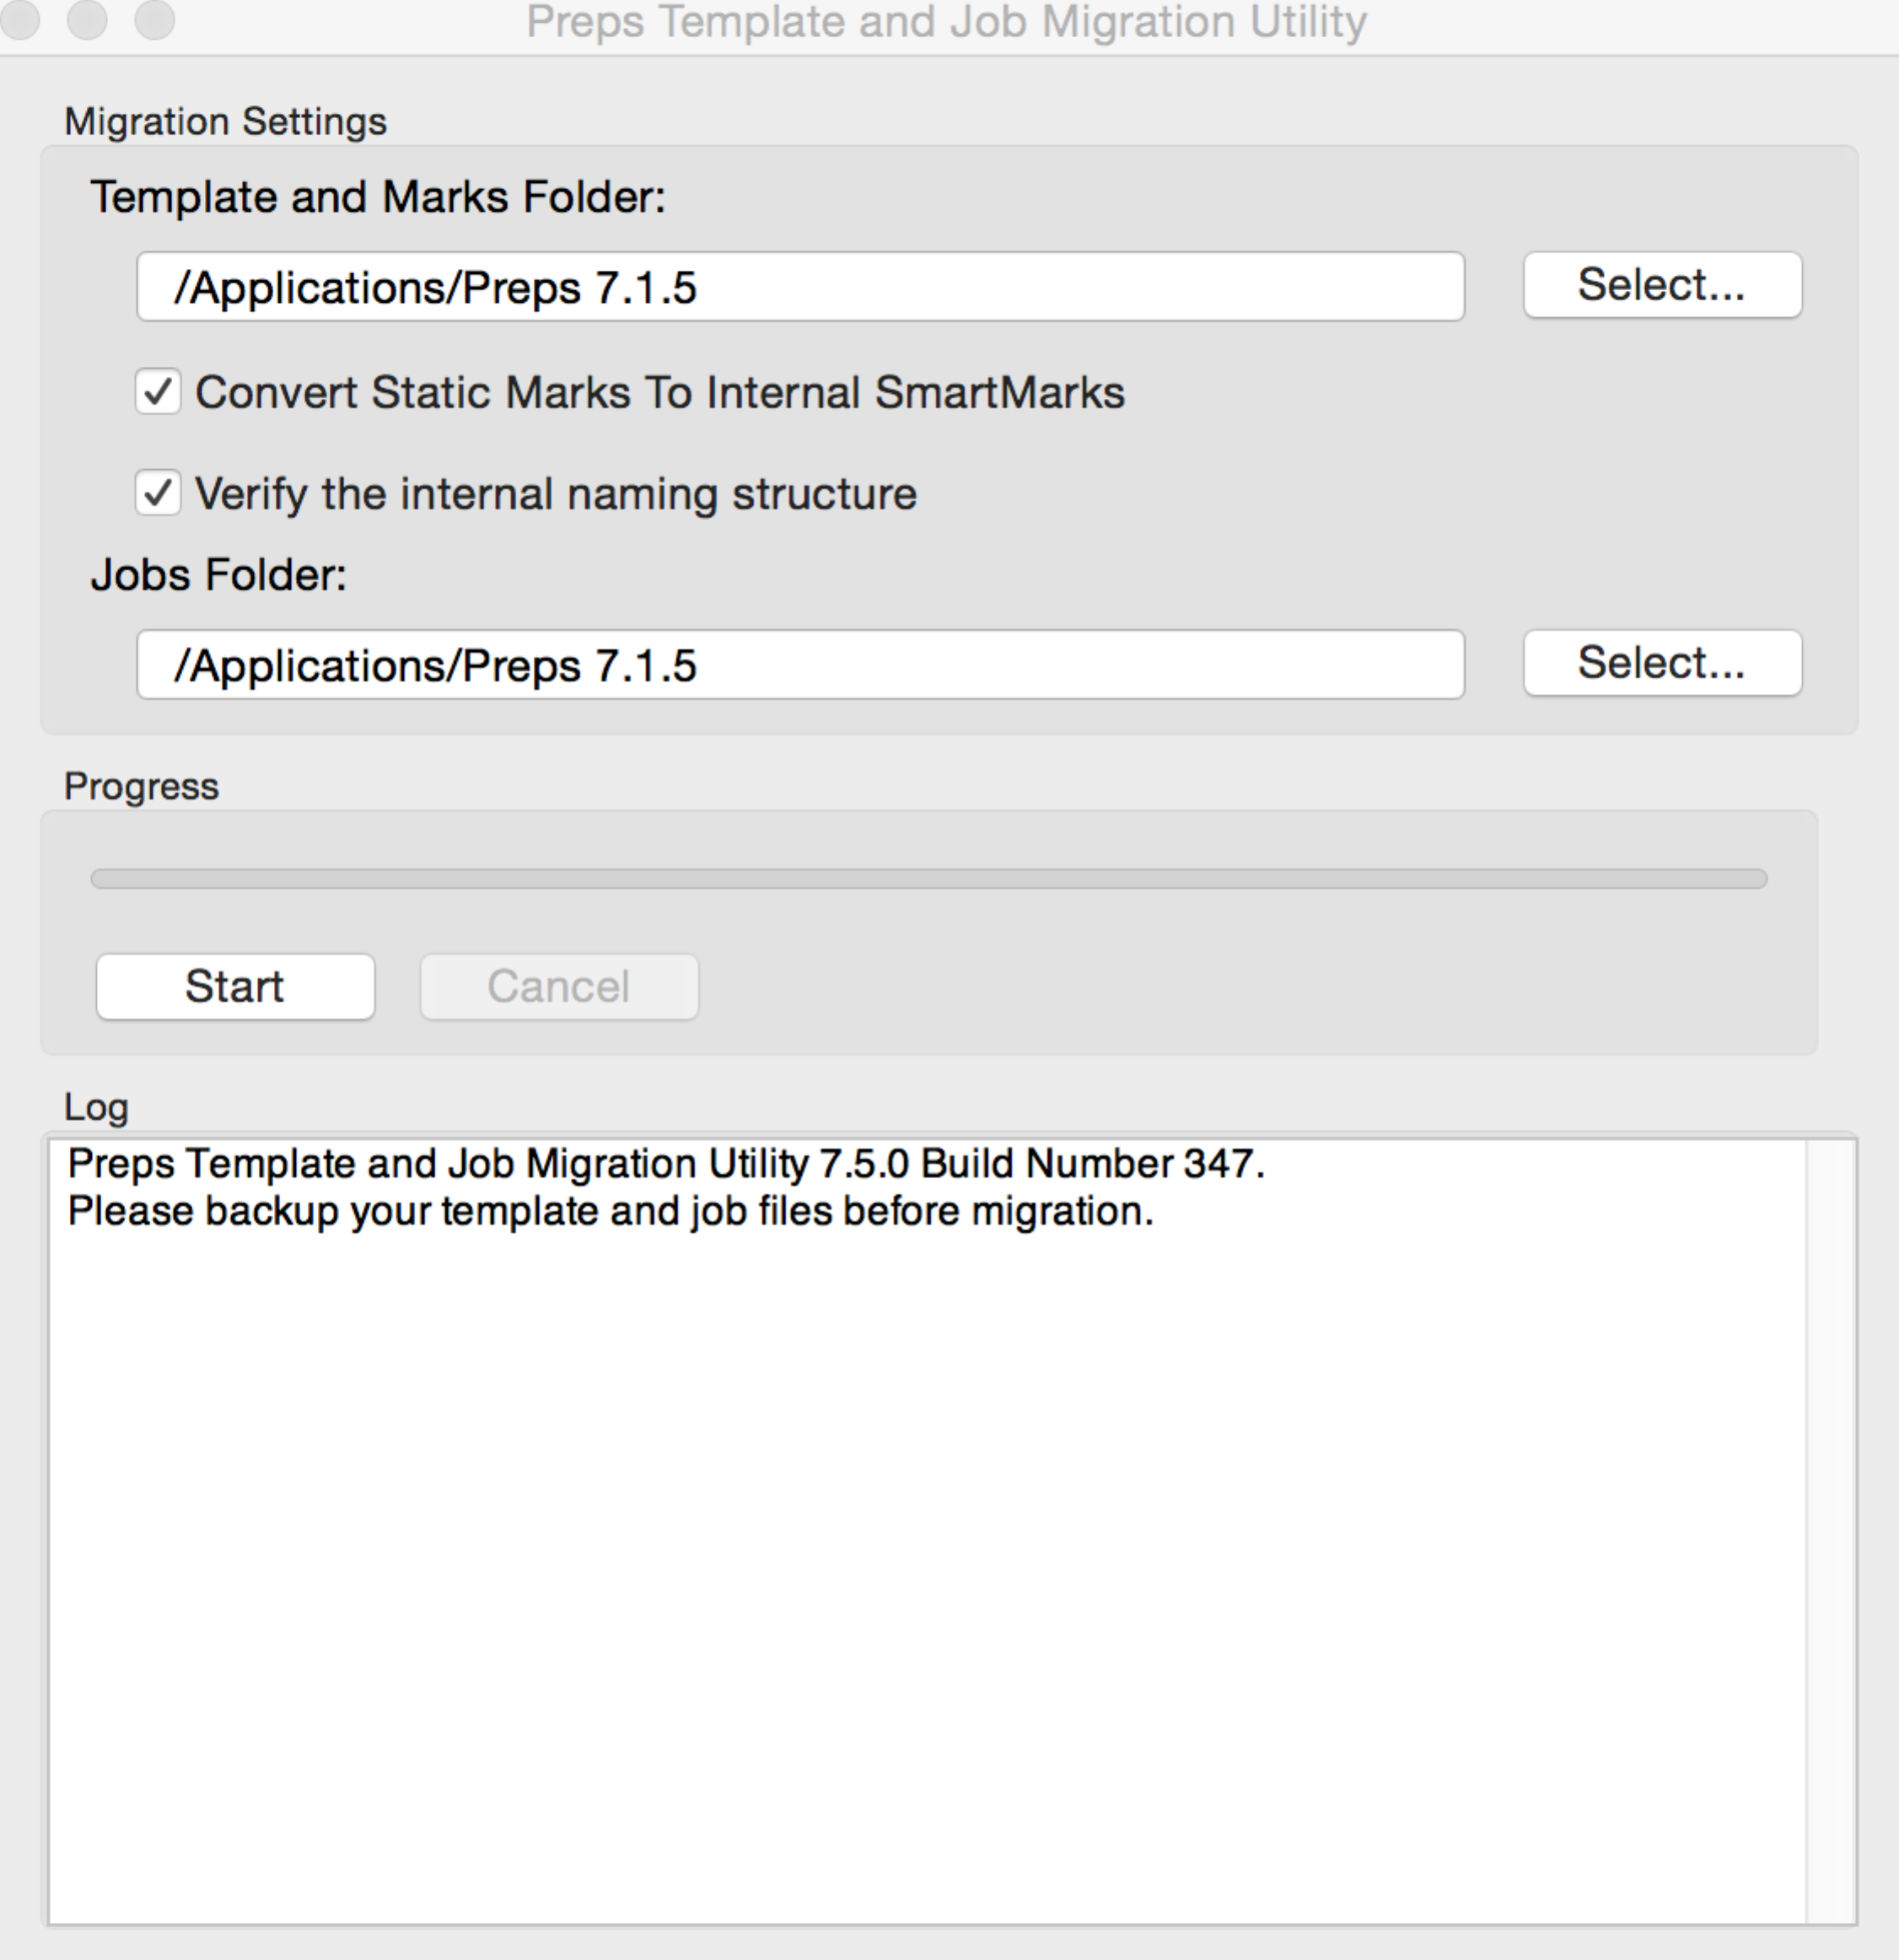
- Click Start.
- Monitor the log file that lists all the templates that the utility finds and processes, as well as information about converted jobs.
If there are no log entries, you are running the PTMU from the wrong location. Ensure that the utility you are using is in the same application folder as the templates and marks that you copied to the new Preps version.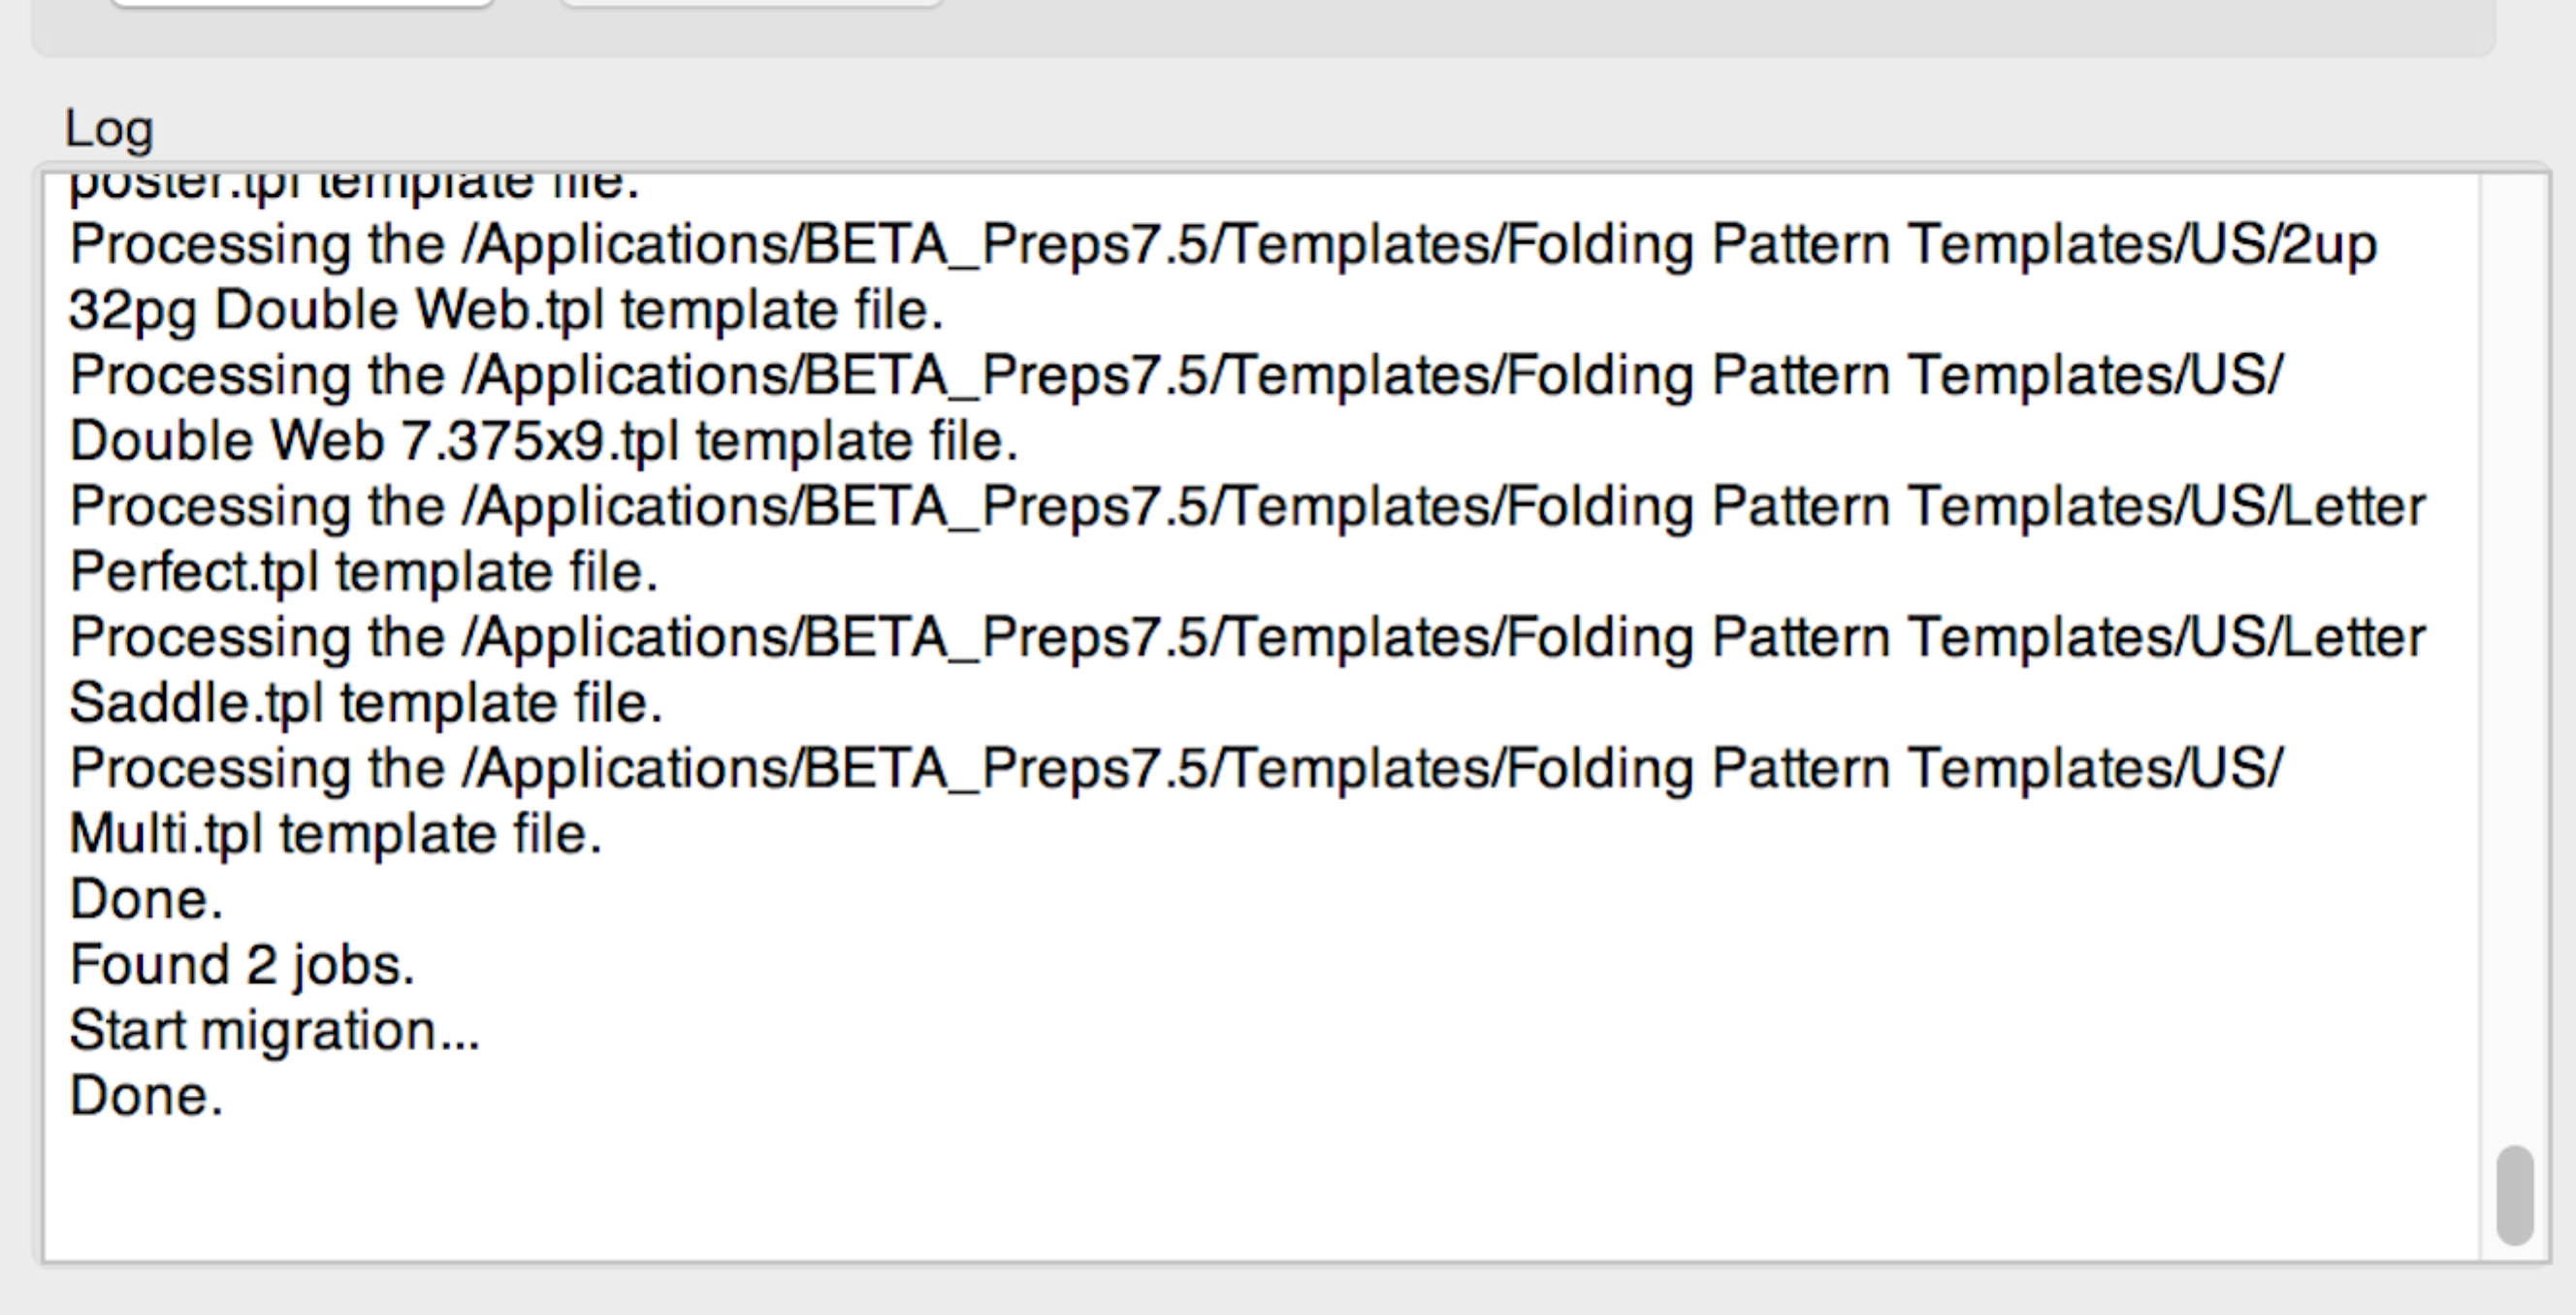
Overview
Content Tools