- When you finish defining the resources and the products, in the top bar of the Console, click the Planning tab.
- To start the calculation, click the Start
 button.
The calculation process starts and takes a few seconds. When the calculation process is complete, the results are displayed in the Planning table. - To define different settings for the next calculation, click the three dots next to the arrow
 .
.
The Settings for calculation window appears: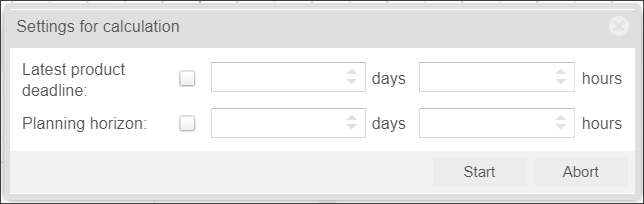
- You can select which jobs will be included in the next calculation by selecting the following options:
- Latest product deadline: Use this option to split the product pool into two parts by defining a duration. For example, in the hours list, select 24. When you define this duration, the first products of the first group must be printed between the time the calculation has started and the next 24 hours (MUST-products). The second group of products can be printed later than that, after 24 hours (CAN-products).
- Planning horizon: Use this option to define a duration that limits the printing plan (result) that is being calculated to that duration. If, for example, the planning horizon is set to 8 hours, the calculation will produce a print plan that fills up press capacities for the next 8 hours, even if there are still more products in the pool.
- Click Start.
- The result will most probably be something between one and three print jobs, each might be a gang form or a regular print form.
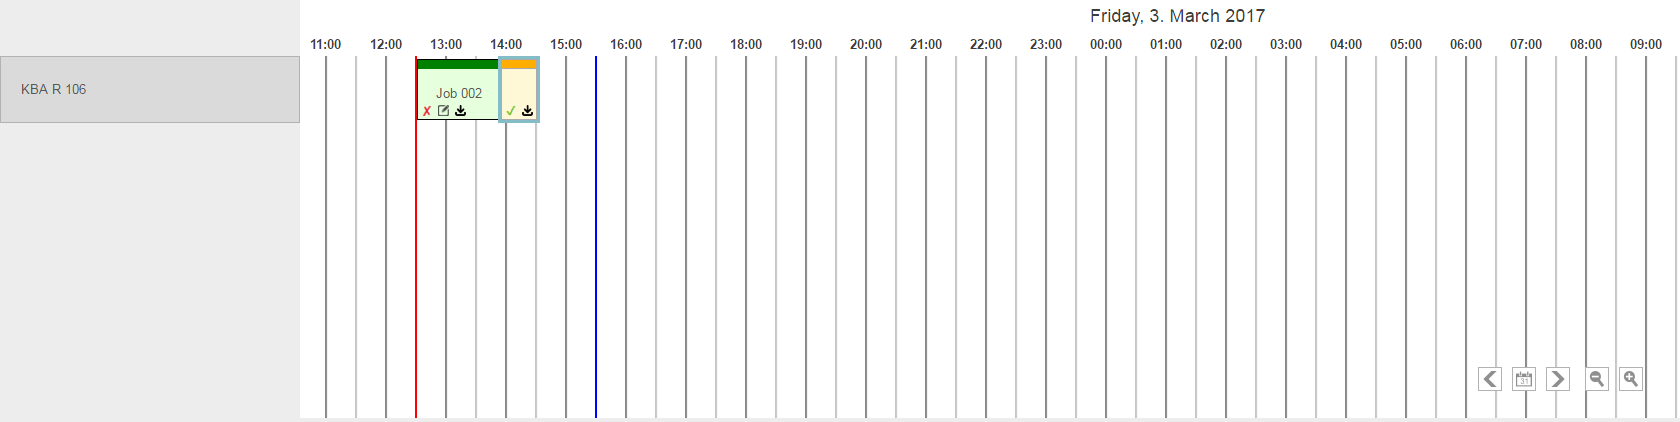
- For more information about the forms, click the job.
- In the Printjob viewer, at the lower-left side of the Planning tab, you can view information about the substrate, colors, quantity, costs, and efficiency.
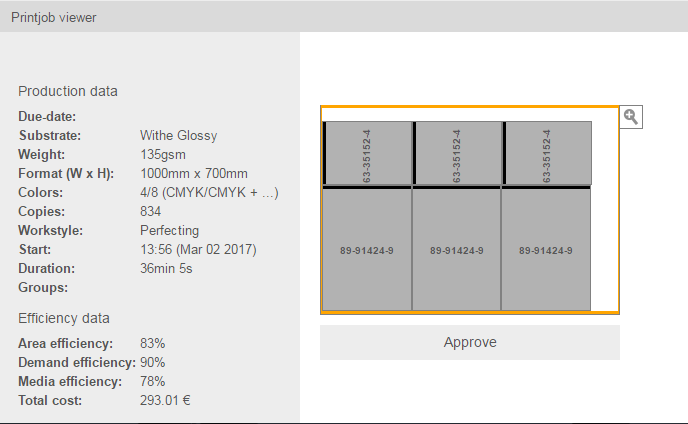
In addition, when you click a form, the Products list at the lower-right side of the Planning tab, displays only products that are part of that form, including information about their overage and number of ups.
Overview
Content Tools