
Concepts of Shrink-Warping
Shrink-Warping applies controlled deformation to the design artwork using the model and mesh data produced during Pre-Warping. The adjusted results can then be previewed and verified in a 3D view to ensure proper alignment and visual accuracy on the final container.
Shrink-Warping in 3D Preview
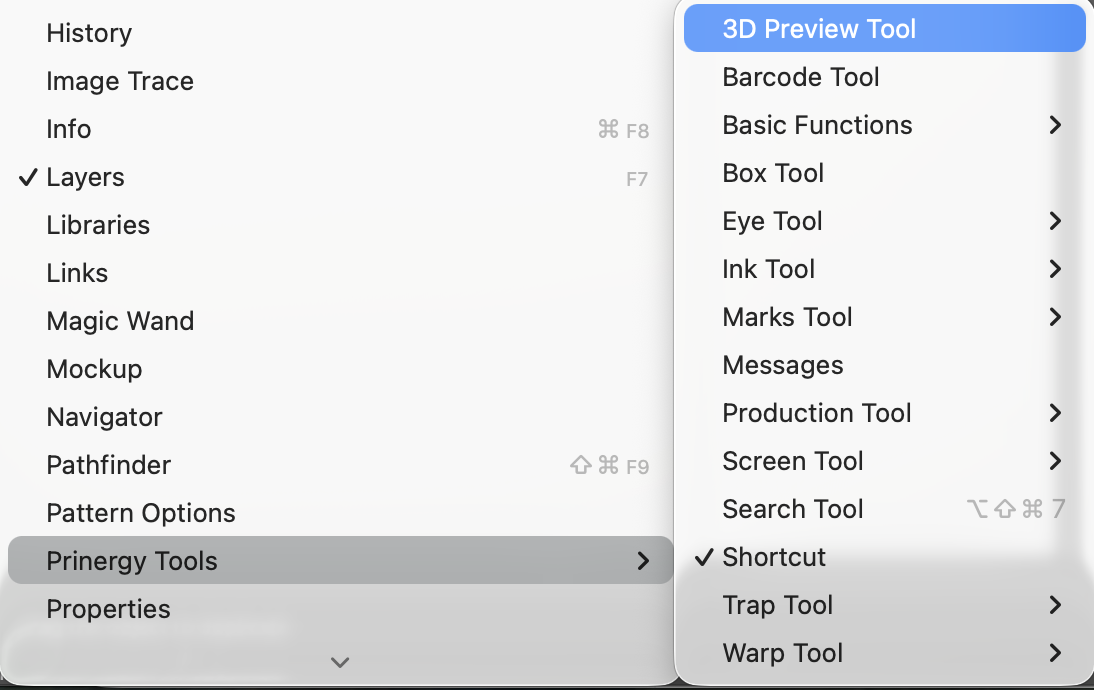
- Click “Windows” → “Prinergy Tools” → “3D Preview Tool” to preview the 3D effect of Warping
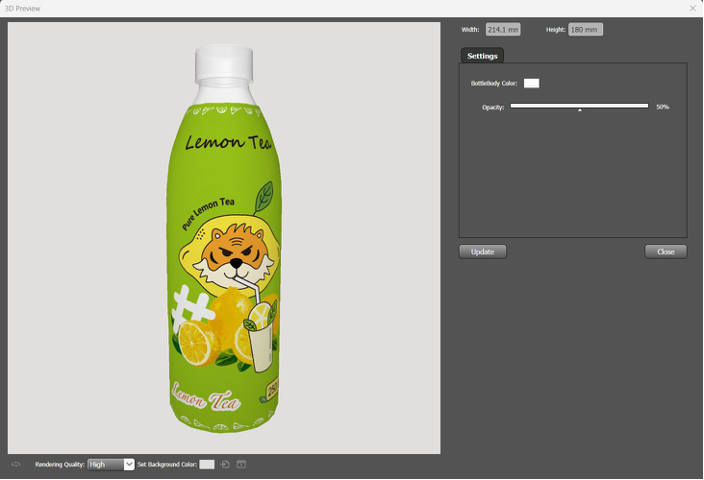
- Click "3D Preview" in the Warp Window > Top right hand corner drop down menu
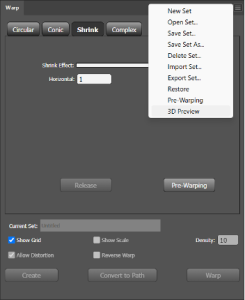
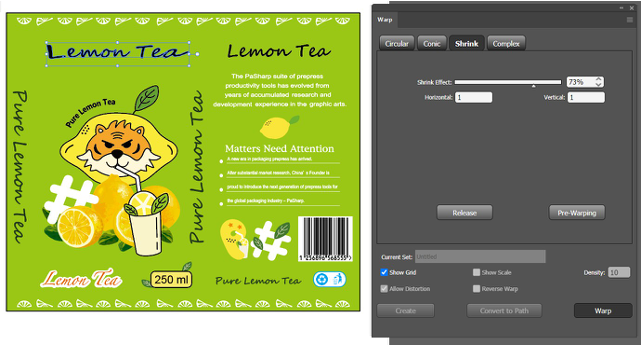
- Select the pattern that needs to be deformed and choose “Shrink” in the Warp
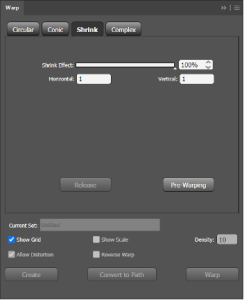
Shrink Effect: Adjusts the intensity of the deformation. Lower values result in less distortion, while 100% represents the maximum deformation effect.
Horizontal: Controls the width deformation of the object.
Vertical: Controls the height deformation of the object.
Release: Restores the object to its original state prior to any deformation.
- Click the "Warp" button to perform the deformation
After the shrink-warping process is complete, a confirmation message will appear in the message bar indicating that the transformation has finished.
- Verify that the deformation effect meets your requirements using the 3D preview. You can make additional adjustments as needed.
Limitations
Only the following five formats are supported for importing model files:
.dae, .stl, .obj, .fbx, .glb.