You have been asked to process a legacy PostScript input file using the Prinergy workflow. The supplied PostScript file has embedded fonts and images.
To complete this job, you will use a supplied refine process template to refine the PostScript input file into PDF pages, then proof the PDF pages using Adobe Acrobat and the Prinergy Virtual Proofing System (VPS) software.
As part of this scenario, you need to describe to your colleagues the function of each subfolder that is created as part of a new job folder.
- Start Prinergy Workshop
- Create a group in Job Finder
- Create a job within the group
- Locate the job folder on a Prinergy server
- Copy a PostScript file to the jobs folder
- Add the PostScript file to the Prinergy job
- Refine the PostScript file into PDF pages
- Soft proof a PDF page using Adobe Acrobat
- Soft proof a PDF page using Prinergy VPS
- Destroy the Prinergy job
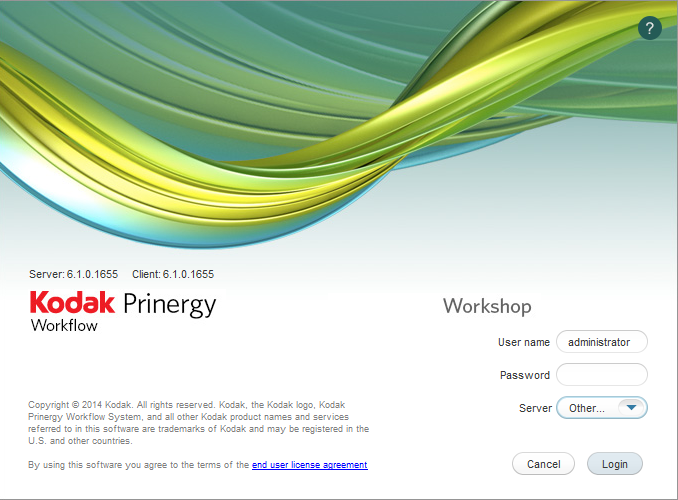
Start Prinergy Workshop
- From your workstation, double-click the Workshop icon to start Prinergy Workshop.
- In the Login window, type a user name and password.
- From the Server list, select the correct server name.
- Click the Login button.
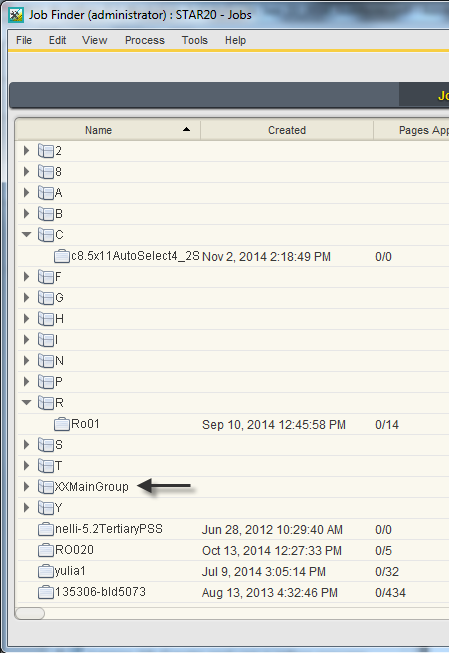
Create a group in Job Finder
The following procedures tell you how to create a group. You will use this group to store all jobs you create in this activity guide.
- From the File menu in Job Finder, choose New Group.
- In the Create New Group dialog box, type
XXMainGroup(where XX represents your initials). Click Create.
A group name must:- Be 31 characters or less
- Have a unique group name
- Not include the following special characters \ / : ' ? " * < >
- Not start or end with a space character or end with a period
Note: Carefully consider the naming conventions used for groups and jobs. Determine the best naming methodology to use based on production standards used in your prepress environment.
- View your new group (XXMainGroup) in the Job Finder window.
Create a job within the group
- Select your main group (XXMainGroup).
- From the File menu, select New Job.
- In the Create New Job dialog box, select the server name and volume.
- In the Create new job as box, type
XX_Refine_to_PDF(where XX represents your initials). Click Create.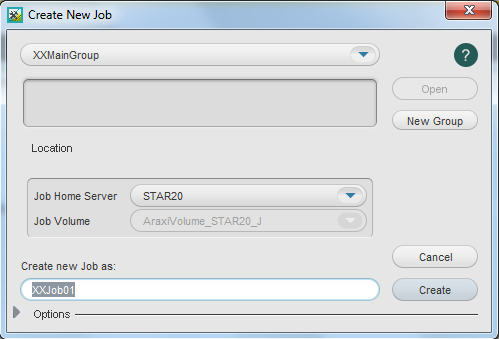
- View the Job Manager window.
This is where you will complete most Prinergy workflow tasks.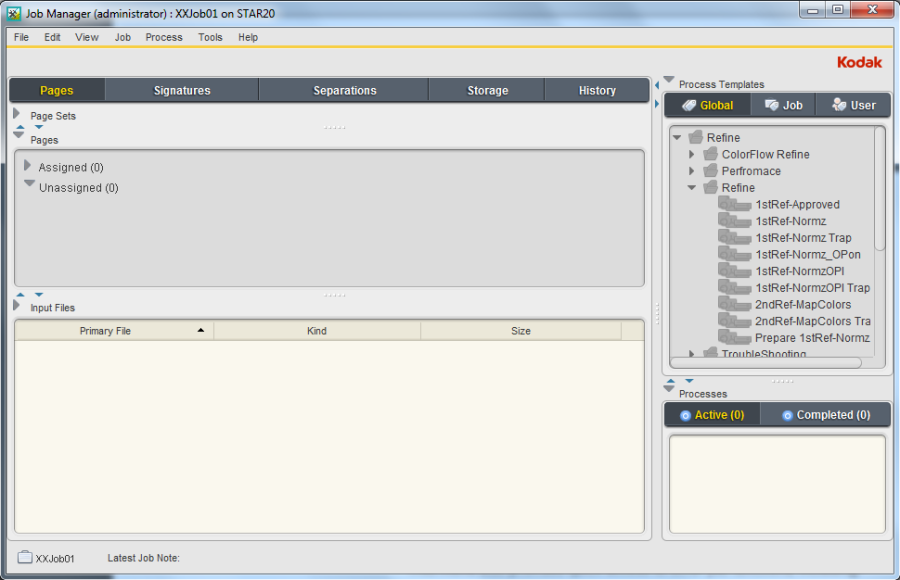
- Minimize the Job Manager window.
- Minimize the Job Finder window.
Note: From this point onward, the Job Manager window will be referred to simply as "Job Manager", and the Job Finder window as "Job Finder".
Locate the job folder on a Prinergy server
In the following procedures, you will locate your job folder on a Prinergy server. You need to access your job folder to store activity practice files in a location that is accessible to the Prinergy system.
- On your Prinergy server, click Start.
- In the Search programs and files box, type
J:\Jobs\XX_Refine_to_PDF.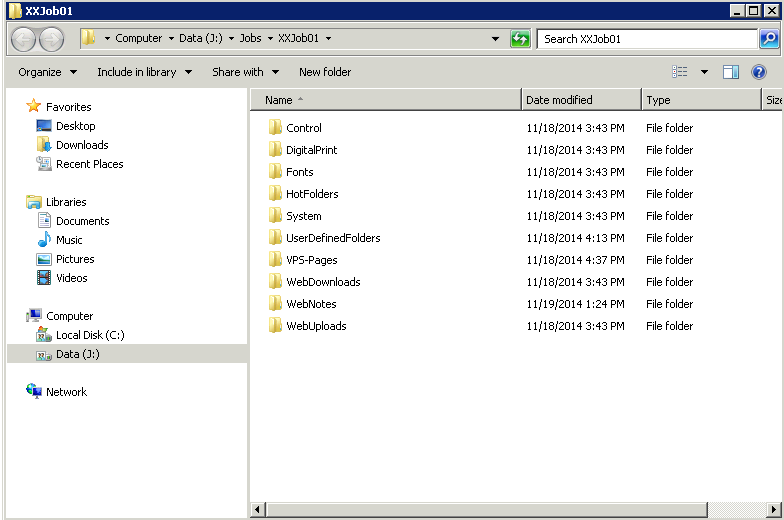
- View all subfolders that belong to your job.
Copy a PostScript file to the job folder and add the PostScript file to the Prinergy job
- From your workstation, locate:
Prinergy Activity Practice Files / Act_02_Refine Input File / Input File - Restore Job Manager.
- Open the
Input Filefolder. - Drag the
Print Buyers Guide.psto the Job Manager's Input Files area. - In the Add Input Files dialog box that appears, under Options, clear the Process Selected Files Using Process Template check box.
- Click OK.
Your file is copied to theUserDefinedFoldersfolder. - Minimize the Job Manager window.
Note: TheInput Filefolder is now part of the contents of your job folder on the Prinergy server, and will be archived (if required) with all other job elements.
Refine the PostScript file into PDF pages
- In the Input Files pane, select the
Print Buyers Guide.psfile. - From the Process menu, select Refine > Refine > 1stRef-Normz.
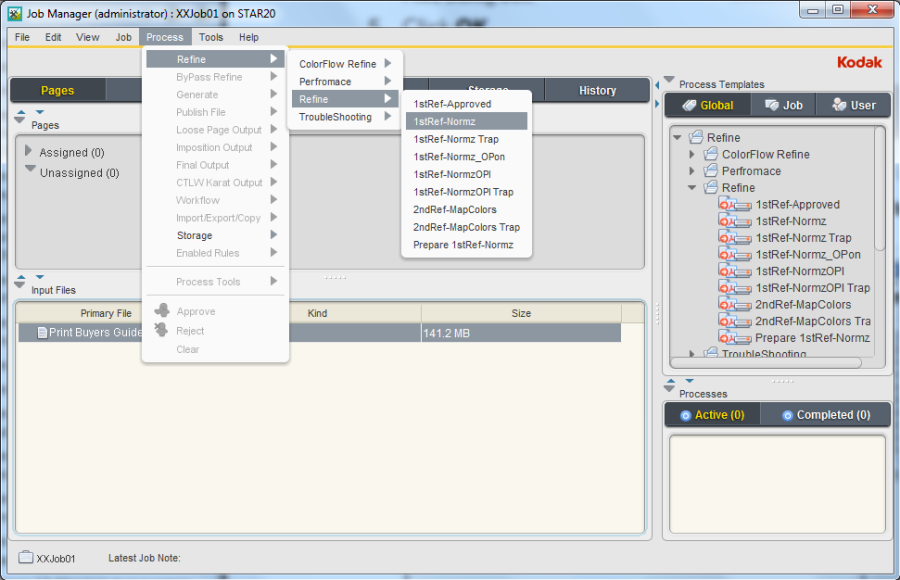
- In the Start Process dialog box, click OK.
Note: The Process Info window displays the status of the refine process. Close this window when the process is complete.
Important: During the refine process, a warning icon is displayed in the Processes pane. This icon warns that low-resolution contone images have been detected. For the purposes of this training, all images have been intentionally saved at a lower resolution to avoid longer processing times. Ignore this warning message.
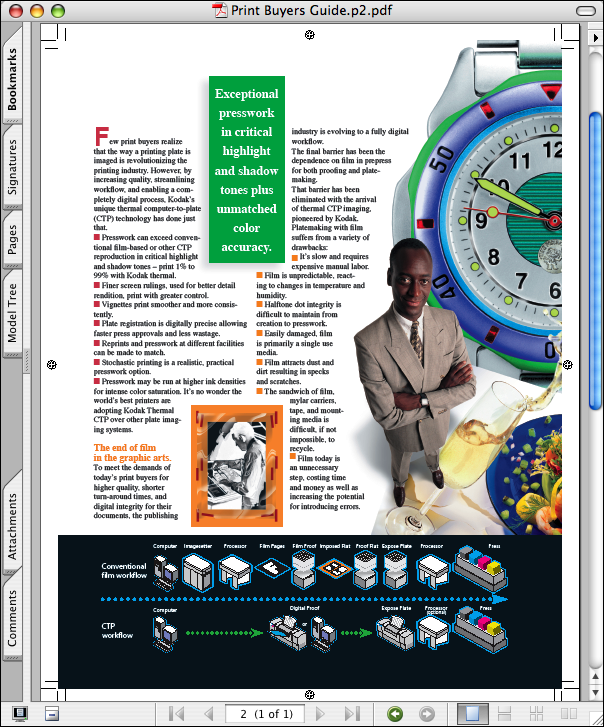
Soft proof a PDF page using Adobe Acrobat
Adobe Acrobat is a fast way to proof the contents of a PDF page and to check other page information such as trim box settings and page geometry.
- In the Pages pane, double-click the newly created
Print Buyers Guide.p2.pdfpage. - Preview the PDF page in Adobe Acrobat.
- At completion of the preview process, quit Adobe Acrobat.
Soft proof a PDF page using Prinergy VPS
Prinergy Virtual Proofing System (VPS) software creates proofs of PDF pages or impositions that are visually identical to a final output version. A Prinergy VPS software proof uses the same output specifications that would be present when outputting to a specific proofing device or when outputting to final film or plate.
- In the Pages pane, select
Print Buyers Guide.p2.pdf. - From the Process menu, select: Loose Page Output > Virtual Proof > Virtual Proof.LoosePage.
- In the Start Process dialog box, click OK.
Note: The Process Info window displays the status of the loose page proof process. Close this window when the process is complete. - In the Pages pane, right-click
Print Buyers Guide.p2.pdfand select Open VPS files. This automatically starts the Prinergy VPS software and opens the PDF page for proofing purposes. - From the Window menu in Prinergy VPS, choose the Navigation and Separations palette. Proof the entire page. At completion, quit Prinergy VPS.

Important: For instructions on how to use Prinergy VPS software, consult the Prinergy Virtual Proofing System help in the Prinergy VPS software Help menu. - Restore
- Select the History view.

Note: The History view provides a complete summary of all job activities. This is a helpful window to use when troubleshooting or verifying a process.
Destroy the Prinergy job
Destroying a job or pre-job permanently deletes all files and information about the job or pre-job. Only destroy a job if you are sure you will never need the job again. This action creates additional storage space on your Prinergy server. Only destroy a job if you have previously archived the job, or know you will never need to use the job again.
- Close XX_Refine_to_PDF Job Manager.
- In Job Finder, right-click your XX_Refine_to_PDF (located in your XXMain Group) and choose Destroy Entire Job.
- In the Destroy Job dialog box, enter your administrator name and password (supplied by your instructor, service representative, or your own system administrator).
- Click Destroy.