The Interactive Trap tool allows you to selectively edit Auto Traps, or to create new traps from scratch. The Interactive Trap Tool has the full capabilities of the auto trap tool.
Editing existing Auto Traps with the Interactive Trap Tool
A common editing task with the Interactive Trap Tool is to change the trap direction of auto-trapped objects.
To change trap direction, first trap the file using Auto Trap. Auto traps will appear on a unique Prinergy Trap-# layer and after editing, traps will remain on the same Prinergy Trap-# layer.
After the objects have been auto trapped, select the Interactive Trap tool ![]() from the Advanced Toolbar.
from the Advanced Toolbar.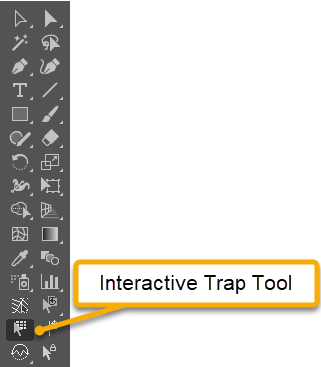
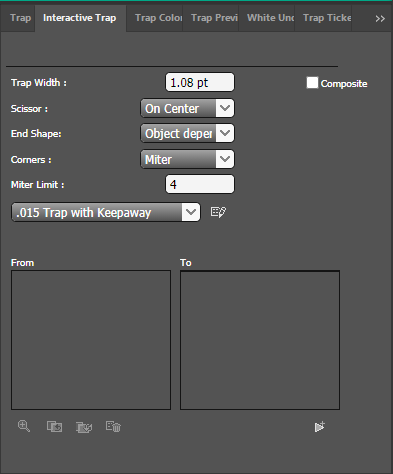
The Interactive Trap panel will display. The Interactive Trap panel can also be displayed by choosing Window >> Prinergy Tools >> Trap Tool >> Interactive Trap.
With the Interactive Trap Tool active, left-click and drag over an existing trap in the new desired trap direction and release the mouse button. The trap direction will be changed.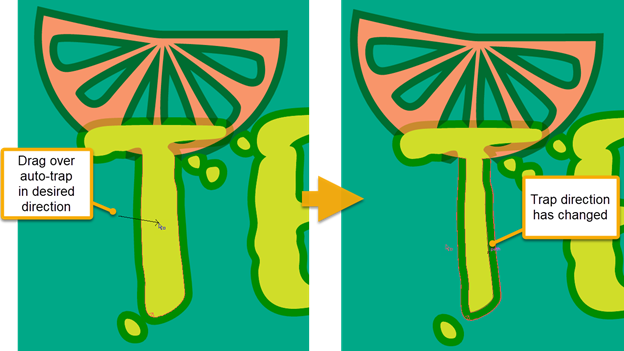
The Interactive Trap Panel will also display object and background color pairs.
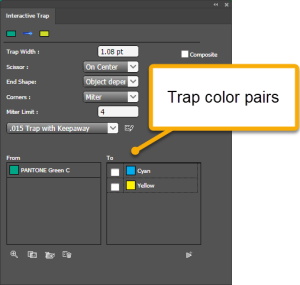
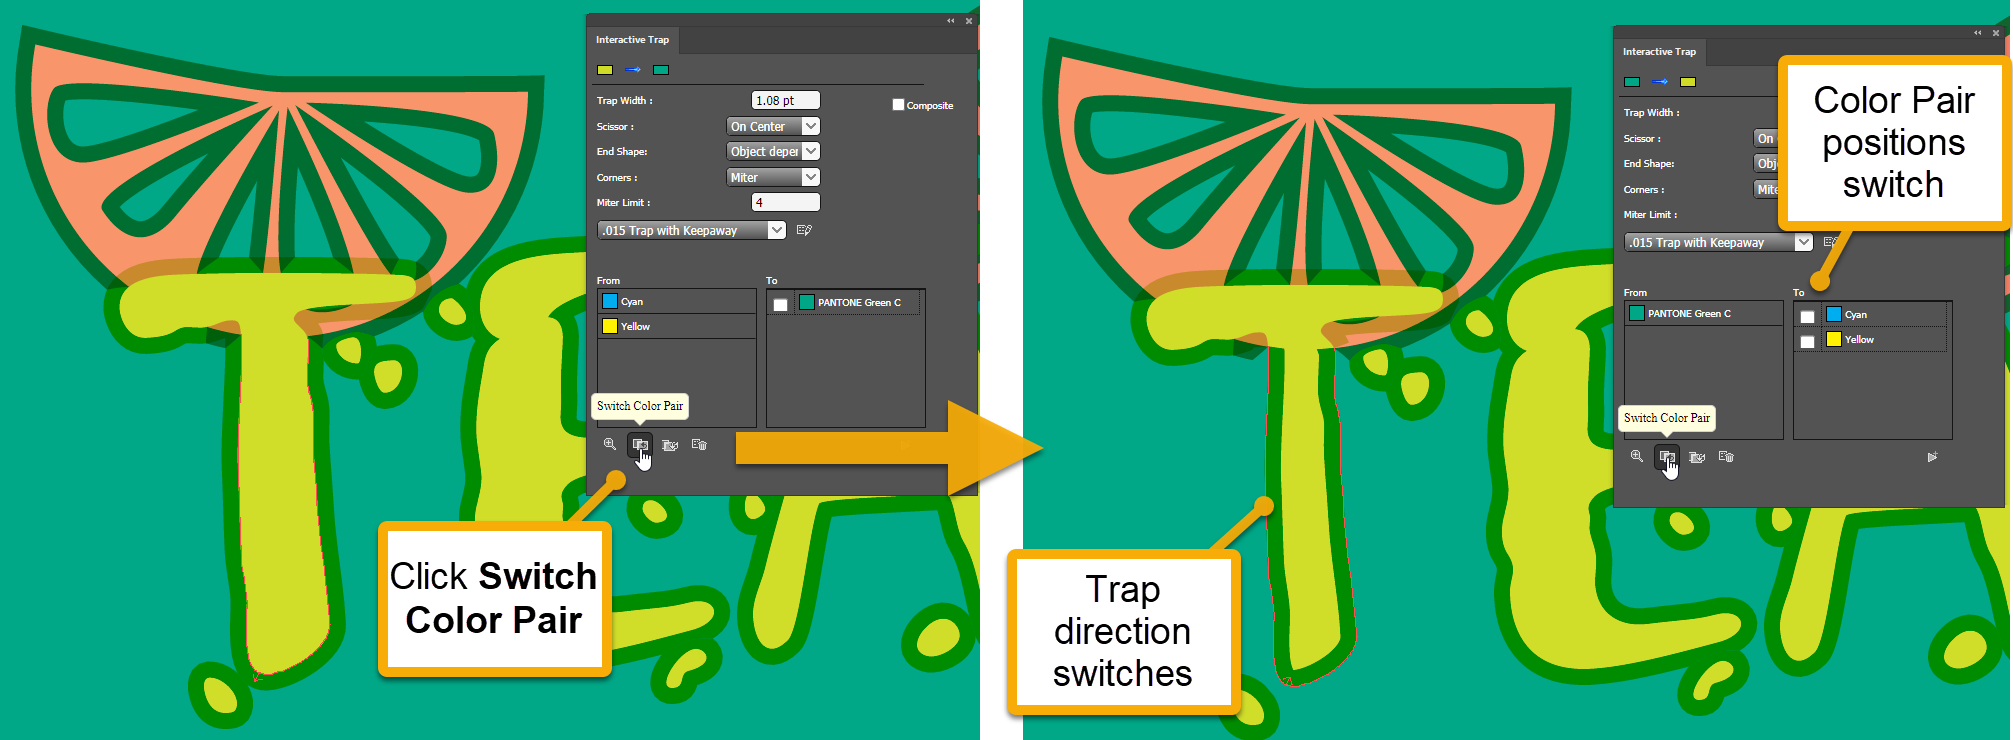
You can also switch the trap direction by pressing the Switch Color Pair icon at the bottom of the panel.
The trap direction will change and the color pair positions will switch in the Interactive Trap panel.
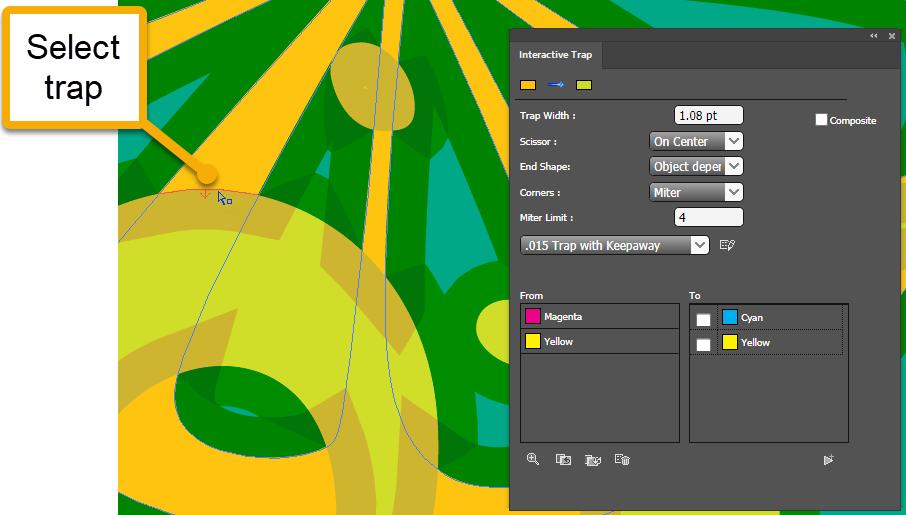
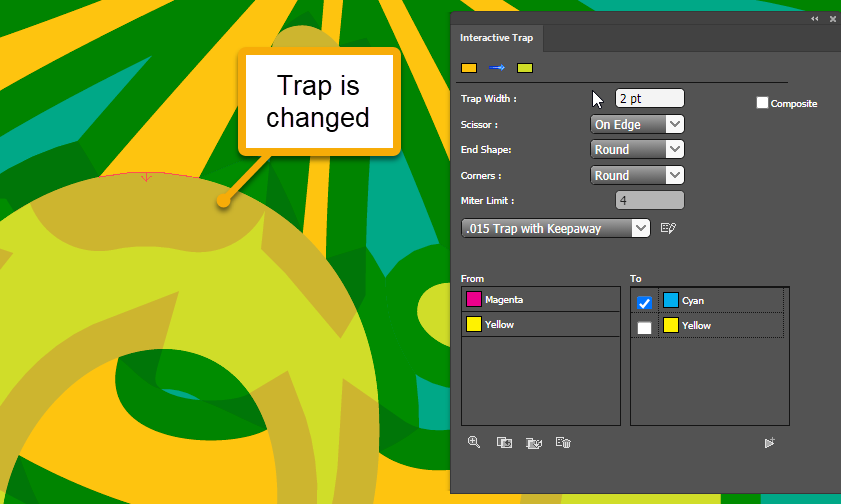
You can change other trap parameters in the Interactive Trap panel. Select the Trap you wish to modify with the Interactive Trap Tool.
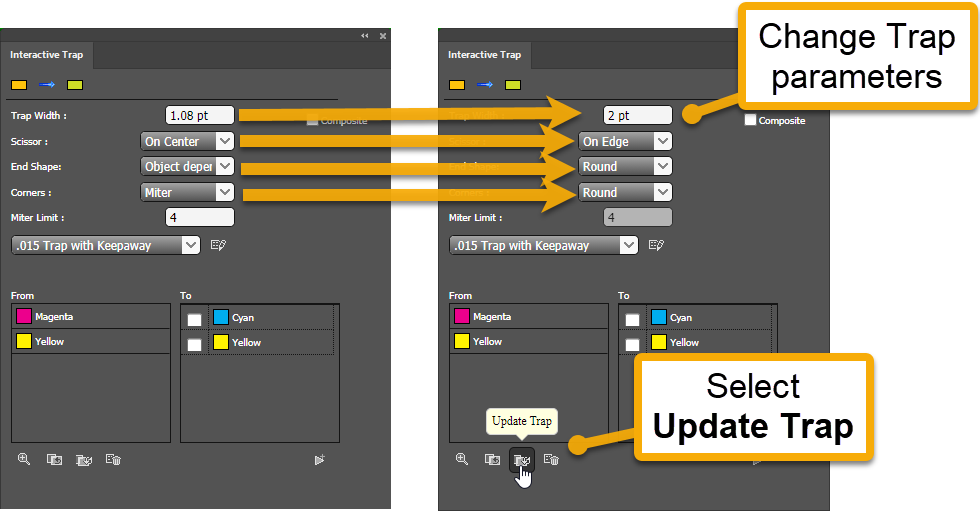
Change the Width, Scissor, End Shape, Corners or Miter Limit parameters to the desired settings, and press Update Trap.
Or choose a Trap Ticket from the drop-down menu.
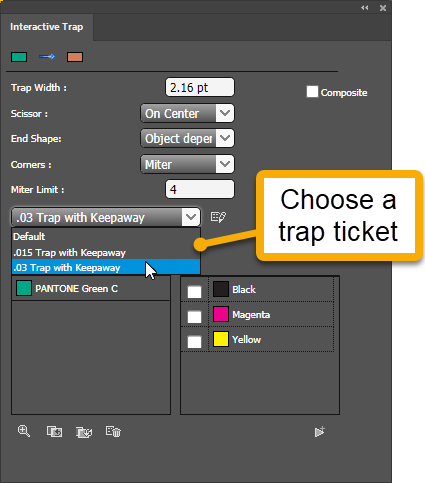
Using a Trap Ticket allows you to change parameters, such as Keepaway or Rich Black Trapping, that do not visible in the Interactive Trap panel. Before applying a Trap Ticket, you can click the Edit Trap Ticket button to modify any of the trap ticket parameters.
After modifying the desired parameters or choosing a Trap Ticket, click the Update Trap button 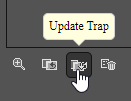 to apply the new trap.
Creating new Traps with the Interactive Trap Tool
When you use the Interactive Trap tool to create new traps, you begin by first generating trap data and then applying traps to create them.
All Interactive Traps are stored on unique Interactive Trap-# layers (a new Interactive Trap layer is appended with an identifying number that increments by one, each time you apply the Interactive Trap tool.)
The first thing the Interactive Trapper must do is to generate Trap Data. The Data generation process examines the selected objects and their characteristics, and stores this data to be used for Interactive trapping.
To generate Trap data, select the objects you want to trap with a Prinergy Tools selection tool or Illustrator selection tool, and choose the Interactive Trap tool ![]() from the Advanced Toolbar on the left.
from the Advanced Toolbar on the left.
The Interactive Trap dialog will appear and you can change any trap parameter or choose a Trap Ticket.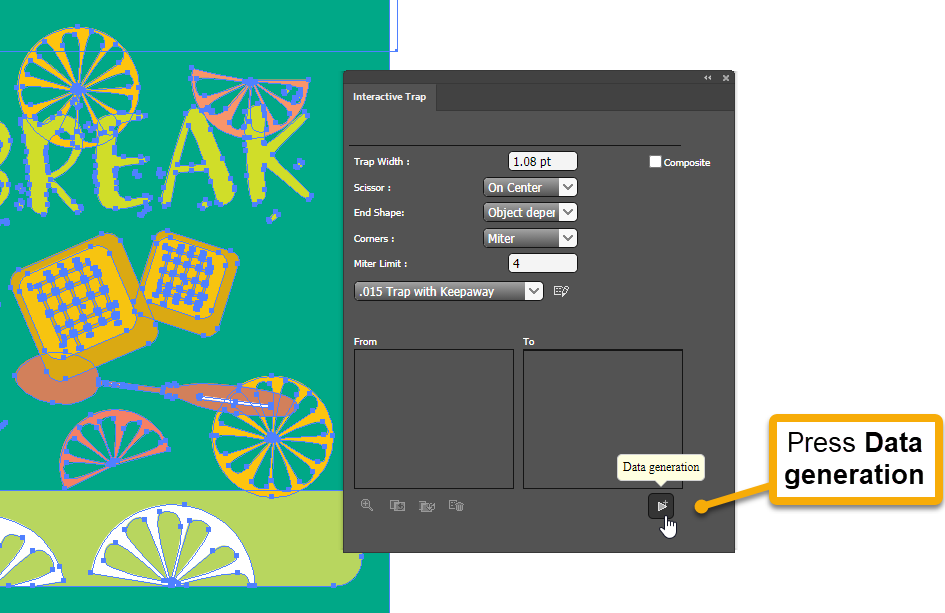
Press the Data generation button. A Trapping data has been completed message will display, but no actual traps have been created at this point.
The Trap Pair panel will also appear, but won't contain any Color Pairs, and a new Interactive Trap-# layer is created, but won't contain any objects. These steps indicate that the trap data has been generated.
The next step is to select objects and create the actual Traps. New Interactive traps are created on a Interactive Trap-# layer, not a Prinergy Trap-# auto trap layer.
Once trap data has been generated, you can simply click and drag from one object into another with the interactive trap tool to create a trap between the two objects. The trap is created in the direction you move the cursor.
Use Shift + click and drag to create traps between multiple objects at the same time. All traps will be created when you release the mouse button.
Option click in an object with the interactive trap tool to spread the target object into adjacent objects.
Shift-Option click in an object with the interactive trap tool to choke all adjacent objects into the target object.
As with Editing Auto Traps (see section above), you can change any of the parameters in the Interactive Trap Panel or choose a Trap Ticket and hit Update Traps, to apply the new parameters.