- From the Window menu, select Show ShopMap Palette.
- On the ShopMap palette, if they don't already exist, create these materials and add them to the layout view.
Note: If you have Auto Sized Substrates enabled for Plate and Die, you will see messages when adding these job elements to the layout. To use the job elements that you are adding to the layout, click No.- Substrate: 38 x 58 in. (965.2 x 14 mm)
- Plate: 40 x 60 in. (1016 x 1524 mm)
- Press: 2
- From the File menu, select Import > Die.
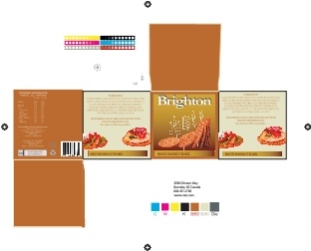
- In the
CAD Correct Activity folder, select the Brighton.cf2 die file and click Open.
Note: There will be several error warnings. When asked if you want to cancel, click No and continue to import the die. - Perform one of the following actions:
- From the File menu, select Import > Artwork.
- In the Pandora toolbar, click the Import Artwork icon.
- In the Import Artwork dialog box, locate where you are storing the sample activity files.
- In the
CAD Correct Activity folder, select the Brighton.pdf file and click Open.
- Select the die.
- Drag the artwork to the die and make note of the results.
Note: The die that was added to the layout does not contain any die stations. As a result, Pandora will not be able to snap artwork to this die. - On the layout view, delete the artwork from the layout.
- Delete the die from Pandora.
- Minimize the Pandora window.
{"serverDuration": 79, "requestCorrelationId": "d1fbd6ae25bec81f"}