- Select the artwork in the layout view, if it is not already selected.
- With the artwork selected, from the Window menu, select Show Geometry Palette.
- In the reference point diagram, select the lower-left corner.
This positions the artwork to the lower-left portion of the substrate, based on the X and Y coordinates selected. - In the X box, type
1.25 in.(31.75 mm) and in the Y box, type0.895 in.(22.733mm), and press Enter.
- Use the StepRepeat tool
 to drag the artwork out to 10 instances horizontally and 4 vertically.
- To edit the Step and Repeat, click the Selection tool
 and double-click the Step and Repeat in the layout window.
 In the Step & Repeat dialog box, in the Steps section, select the Apply crop marks to all check box.
- In the Stagger section, select None.
- Select the Apply changes immediately check box to dynamically update the placements of the step and repeat in the layout view.
- Click OK.

In the layout view, notice that crop marks have been applied.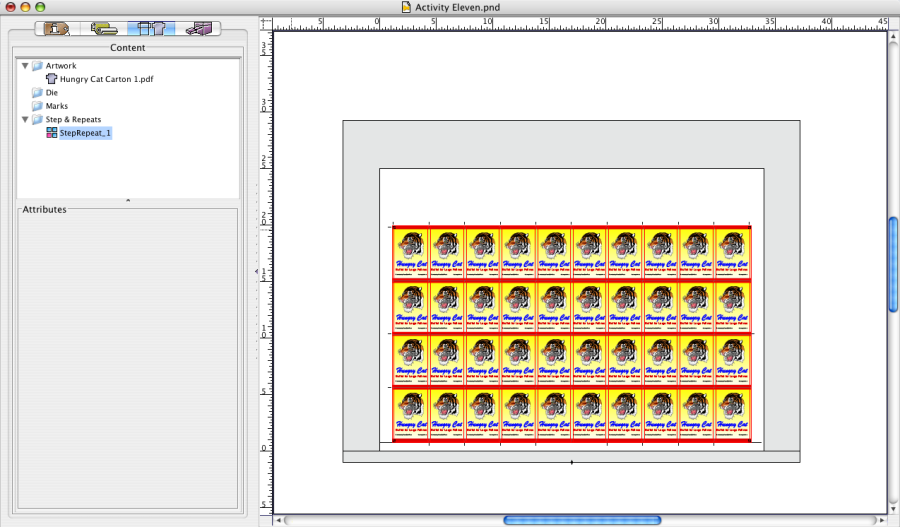
- From the Window menu, select Show Marks Palette.
- Open the SmartMarks folder and drag the following marks to the layout view:
CB_4-color.pdfCTR_Center_Cross.pdf
- Select the Output Setup tab
 and set both the Blood Red and Deep Blue colors to PROCESS.
In this example, theCB_4-color.pdfis CMYK only, whileHungry Cat Carton.pdfincludes spot color. In standalone versions of Pandora, you can avoid updating the PDF file by using the Color Separations dialog box in the Output Setup tab. You can change the spot colors to print as process colors and the job will print as CMYK only.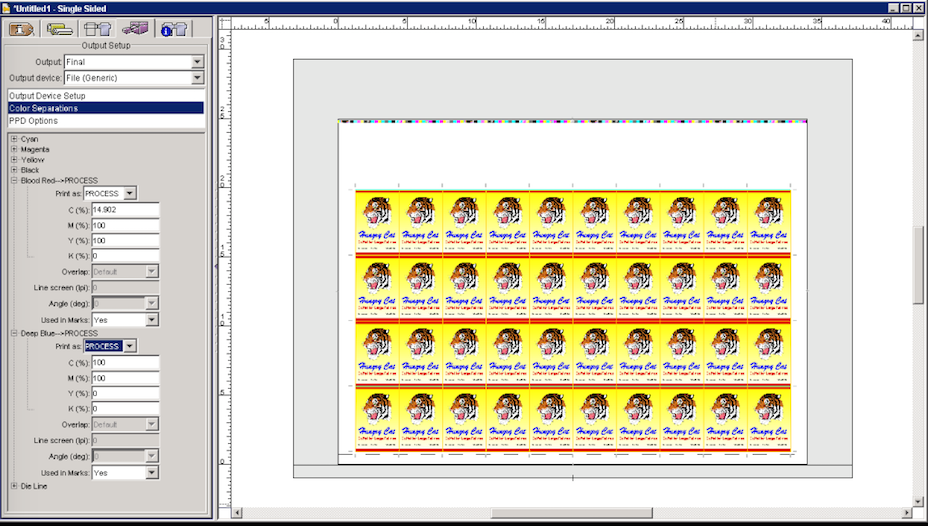
Overview
Content Tools