Note: If you enabled Hi-Res Preview in Objective 4, you will need to disable it for this exercise to see the changes that you make while working with this particular file.
- On the Content tab under Attributes, click the Size and offset arrow.
- In the New size area, in the horizontal box, type
3.15 in. (80.01 mm). In the vertical box, type4.73 in.(20.142 mm). - Select the Center check box.
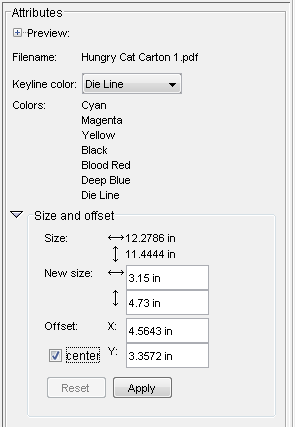
- Click Apply.
The artwork is changed to a smaller size, and because you selected Center, the view changes to show what was formally the center of the carton.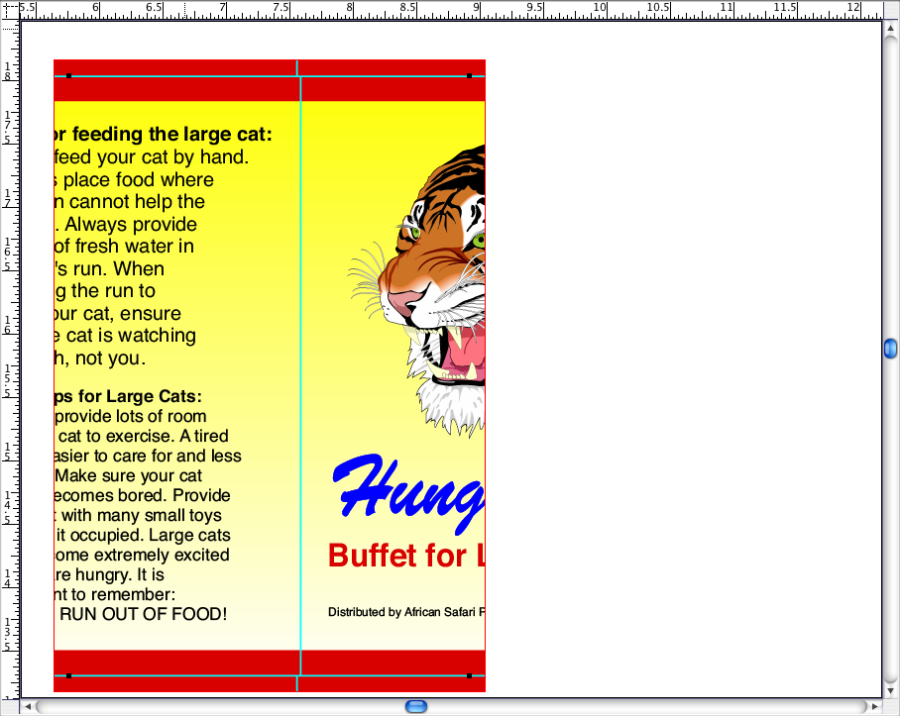
- To shift the image to display the front panel of the carton, using the Ruler tool
 , measure from the left edge of the new size (indicated by a black dot) to the vertical die line in the center of the viewable area.
Note the horizontal value displayed in the Pandora status bar at the bottom of the layout view. - In the Offset boxes, in the X box, after the existing measurement, type
+1.82 in.(+46.228 mm) .
Note: The final result should look like this:4.5643+1.82(5.9338+46.228). Make sure you don't replace the whole value with only+1.82 in(+46.228 mm). - Clear the Center check box, and then click Apply.
Note the image is shifted to display the front panel of the carton.
Note: Resizing the artwork affects all instances of the artwork. Pandora also maintains any existing bleed paths that have been modified to resolve bleed overlaps.