For more information, see Create a dummy artwork to serve as a blank placeholder for Step-and-Repeat.
- From the Object menu, select Create Dummy Artwork.
- In the New Dummy Artwork dialog box, select a value for Units, enter these values in the other boxes, and then click Create:
- Name =
Activity 7 - Width =
9 in.(228.6 mm) - Height =
6.75 in.(171.45 mm)
- Name =
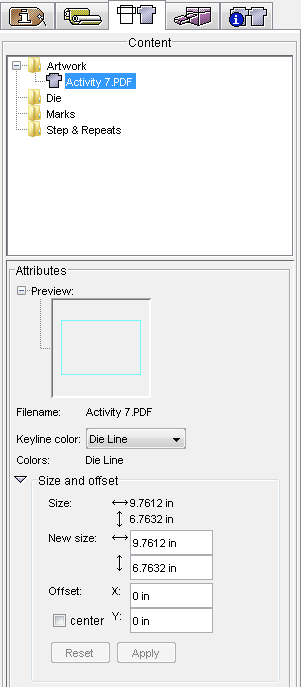
- View the new dummy artwork added to the Content tab in the job properties view.
- Select the dummy artwork named
Activity 7.pdfand drag it from the Content tab to the center of the layout view.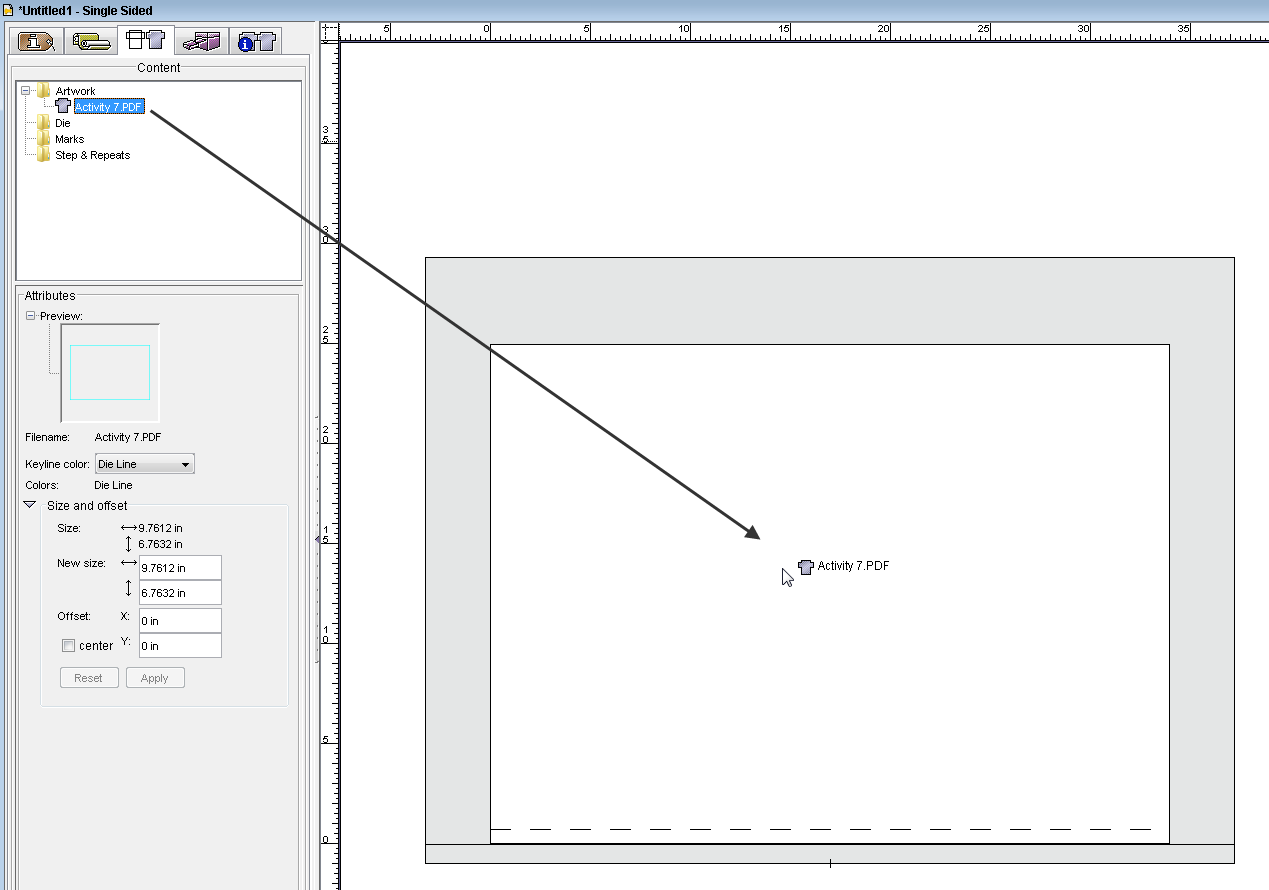
- View the newly imported dummy artwork in the layout.
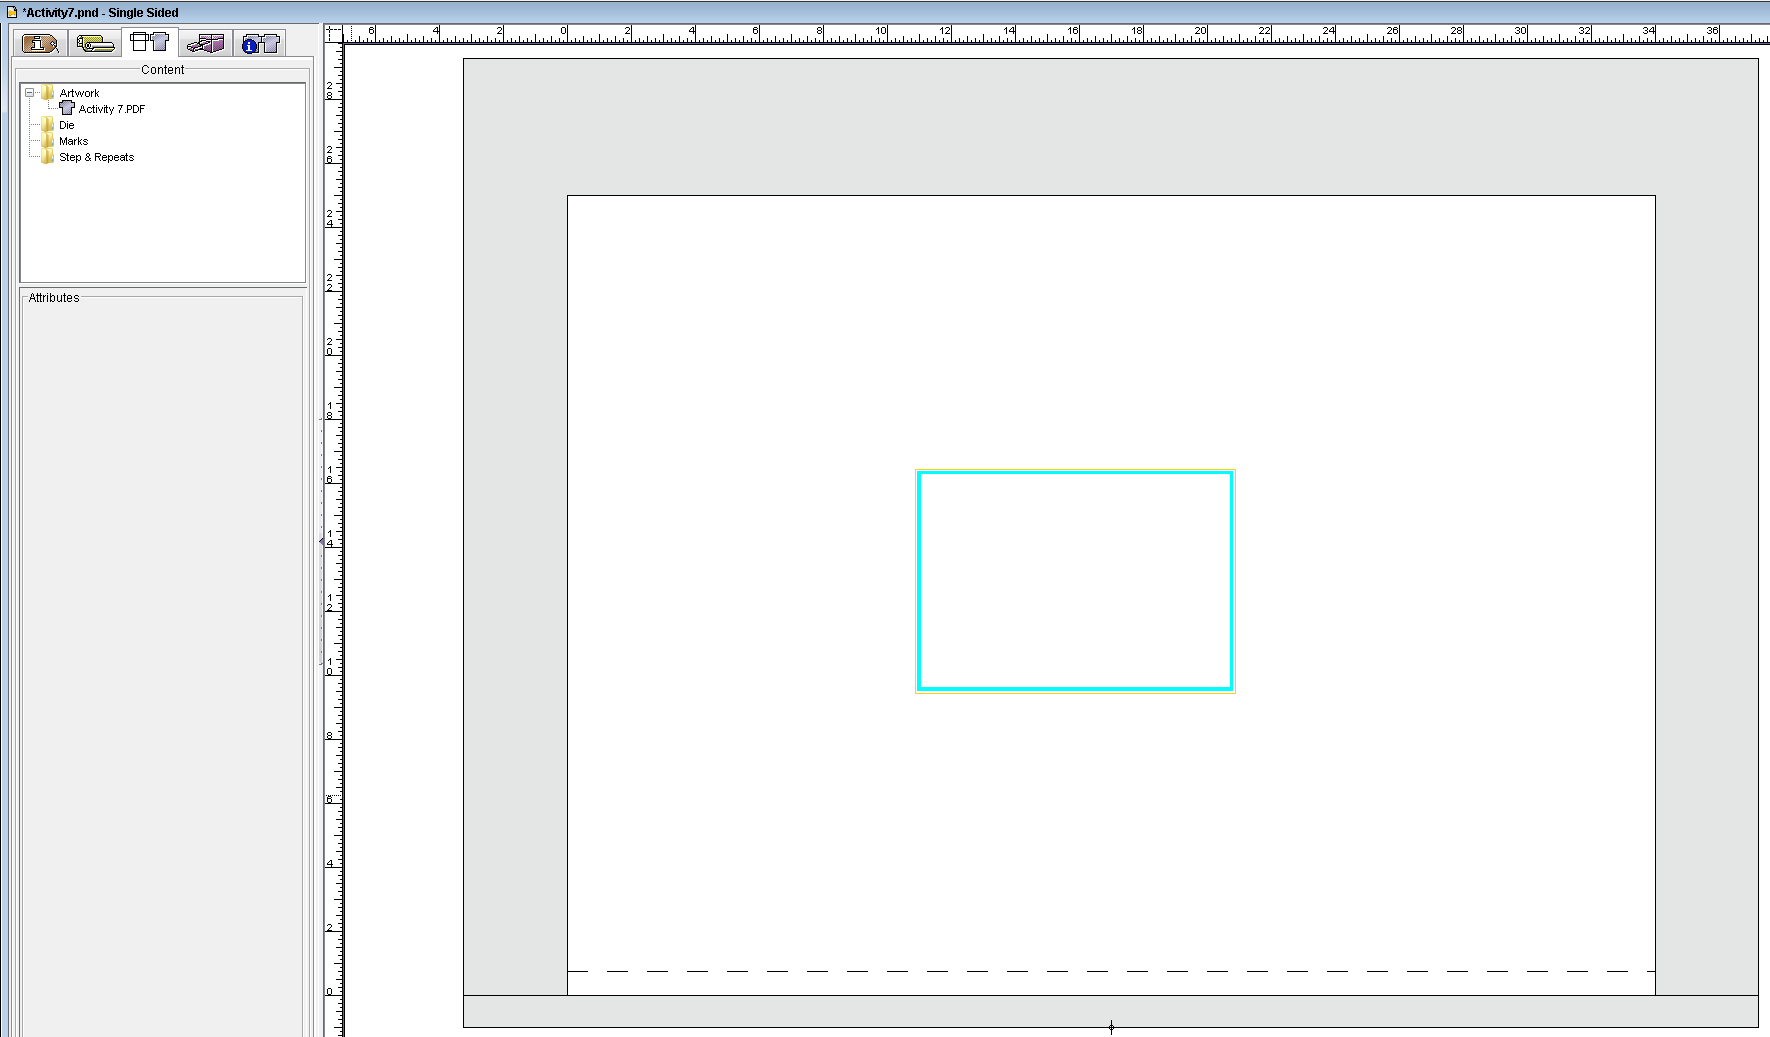
- With the dummy artwork selected, right-click and select Rotate 90 degree.
This rotates the dummy artwork 90 degrees.

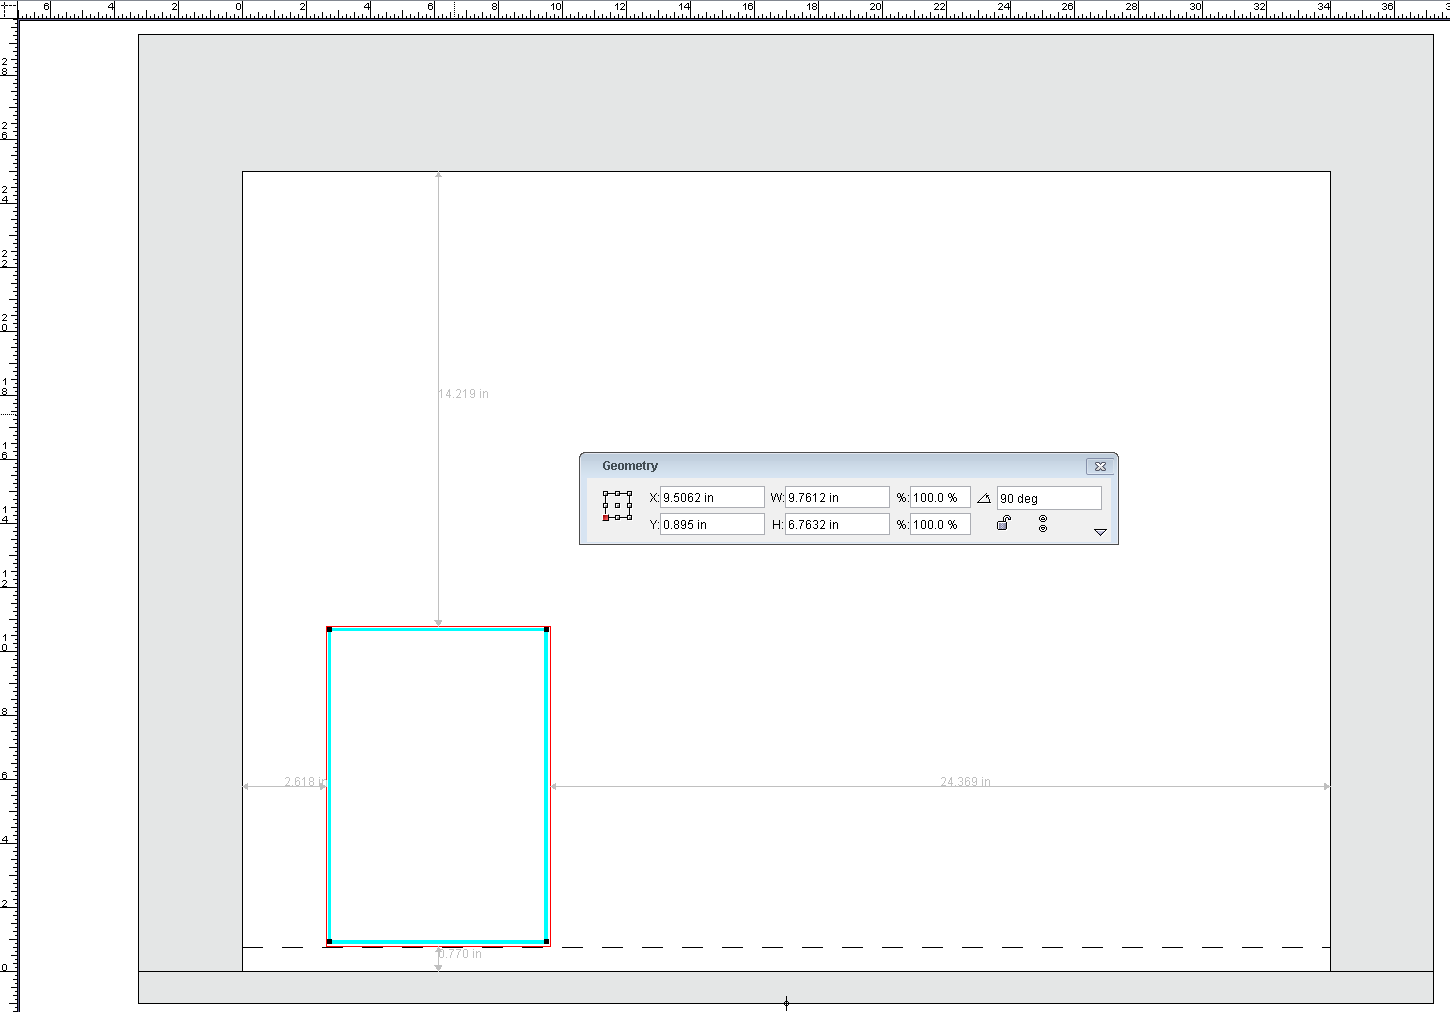
- From the Window menu, select Show Geometry Palette.
- With the dummy artwork selected, in the reference point diagram, select the lower-left corner.
This positions the dummy artwork to the lower-left portion of the substrate, based on the X and Y coordinates selected.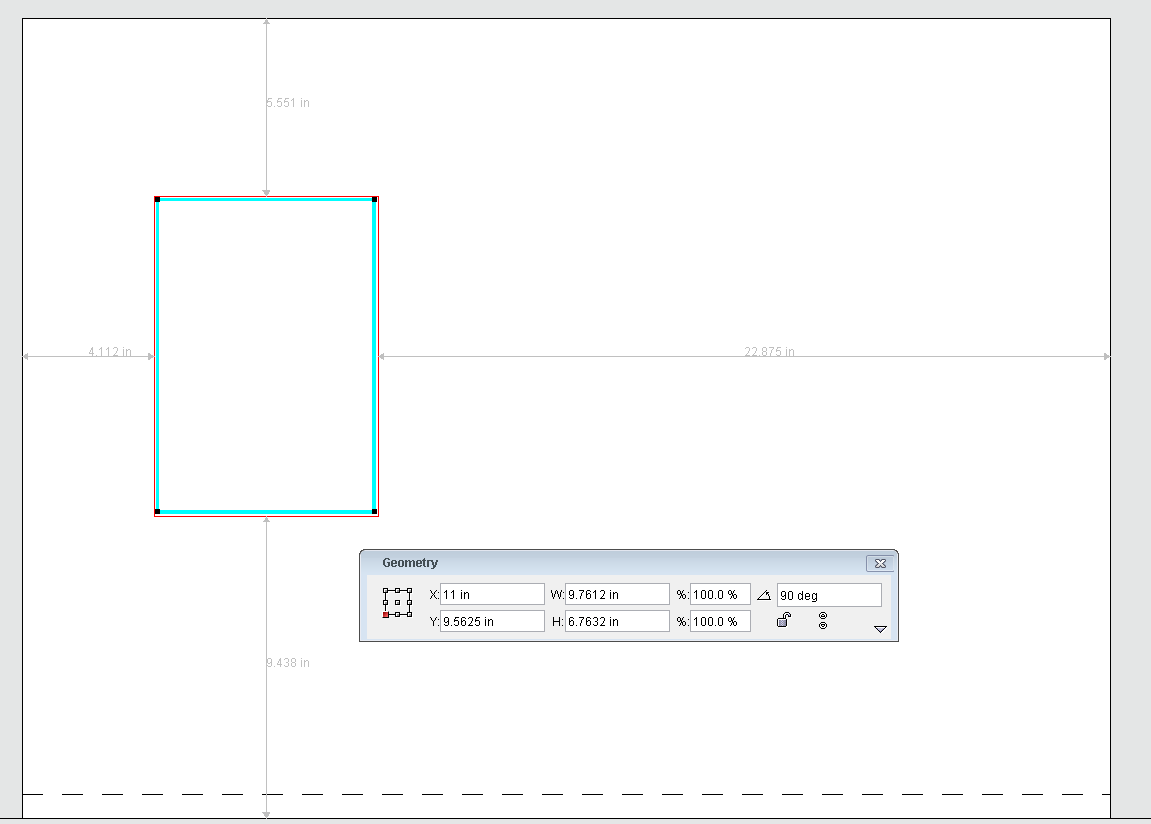
- Confirm that Show Gap Line between placement is enabled in Preferences.
When Show Gap Line is enabled, you will see two horizontal and two vertical lines with arrowheads at each end and numbers that show the distance between objects on the layout. For more information see Placing objects using gap line measurement. - With the dummy artwork selected, click the horizontal gap measurement rule that appears on the left side of the dummy artwork and then double-click one of its arrowheads. In the Enter new distance box, type 2.625 in. (66.675 mm) and click OK.
- Click the vertical gap measurement rule that appears on the bottom side of the dummy artwork and double-click one of its arrowheads. In the Enter new distance box, type .770 in. (19.558 mm) and click OK.
- View the placement and orientation of the dummy artwork and then close the Geometry palette.