Page tree

Versions Compared

Key

  • This line was added.
  • This line was removed.
  • Formatting was changed.
Comment: Published by Scroll Versions from space PANTWK and version Pandora_Training_Working_8.4
Sv translation
languageen

Note: If you used Save as Default and Apply changes immediately in a previous activity, this information will be remembered for the next Step and Repeat that you create. As you continue to make changes, the Step and Repeat will update with each change that you make.  

  1. With the objects selected, perform one of the following actions:
    • Right-click and select Step & Repeat.
    • From the Object menu, select Step & Repeat.
  2. In the Layout section of the Step & Repeat dialog box, in the Name box, type Neck Label Step.
  3. In the Steps section, enter the following information:

    Repeat:

    Horiz: 7


    Vert: 3

    Gap:

    Horiz: 0


    Vert: .25 (6.35 mm)

    Apply crop marks to allSelect the check box
  4. In the Stagger section, select None.
  5. Select the Apply changes immediately check box.
  6. Click OK.
    Image Modified
    Image Modified
  7. From the View menu, select Fit In Window.
  8. View the stepped artwork in the layout view.
  9. From the Object menu, select Resolve Rectangular Bleeds.
Sv translation
languagefr

Remarque : si vous avez utilisé Enregistrer comme valeur par défaut et Appliquer immédiatement les modifications dans l'activité précédente, ces informations seront mémorisées pour votre prochaine création à partir d'une copie en répétition. Tandis que vous continuez à apporter des modifications, l'opération de copie en répétition est mise à jour après chaque modification que vous effectuez.  

  1. Une fois les objets sélectionnés, effectuez l'une des opérations suivantes :
    • Cliquez avec le bouton droit de la souris et sélectionnez Copie en répétition.
    • Dans le menu Objet, sélectionnez Copie en répétition.
  2. Dans la section Mise en page de la boîte de dialogue Copie en répétition, dans le champ Nom, saisissez Neck Label Step.
  3. Dans la section Copies, saisissez les informations suivantes :

    Répétition :

    Horiz. : 7


    Vert. : 3

    Écart :

    Horiz. : 0


    Vert. : 0,25 (6,35 mm)

    Appliquer les repères de recadrageSélectionner la case à cocher
  4. Dans la section Décalage, sélectionnez Aucun.
  5. Cochez la case Appliquer immédiatement les modifications.
  6. Cliquez sur OK.
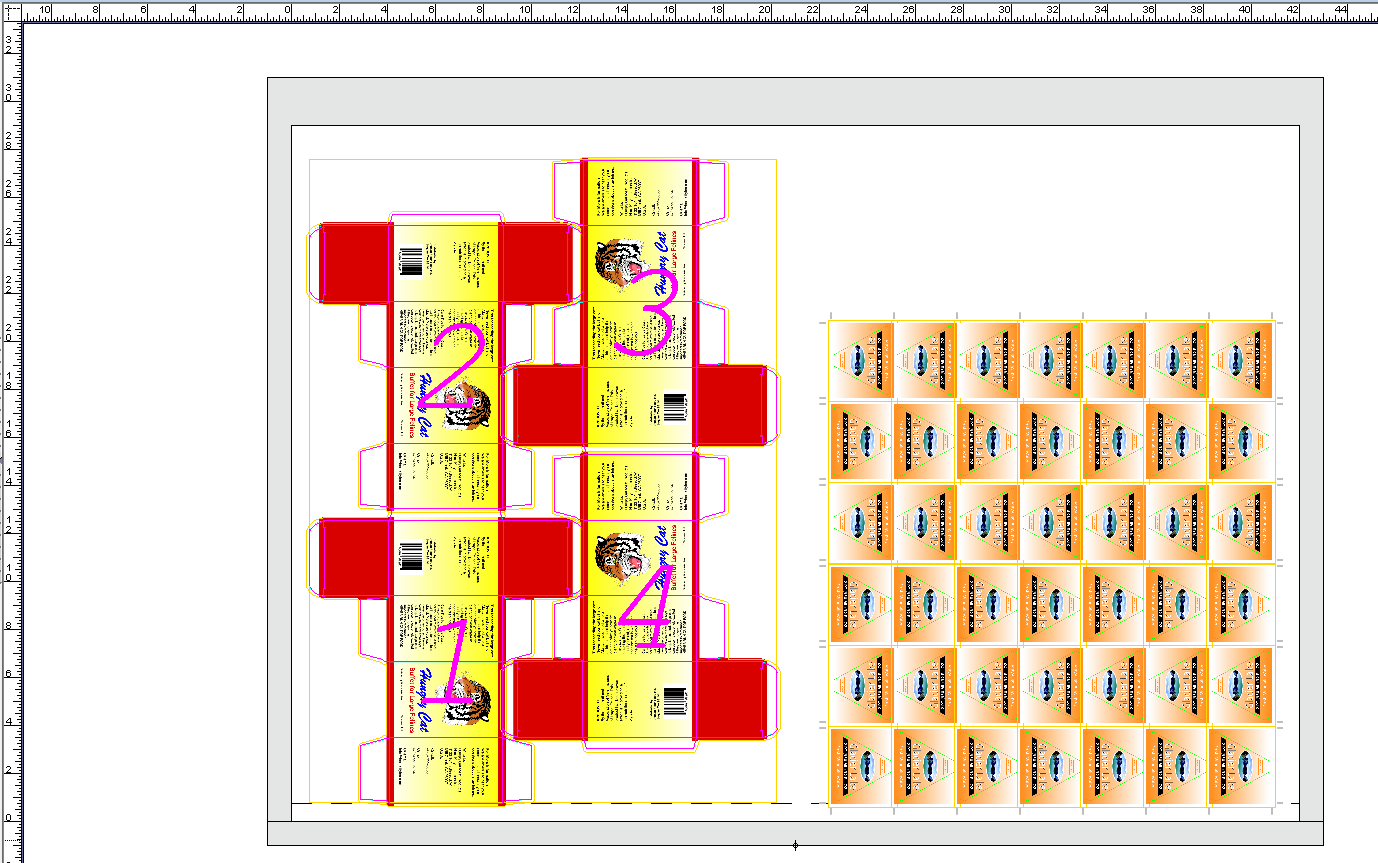
    Image Added
    Image Added
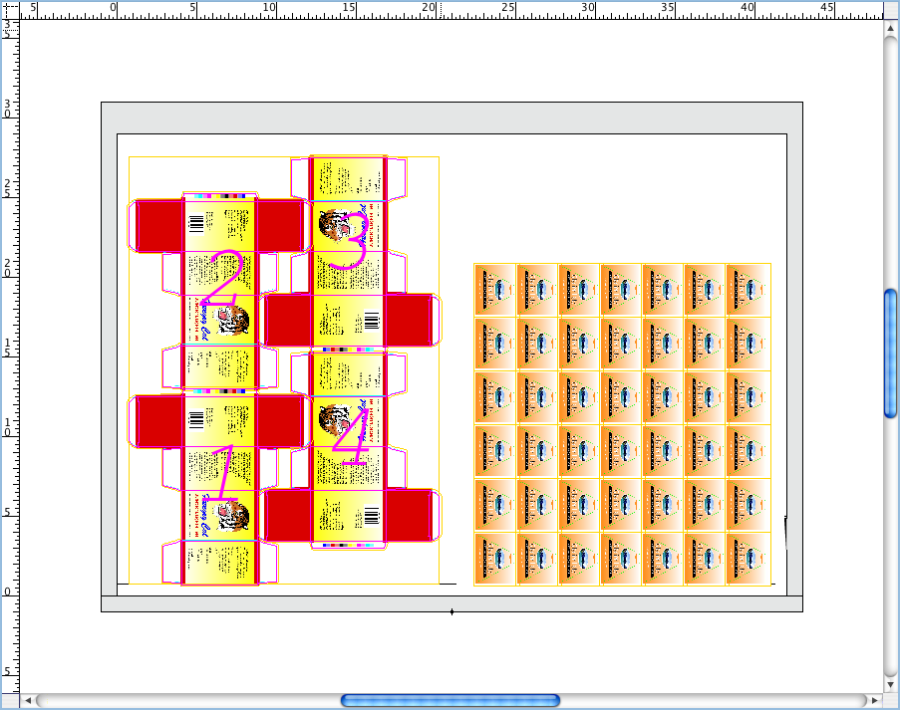
  7. Dans le menu Affichage, sélectionnez Faire tenir dans la fenêtre.
  8. Affichez la maquette répétée dans la vue Mise en page.
  9. Dans le menu Objet, sélectionnez Résoudre les fonds perdus rectangulaires.