- Effectuez l'une des opérations suivantes :
- Dans le menu Fichier, sélectionnez Importer > Maquette.
- Dans la barre d'outils de Pandora, cliquez sur l'icône Importer la maquette
 Image Added. Image Added.
- Dans la boîte de dialogue Importer la maquette, localisez l'emplacement où vous stockez les exemples de fichiers d'activité.
- Localisez le dossier
Neck Label. Sélectionnez le fichier Neck Label.pdf. Cliquez sur Ouvrir. - Faites glisser le fichier
Neck label.pdf dans la vue Mise en page.
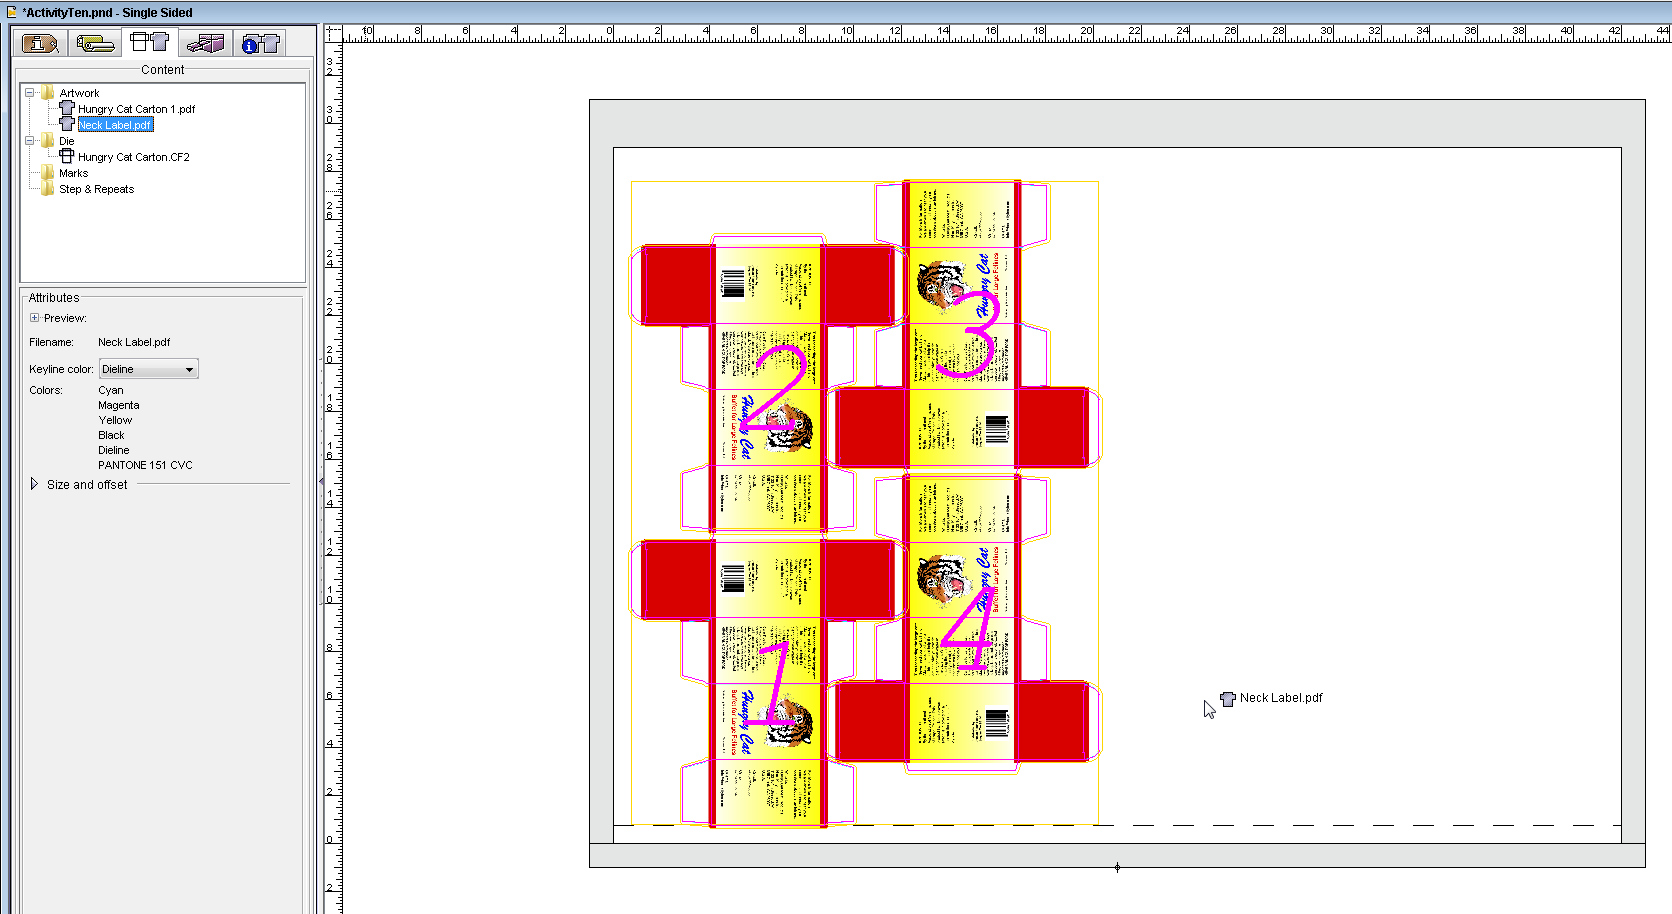 Image Added Image Added
- Si cela n'est pas déjà fait, dans le menu Fenêtre, sélectionnez Afficher la palette Géométrie.
- Dans le schéma du point de référence, sélectionnez le point inférieur gauche.
- Dans le champ Rotation, saisissez
270. - Dans la zone X, saisissez
22,5 po (571,5 mm).
Dans la zone Y, saisissez 3,85 po.(97,8 mm). - Appuyez sur Entrée.
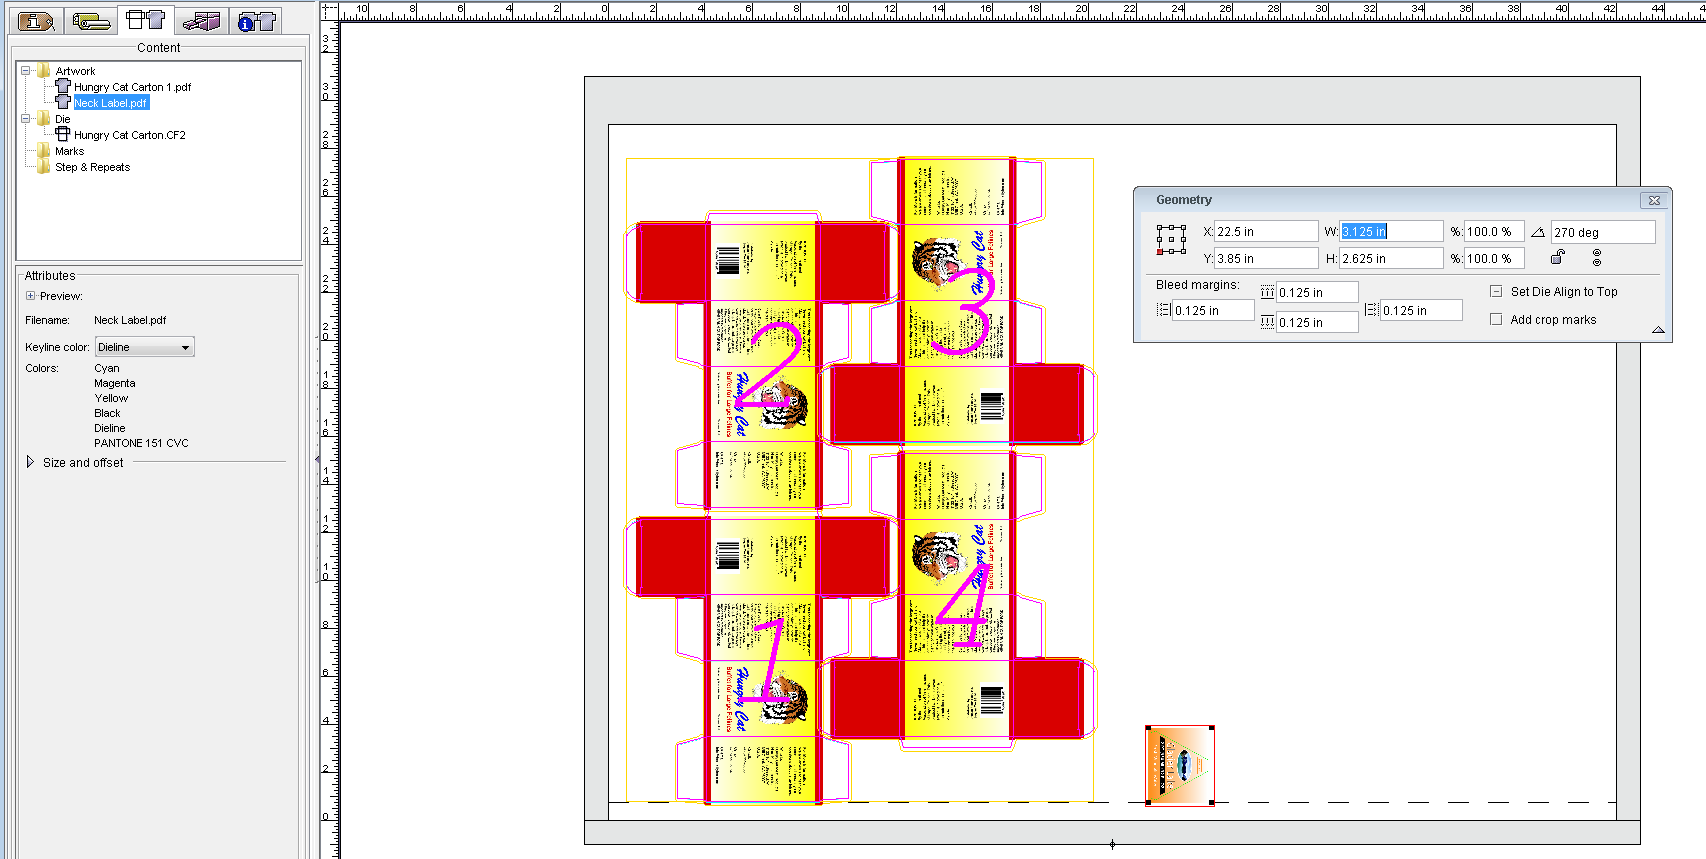 Image Added Image Added
- Effectuez l'une des opérations suivantes :
- Dans le menu Modifier, copiez et collez une seconde version de la maquette PDF.
- Cliquez avec le bouton droit de la souris et choisissez Copier. Cliquez ensuite avec le bouton droit et choisissez Coller.
- Une fois la seconde version de la maquette sélectionnée, dans le champ Rotation de la palette Géométrie, saisissez
90. (Ou cliquez avec le bouton droit de la souris et choisissez Faire pivoter à 90 degrés.) - À l'aide des outils Zoom et Sélection (ou des touches fléchées), positionnez la seconde copie de l'étiquette directement sur la première. Alignez les deux maquettes de manière à ce que les bords se touchent.
- Alors que les deux éléments sont sélectionnés, dans le menu Objet, choisissez Groupe.
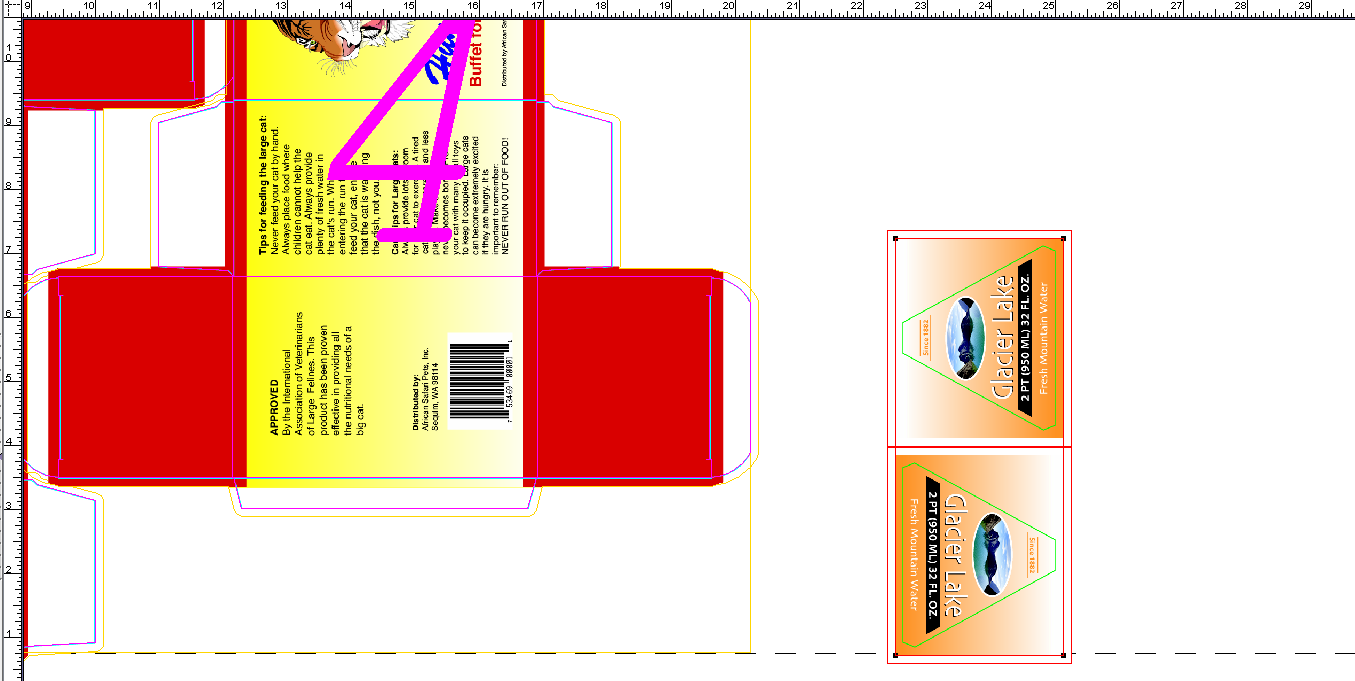 Image Modified Image Modified
|