In the default Cut Preferences, the Include marks option is enabled—any marks associated with the separation will be included in the cut area. For this activity, you will produce a layout first with the marks included in the cut area and then with the marks excluded from the cut area.
Set the Marks Preferences to automatically apply marks
- Select Edit > Preferences > Marks.
- In the Marks Preferences, select the Automatically apply selected marks check box.
- Beside that option, click Marks.
- Select the File name, Separation name, and Date & time check boxes.
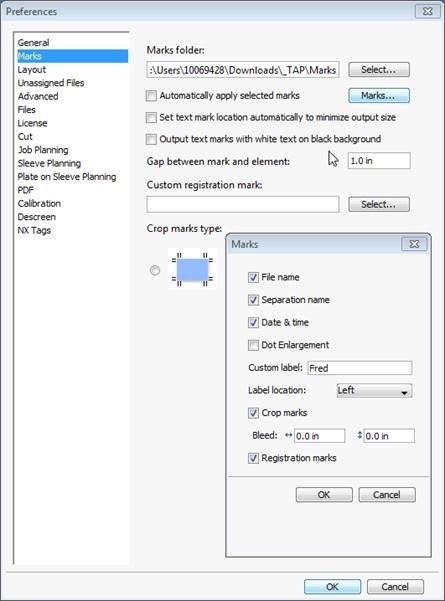
Click OK > OK.
Create and output a layout with marks included in the cut area
- In the Cut Preferences, make sure that the Include marks check box is selected (default).
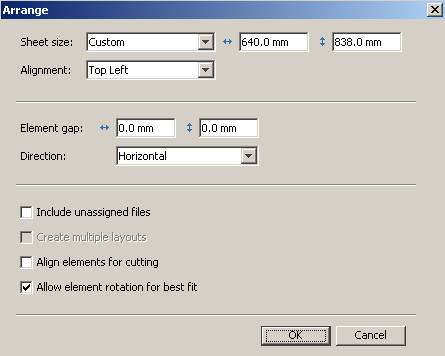
- Start a new layout.
- Add the files from the Lesson 2 folder to the layout.
- Arrange the files with the following settings:
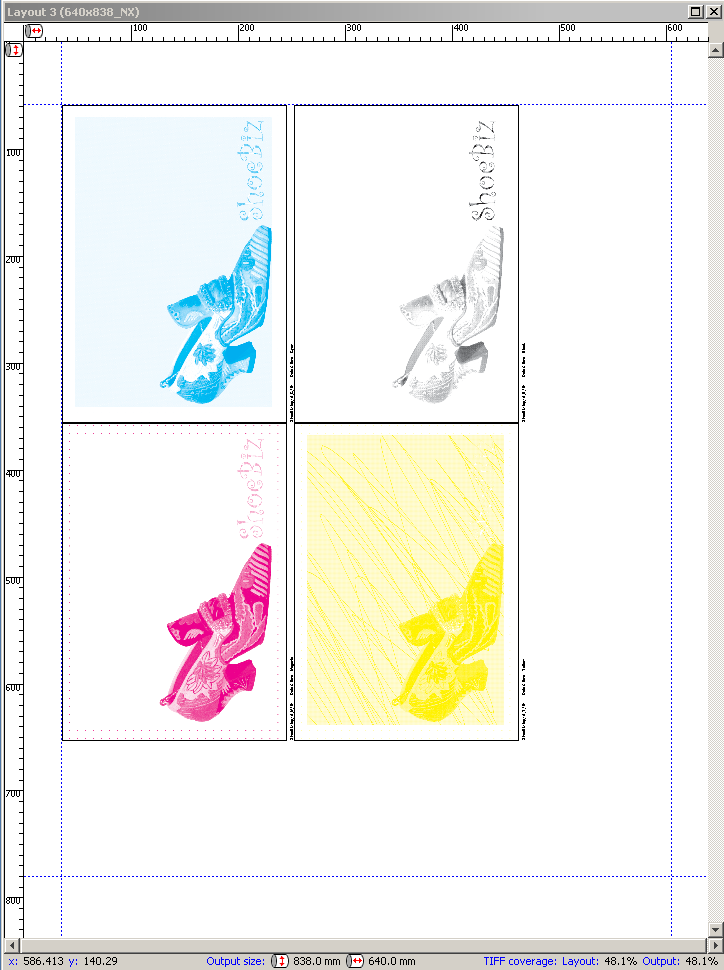
- Output the layout.
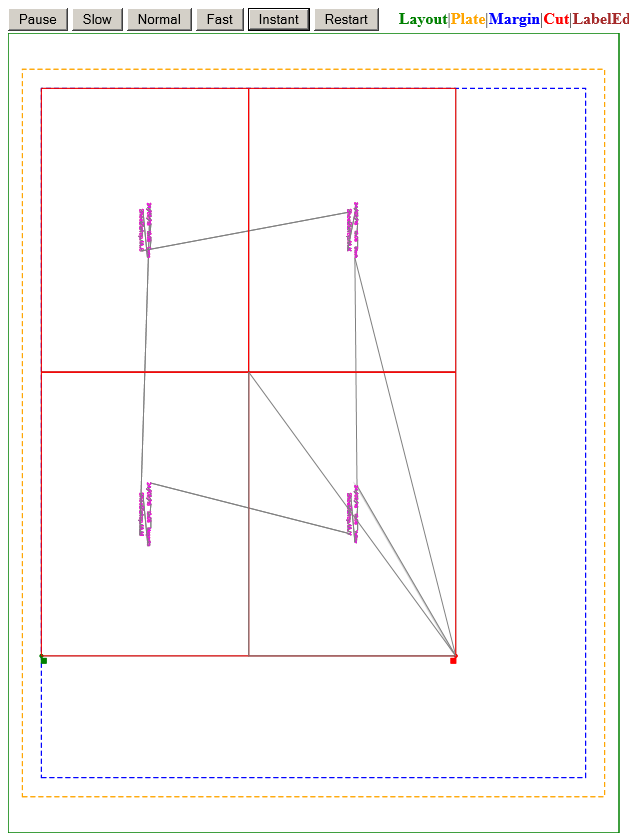
View the results
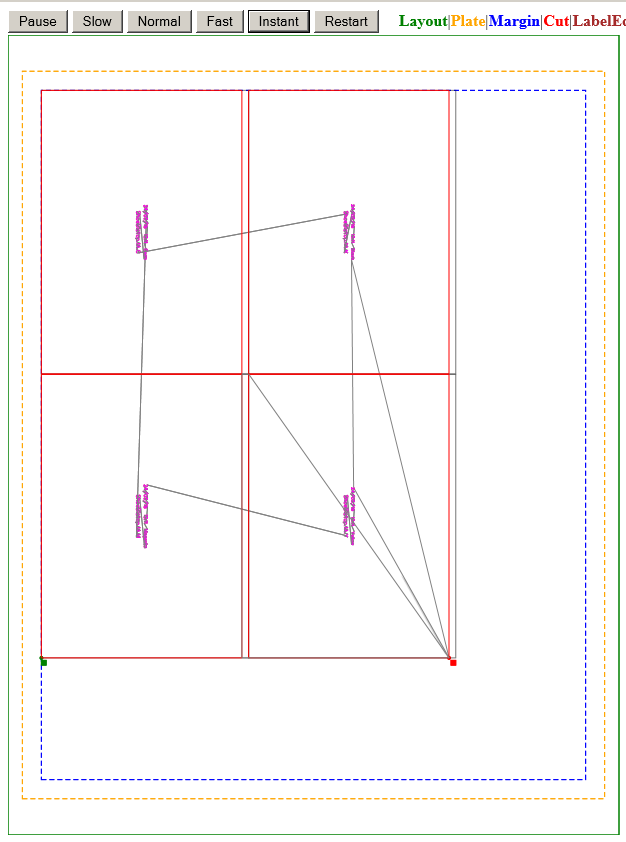
- View the HTML cut file. Notice the absence of gaps between the separations. The separation marks are included in the cut area.
Output the same layout with marks excluded from the cut area
- Select Edit > Preferences > Cut.
- Clear the Include marks check box.
- Click OK.
- Output the layout.
View the results
- View the HTML cut file.
Notice that you can now see the gap between the separations. The separation marks are in the gap, which is excluded from the cut area.