When you apply a mask, you can expand the crop area by selecting a mask margin width that affects only the crop area. The cut area is unchanged. Or, if desired, you can apply a mask that creates only a cut file, without cropping the separation.
Apply a mask that crops the image without adding a mask margin
- Open the Lesson 8.cta file.
- Select Edit > Select > All.
- Right-click a separation and select Apply external mask > with 0 mm margin.
- Browse to the Lesson 8 folder, select the Mask_Margin.p1_v0_Mask.TIF file, and click Apply.
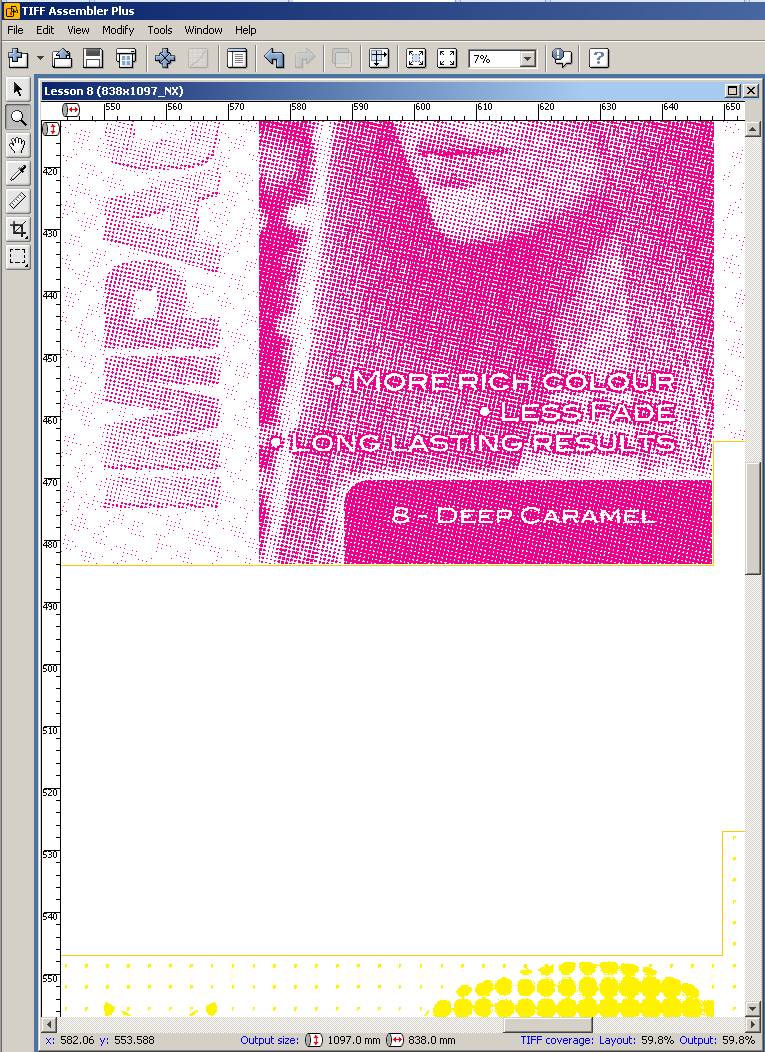
- Zoom the layout, and notice that the crop area is exactly at the image area.
- Output the layout.
- Undo your actions—press Ctrl+Z three times to cancel the mask that you applied.
Apply a mask that adds a margin to expand the crop area
- Right-click a separation, and select Apply external mask > with 4 mm margin.
- Browse to the Lesson 8 folder, select Mask_Margin.p1_v0_Mask.TIF, and click Apply.
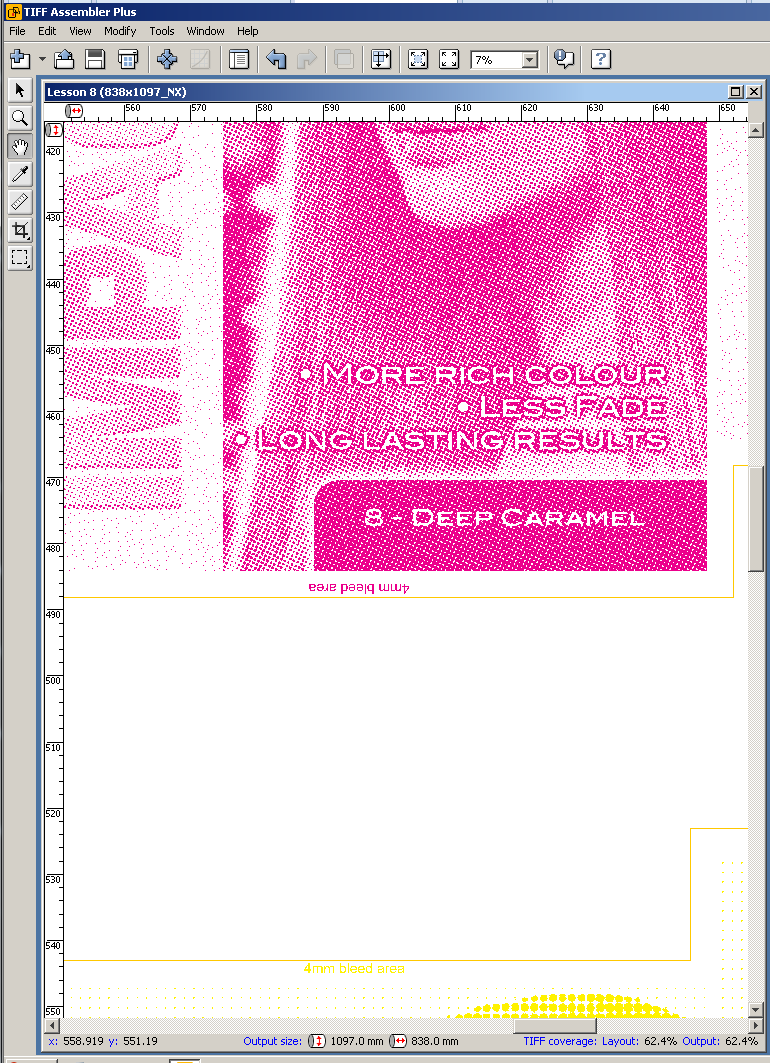
- Zoom the layout, and notice that the crop expanded to an extra 4 mm around the image area.
- Output the layout.
- Undo your actions—press Ctrl+Z three times to cancel the mask that you applied.
Apply a mask without cropping
- Right-click a separation, and select Apply external mask > with no crop.
- Browse to the Lesson 8 folder, select Mask_Margin.p1_v0_Mask.TIF, and click Apply.
- Notice that the layout preview remains unchanged. However, the Inventory panel displays an icon beside the file name, indicating the mask.

- Output the layout.
View and compare the results
- Open all three cut file animations.
Notice that the cut line is the same for all three and that the crop area is different for all three.
0 mm margin

4 mm margin

no crop

- In Preview mode, open the output TIFF files.
- Notice that the first preview (0 mm margin) shows no margin text, while the other two previews show margin text.