Normal, Negative, and Positive preview
Normal Preview ![]()
By clicking this button you can check a single-color swatch. You can also choose to check the multi-color swatches as a convenient method to preview the effect of multi-color printing. Under the normal preview model the effect you select includes the swatch colors.
This image shows the normal preview effect if you select a single color: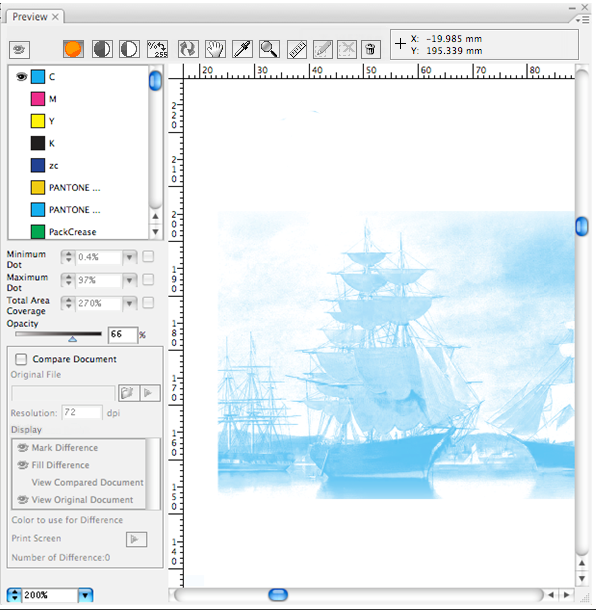
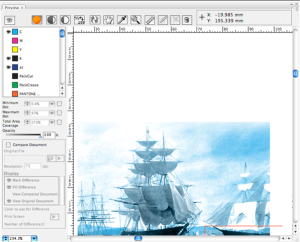
This image shows the normal preview effect if you select the multi-color display:
Negative Preview ![]()
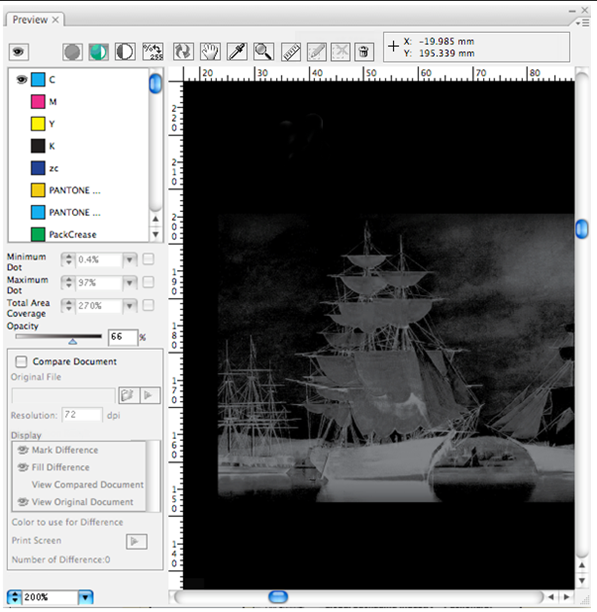
After clicking this icon, the color appearance button will automatically appear on the first color board of the present color list. If you select negative preview, you are only allowed to select one single color. You cannot select two or more colors simultaneously.
This image shows a negative preview display (single color):
Positive Preview ![]()
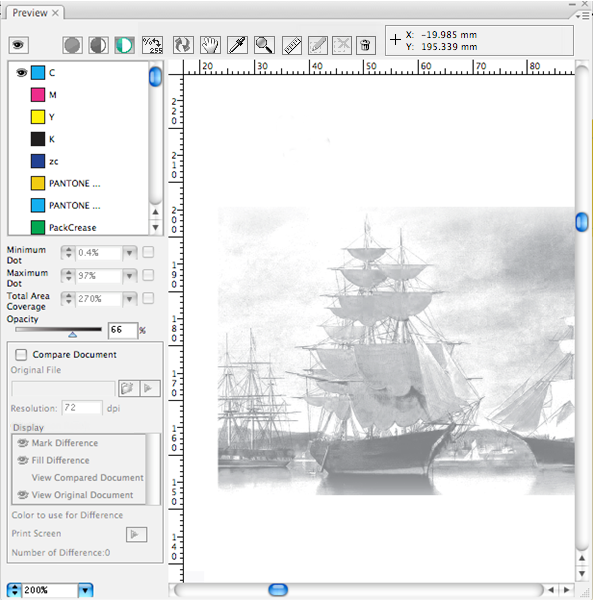
After clicking this icon, the color appearance button will automatically appear on the first color board of the present color list. If you select the positive preview, you are only allowed to select one single color. You cannot select two or more colors simultaneously.
This image shows a positive preview display (single color):
Hand Tool
Click the Hand Tool icon ![]() in the preview window, and left-click the mouse to drag the object in the preview window. The Hand Tool can be used only within the interface of the preview window.
in the preview window, and left-click the mouse to drag the object in the preview window. The Hand Tool can be used only within the interface of the preview window.
Eyedropper Tool and Ink Display Tool
When using the Eyedropper Tool ![]() to preview one point within the preview window, the color ink component of this point will show as the corresponding ink in the color bar list.
to preview one point within the preview window, the color ink component of this point will show as the corresponding ink in the color bar list.
You can change the eyedropper's densitometer mode (Exact or Rounded) in the Eye Preference option in the side menu.
Click this button ![]() to change the method of ink display.
to change the method of ink display.
Zoom In/Out Tool
Go to the preview window and click the magnifying glass icon ![]() to initiate the Zoom function. There are four ways to use it:
to initiate the Zoom function. There are four ways to use it:
- First method: Move the mouse to the area that you will use as a beginning point for the area you want to magnify in the preview window, left-click and hold the mouse while dragging across the area you want to enlarge, then release the left button of the mouse.
- Second method to Zoom In: Press and hold the Shift key, and click the mouse. The magnification level will increase according to the following range - 100%, 200%, 400%, 800%, 1600%, 2400%, 3200%, 6400%, and 10000%.
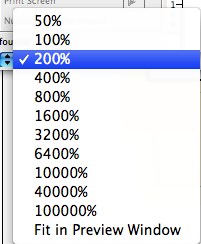
- Third method to Zoom In: Directly click the mouse inside the preview window. Each click magnifies the view to the next preset standard percentage by system default, according to the following range: 50%, 100%, 200%, 400%, 800%, 1600%, 3200%, 6400%, 10000%, 40000%, and 100000%.
- Fourth method to Zoom In: Go directly to the Zoom value pull-down menu and choose from a preset percentage, according to the series of system default percentage values. Click the arrow beside the Zoom tool to display the magnification menu.
You are also able to define the zoom value. You can enter the value preceding the % symbol. If you enter 80, then the system will default to 80%. The value entered will not be saved in the list.
When you press and hold the Zoom Tool, and hold down Alt (Windows) or Option (Mac OS), a minus sign ( - ) appears at the center of the zoom tool. The method for using the Zoom Out tool is the same as the Zoom In tool.