- Launch Adobe Illustrator and open the file containing the inks you want to edit.
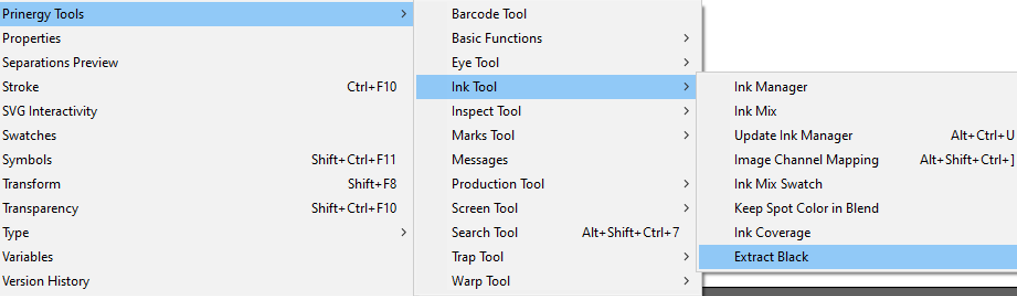
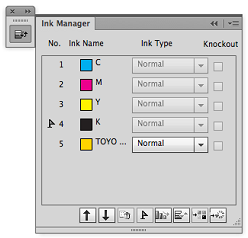
- In the Adobe Illustrator menu bar, go to the Window menu, select Prinergy > Ink > Ink Manager.
When the Ink Manager opens for the first time, it automatically loads all the CMYK and spot inks used in the current document.
- To update the inks listed in the Ink Manager without opening the Ink Manager dialog, select Prinergy > Ink > Update Ink Manager.
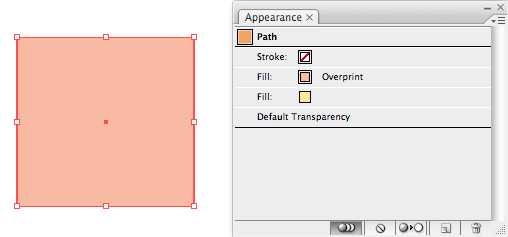
- To create a new color that can be added to the Swatches palette, in the Adobe Illustrator menu bar, go to the Window menu, select Prinergy > Ink > Ink Mix and move the sliders to adjust various ink percentage values.
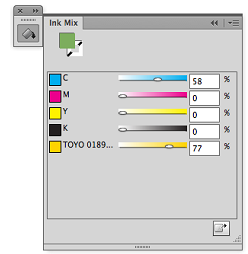
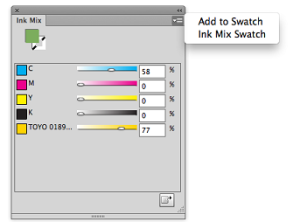
In order to save the mixed inks, after the mixed color in the Swatch has been added to an object, it is automatically converted to Multi Appearance.
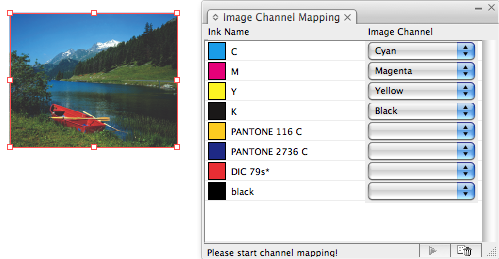
- After selecting an image, to map any channel to any ink, select Prinergy > Ink > Image Channel Mapping.
- To keep the spot ink of the original object after Illustrator blend is applied, select Prinergy > Ink >Keep Spot Ink in Blend.
- Save the file.
{"serverDuration": 110, "requestCorrelationId": "c2a7e19f1252c916"}