Mark Workflow
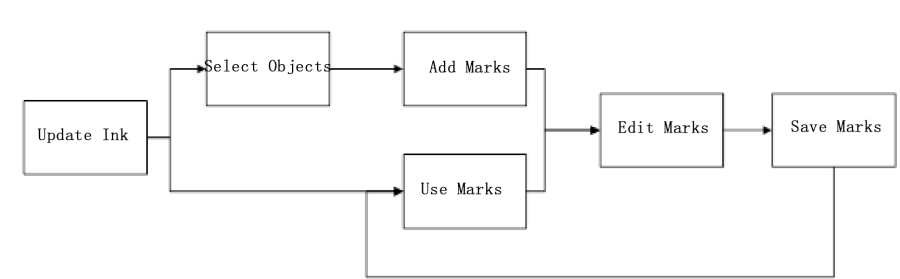
Follow these steps to add marks:
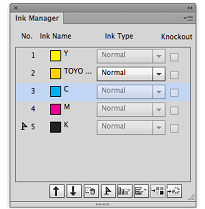
- Use Ink Manager to update the inks used in the current file.
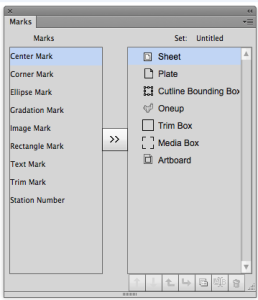
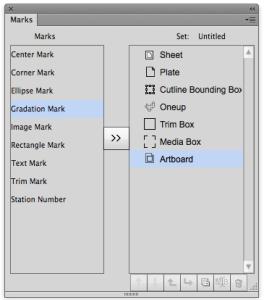
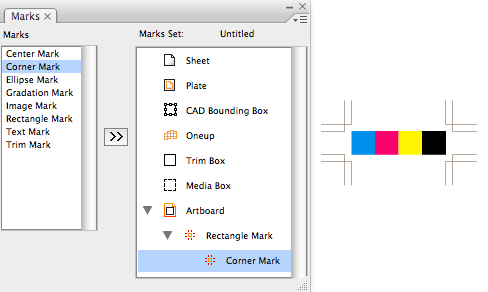
- From the right window in the Marks palette, use the mouse to select the object to add marks to.The image shows the selection of the Artboard as the object to add marks to.
If there is a trim box or media box in the file, then marks can be added to the trim box or media box. If there are sheets or plates in the file, then marks can be added to the sheet, plate or CAD bounding box. If there is only an artboard in the file, then marks can be added to the artboard. If there are OneUp files in the document, then marks can be added to the OneUp file. All Ellipse Mark, Gradation Mark, Image Mark, Rectangle Mark, Text Mark added to layout files can also be added to each simply connected file in the same positions as those in layout files:
Note: When you delete trim box, media box, sheet or plate, the marks associated with them will simultaneouslydisappear. When you add or delete trim box, media box, sheet or plate, the marks which are added to the artboard will be deleted at the same time. - From the left marks window in the Marks palette, use the mouse to select the mark type to add.
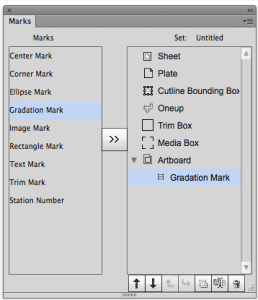
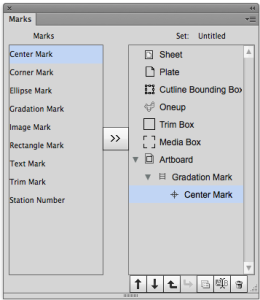
- By clicking on the arrow button in center of the Marks palette the marks will be added to the target.
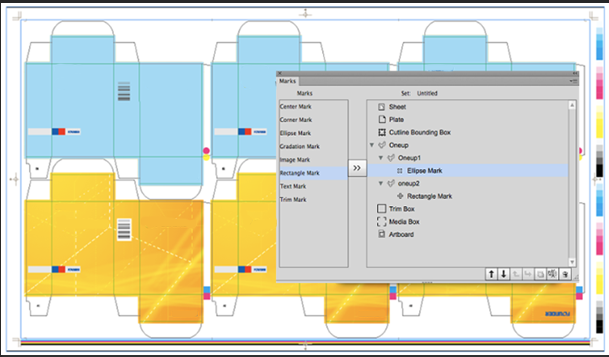
- Select the mark then make it follow by its parent mark by click the Up or Down button, then click the sub button. You can now see the sub mark under the parent mark. If there is a sub-mark under the mark, then when the mark adding object is changed, all sub-marks under this mark will also simultaneously change and maintain their original position in relationship to this mark.
- Delete a mark without deleting the sub-mark, then all sub-marks under this mark will be also be deleted.
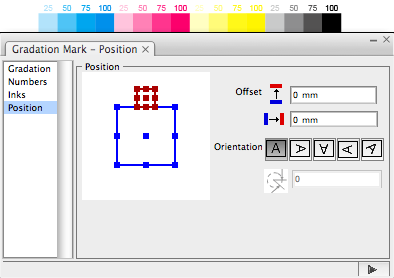
- Upon completion of adding marks, the Mark Option dialog box will appear. Double-clicking the mark or single-clicking the option menu of the Mark palette after selecting the mark will display the option dialog menu. This image shows the options of Gradation Mark and the possible effects:
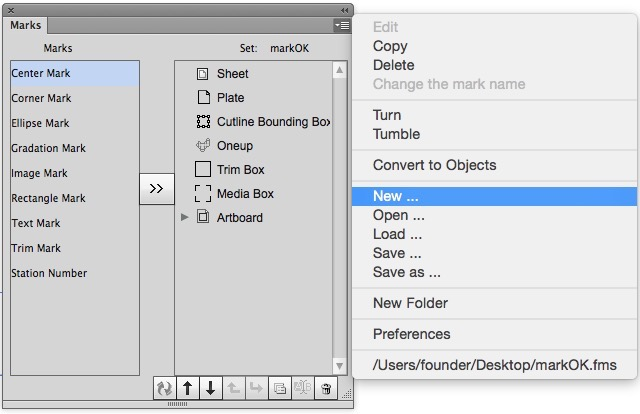
- Frequently used marks can be "saved" or "saved as" a file. When opening a new file, the saved mark parameters can be used.This image shows the current file is using a parameter set named "Marks":