Turn: Select Turn in the Marks side menu. All marks in the job will be flipped horizontally along the marked object.
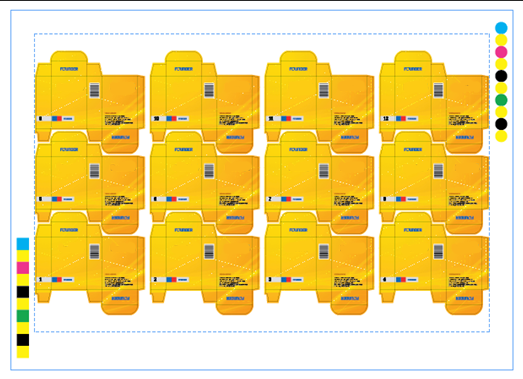
The effect of the original marks:
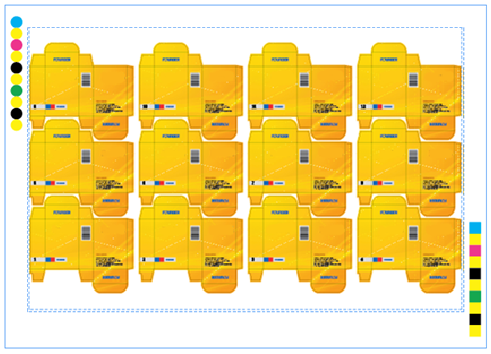
The effect after the Turn operation is applied:
Tumble: Select Tumble in the Marks side menu. All marks in the job will be flipped vertically along the marked object.
The effect of the original marks:
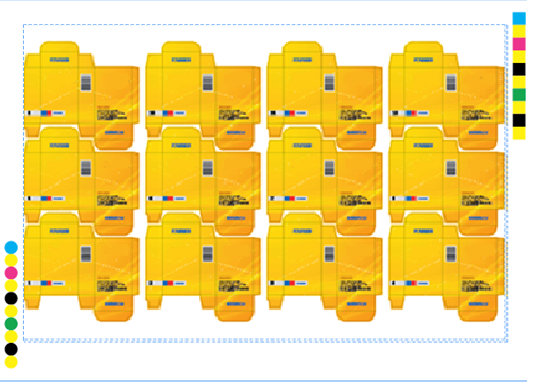
The effect after the Tumble operation is applied:
Copy Marks: To drag and copy marks, press Alt with the Prinergy Selection Tool. Or, to copy marks, click the Copy button at the bottom of the palette or select Copy in the right side menu. Select several marks at the same time by pressing Shift while making your selection. The copied marks are named <Mark name> _Copy.
Delete Marks: After selecting one or more marks from the mark list, go to the side menu and select Delete or click the Delete button at the bottom of the palette.
Convert to Objects: After selecting one or more marks from the mark list, go to the side menu and select Convert to Objects to convert the selected marks to normal Adobe Illustrator objects. After applying this command, the marks that have been converted to objects will disappear from the mark list, and can no longer be edited through the mark options dialog box.
Options: After selecting a mark from the mark list, go to the side menu and select Options. The dialog box of setting mark parameters will be shown, which can be used to reset the mark. You also can open the mark parameters dialog box and use it to reset the mark by double-clicking one of marks.
Change mark names: After selecting a mark from the mark list, go to the side menu and select Change mark names. Or click the Change mark names button at the bottom of the palette. You can then change the name of the chosen mark.
New Folder: When there are lots of marks to be classified, you can add new folders to manage the marks. The folders can be unfolded or folded which is convenient to manage and check.
Preferences: From the side menu, select Preferences. Use the Preferences dialog box to set the specified path of image marks and the priority of the Searching path.

- Specified Path: After setting the specified path, when opening a document, importing mark tickets, or clicking the Update button, if the system doesn't find any image marks in the absolute path, it will find in the specified path automatically and import the image marks by the same name.
- Search the Path in priority: When opening or importing mark tickets, the system will first find the image marks in the specified path.
Click button, the Specified Path will be cleared.