This feature can be used to avoid scum dots on flexo plates or to screen solid areas. The Dot Calibration feature is applied to all separations on the document. You can not apply to individual separations. The user can either select all objects or individual objects to apply Dot Calibration.
Calibration option allows the user to clip all tonal values below a specified Minimum Dot value.
Bump option allows the user to bump a specified minimum Input value up to a desired minimum Output value, which is generally the minimum printing dot of a flexo plate.
Additionally a second Input/Output value set can be set to specify a maximum print dot, to adjust for print conditions which cannot print solid ink areas, such as gravure.
Dot Calibration curves can be saved as Tickets for standard application of curves.
Note for Prinergy Workflow Users: the Minimum Dot option in Prinergy was originally implemented for use with Harmony curves and should not be necessary for curves created in ColorFlow, as ColorFlow allows precise definition of bump or cutoff curves for flexographic printing. However, the Minimum Dot will be maintained when ColorFlow curves are selected, in order to maintain correct output behavior for Harmony curves migrated to ColorFlow.
How to apply a Dot Calibration or Bump Curve
- Launch Adobe Illustrator.
- Create a new document or open an existing document to adjust for a flexo scum dot or min dot issue.
- Select individual objects or all objects to apply a Dot Calibration curve to.
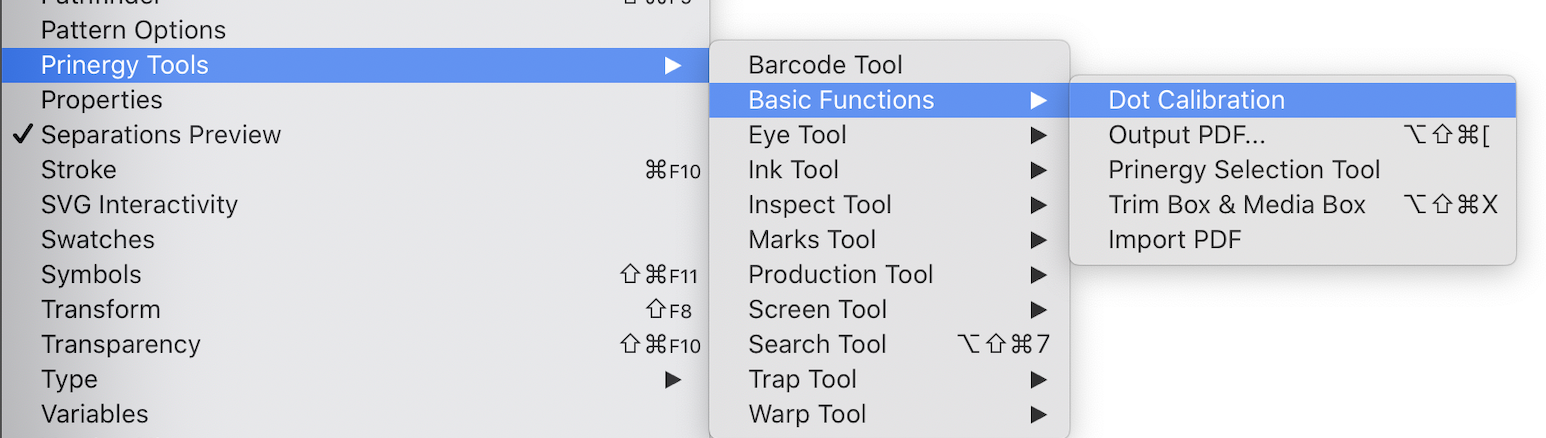
- Launch the Dot Calibration tool found under Window > Prinergy Tools > Basic Functions > Dot Calibration.
- In the Dot Calibration panel, select either Calibration (clipping curve) or Bump.
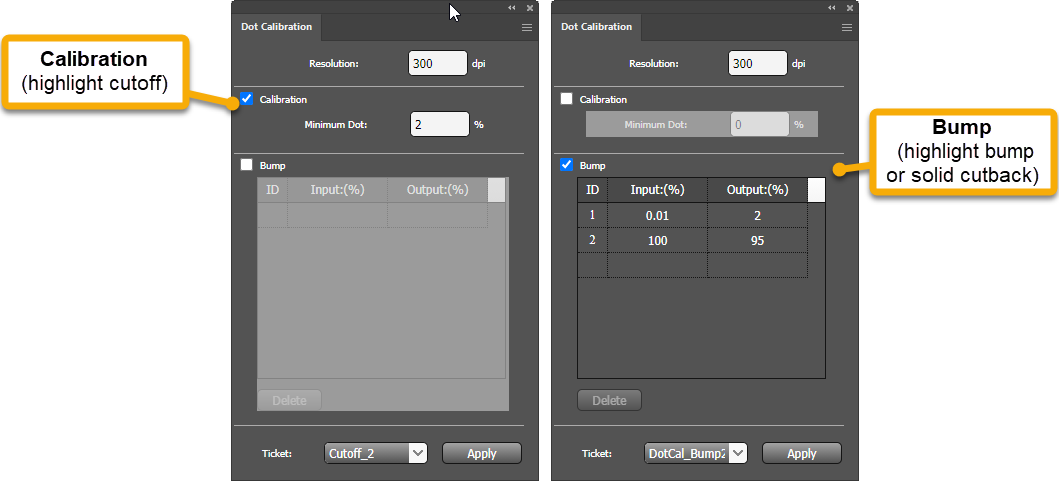
- If you selected the Calibration option, enter a Minimum Dot value to remove all lower values from selected objects.
- For example, if 2% is entered, all values below 2% will be set to 0%.
- If you selected the Bump option, the ID 1 Input (%) value will be increased to the specified Output value. Input and Output tint percentages can be specified up to two decimal places—for example, 2%, 2.5% or 2.55%.
- To set a Bump value that ensures the smallest highlight values are adjusted, set the ID 1 input value to 0.01%.
- To specify a maximum print dot for solid areas with the Bump option, leave Input value ID 2 at 100% and set the Output value to the desired amount, such as 80%.
- Click on the Apply button to apply curves and instantly view results.
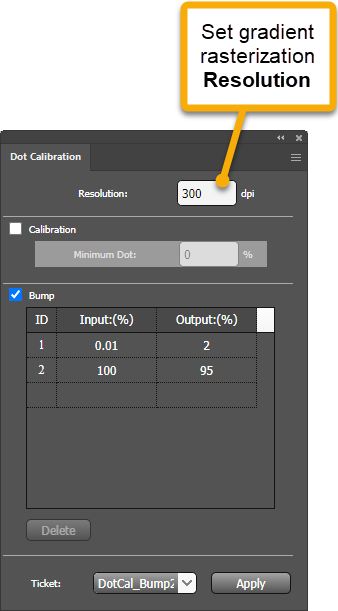
- If you are calibrating a gradient or a gradient mesh object, the object will need to be rasterized in order to apply the calibration. The Resolution setting allows you to set the desired resolution.
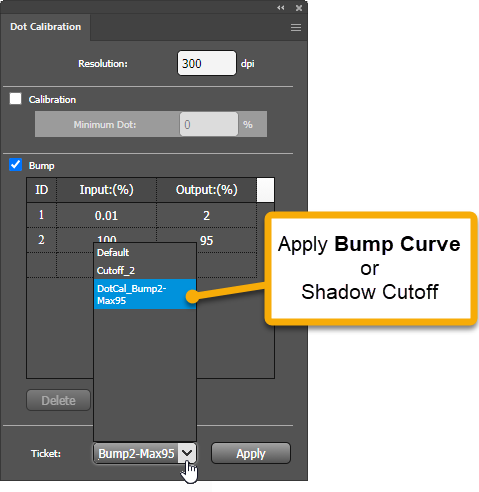
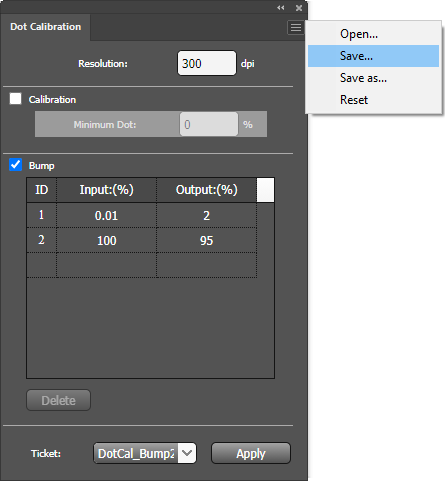
- You can Save and Apply dot calibration Tickets. Select Open..., Save... or Save As... from the options menu at the top right of the panel.
Apply a Calibration curve from a ticket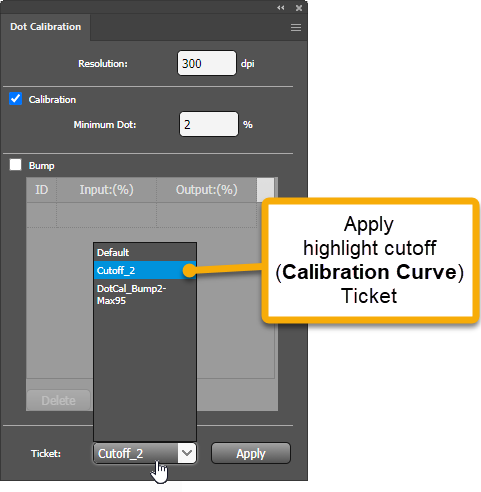
Apply a Bump Curve from a ticket