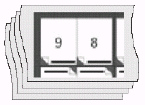
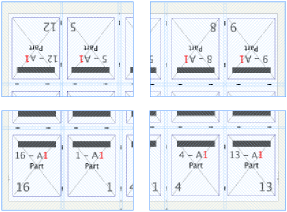
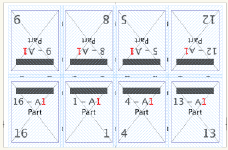
Creating and storing a tile set for a specific media resource gives you the choice of sending output to the full media size, or to tiles that can be stripped together after imaging. Tiling breaks up the output so that it can be imaged onto a smaller media size than the stock for which a layout is designed.
- Determine the media dimensions and any punch requirements of the device that will image the tiles.
- Plan how the tiles can be stripped to fit the final media and stock, including the number of tiles needed, the grid arrangement, and any overlap dimensions.
- In the Media list, select the media for which you will create the tile set.
- Select Resources > New Tile Set.
- Specify the following details for the tile set:
- The tile media and device information, including the punch coordinates
- The tile grid's horizontal and vertical page count
- The tile orientation and overlap
- The distance from the trim edge of the stripped tiles to the sheet edge
The tile set appears in a sublist under the media resource in the Media list. - Start a job and build the layout, including any marks that are required for the final output.
- In the Media list, select and add the media's tile set to the layout.
- Select Resources > Add Tile Mark to Sheet, and choose the Mark Type that corresponds to the tile orientation.
- Print the tiles.
Tip: To suppress a message that appears when printing to a media that is smaller than the sheet, select the Skip device warning check box on the Output tab in the Preferences dialog box. - Select File > Print.
- In the Media list, select the tile set.
- Set up the other print options as needed, and click Print.
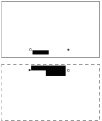
The printed tiles are imaged according to the tile set, and the tile marks appear in the overlapping area of adjacent tiles: - Overlap the printed tile sheets using the tile alignment marks, based on matching numbers. For example, the tile marks on adjacent overlapping tiles might be x1y1 and x1y2.
- X indicates a vertical column position.
- Y indicates a horizontal row.
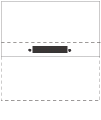
The colors on the paired marks are reversed, which helps you to determine whether adjacent tiles are positioned correctly.
Adjacent tiles before stripping: | Tiling marks correctly aligned: |
The stripped tiles form a flat:
Note: Tile sets are saved only as a media resource; they are not saved with the job.
Next: If you used tiling for proofing, you can print the job again, sending the output to the media resource instead of the tile set.
