Pandora User Interface
With the Pandora software open, complete the following steps:
- From the File menu, select New.

- View the Pandora job window.
The Pandora job window has two views:
- Job properties (on the left)
- Layout (on the right)
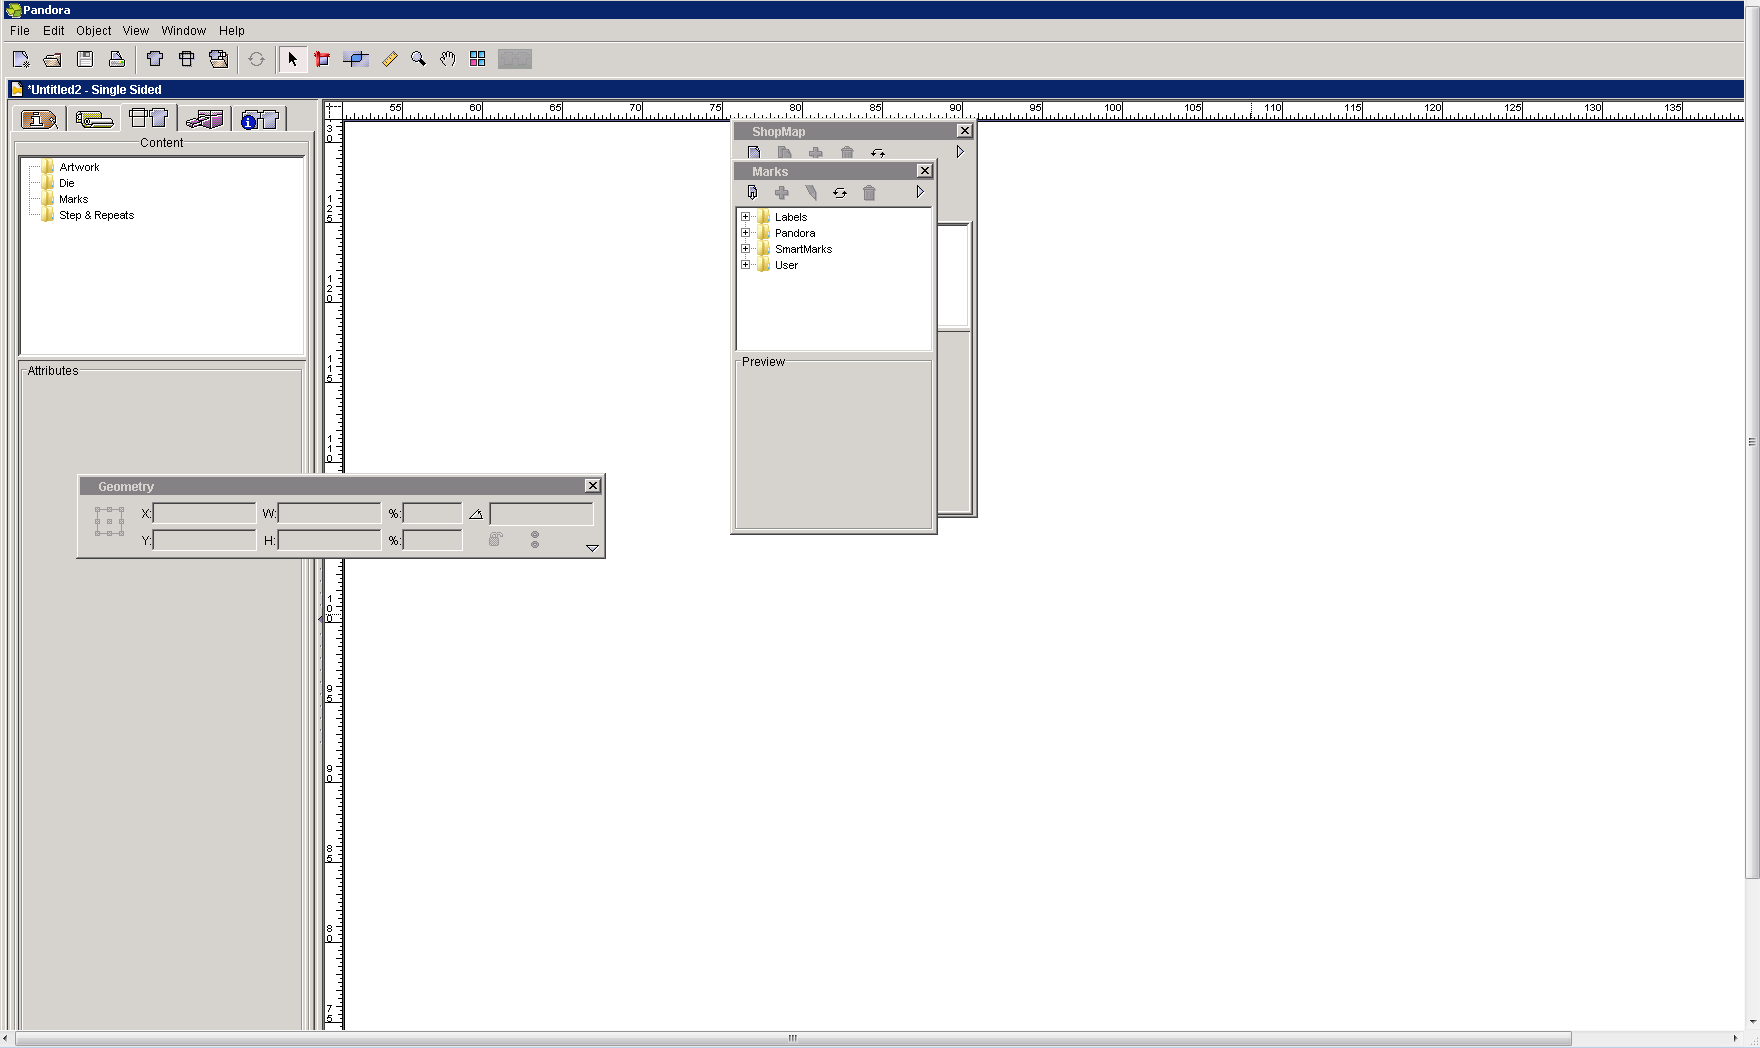
Job properties view
The job properties view lists all of the components of a job:
 The Job Information tab shows the job ID and contact information you have added. This includes the job identification, customer name, contact information, and any specific comments regarding the job. You no not need to supply this information, but if you do, you can create custom text label marks that automatically import this information.
 The Materials & Equipment tab displays the substrates, plates, film, output devices and presses you have added to the job from the ShopMap palette.
 The Content tab shows the artwork, die, and mark files that you have imported into the job, and provides additional detail about each. Any artwork or mark that you step and repeat is also shown as an object in the Content tab.
 The Output Device Setup tab shows any output devices (proofers, platesetters, and so on) you have added to the job from the ShopMap palette. This tab enables you to make various types of modifications:
- Change your Output Device Settings for this job (Media size, Resolution, Line screens, Inversion, Emulsion, and Dot shape),
- Apply Distortion Compensation (Horizontal % and Vertical %),
- Set up Setback measurements (Substrate to film, Plate to film, and Substrate to plate).
- Perform color mapping with the Color Separations option.
Note: You will probably use this tab primarily for distortion compensation and color separation handling. Other items that are available on this tab—for example Output Device Settings and Setback are legacy options and are used only by those with early versions of the Pandora software.
 The Layout tab provides information about Work Style (Single Sided, Sheet Wise, or Perfector), the Current Side (Front or Back), and Transparency (Current Side and Opposite Side).
Layout view
The layout view is a pasteboard upon which you lay out your job. You can work with elements in place on the substrate, or you can work with them on the pasteboard and move them to the substrate later. The elements must be on a substrate before you can print them.
The layout view provides a visual representation of the job. You drag materials and equipment into the layout from the ShopMap palette, then add artwork, dies, and marks from the job properties view and the Marks palette. You use the Geometry palette to position dies, art, and marks precisely, as well as to size and scale single or multiple objects.