This hot folder arranges the incoming TIFF files on the layout automatically. See also the Marks preference to Automatically apply selected marks.
General steps for creating a hot folder
- Select Tools > Hot Folder Setup.
- In the Hot Folder Setup dialog box, click
 .
. - Type a name for the hot folder in the Hot Folders list, and click anywhere in the dialog box.
- In the Input folder box, click Select, locate and select the desired folder (if needed, click
 to create a new folder), and click Select.
 - To define an output folder for the output TIFF file, click Select in the Output folder box, select an output folder, and click Select.
- To delete the input files after the output file is created, select the Delete input files after output check box.
Setting up the Auto arrange hot folder
- In the Hot folder type list, select Auto arrange.
- Set the hot folder options as needed.
- Click Save.
Hot folder options for Auto arrange
| Option | Settings | Notes |
|---|---|---|
| Template layout | User selection | To attach a template layout to the hot folder, click Select, select a template layout (CTA file), and click Select. In the Layout Setup dialog box, adjust settings as needed for the selected template layout.
|
| Resample files to layout resolution automatically | Check box | Select to resample the resolution of incoming files to the layout resolution. |
| Preview layout | Check box | Select to enable previewing the layout. |
| Timeout | User-defined | Select to activate the hot folder and create the layout when the specified timeout is reached. |
| Media coverage | User-defined | The hot folder creates the layout when the specified coverage is reached. Note: If you also select the Timeout check box, the hot folder creates the layout when the first condition is reached (Media coverage or Timeout). |
| Alignment | Top Left Top Right Bottom Right Bottom Left Center Center | Specify the point on the layout to which the bounding box is aligned. |
| Direction | Horizontal Vertical | Horizontal arranges the elements so that the maximum number of elements fit across the layout. Vertical arranges the elements so that the maximum number of elements fit down the layout. |
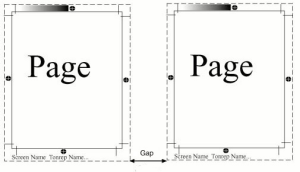
| Element gap | User-defined | In the horizontal
|
| Align elements for cutting | Check box | Select to automatically align the elements when you intend to cut the layout with a guillotine. All elements are aligned to the first element according to the selected Direction. |
| Allow element rotation for best fit | Check box | Select to rotate elements for an optimized arrangement. |