In this activity, you will refine some sample files that have common errors. Some will be readily apparent, while some will take some investigation.
Create a Prinergy job for the test files
- Create a new Prinergy job.
- Give this job the name
Errors.
Add and refine a file with missing fonts
- Add and refine the file
Missing Fonts.pdfwith 1stRef-Normz.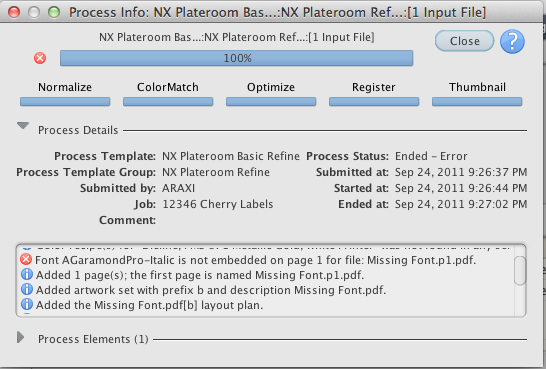
Note that the refine fails with a red "X" and gives a message that the font AGaramondPro-Italic is missing. This type of error cannot be fixed at this stage. The input file must be recreated with the font embedded. A file still shows up in the 1-Up Artwork area, but there is a ‘X’ across the page to indicate there’s a problem.
Add and refine a file with low resolution images
- Add and refine the file
Low Resolution Images.pdfwith 1stRef-Normz. - Note that the refine completes successfully, but has a yellow warning symbol.
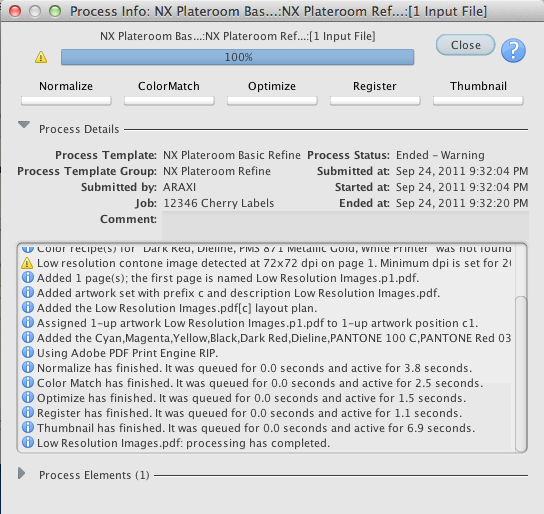
Depending on the resolution shown, the file may be okay to run. It's possible that the artwork contains the highest resolution image available. Proof the file carefully to determine if the results are acceptable.
Add and refine a file with RGB images
- Add and refine the file
RGB Images.pdfwith 1stRef-Normz.
The job passes with a warning about the RGB image. - Select
RGB Images.pdfin the Input Files area and drag it to the 1stRef-Normz process template. - Select Edit Process Template.
- Expand Normalize.
- In the Color Space Control > Input File Control area change menu from warn to fail
- Click OK.
Click OK.
Note that the refine process fails.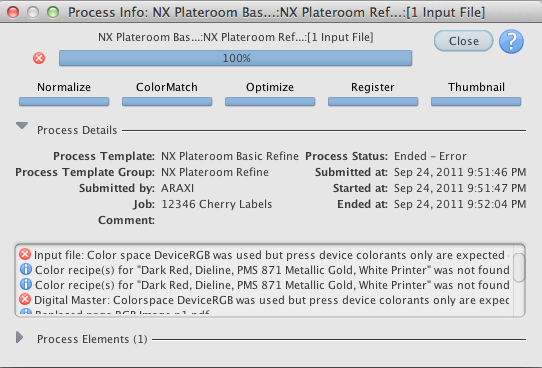
RGB images are not plate-ready. This will have to be fixed upstream, and a new plate-ready file should be supplied.
Refine problem files that do not give error messages or warnings
- Add and refine the file
Overprints Wrong.pdfwith 1stRef-Normz. Note that no error message appears, just a low res image warning. Output the Overprints
Wrong.p1.pdfto XXLoose1-Up. Open the 1-bit TIFF files in TIFF Assembler Plus and look at it.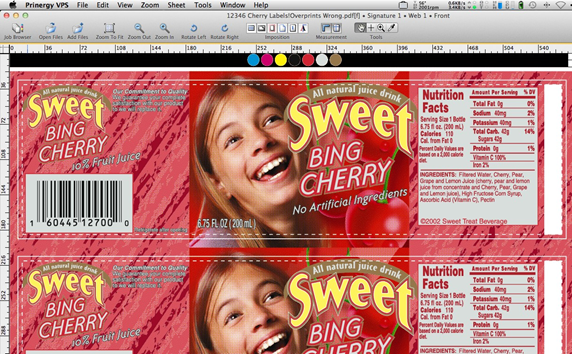
When you turn off the dieline, it is knocking out of the artwork. The dieline should be set to overprint in the original artwork, and another plate-ready file should be supplied.- Add and refine the file
No Distortion.pdfwith 1stRef-Normz. Output the No
Distortion.p1.pdfto XXLoose1-Up. Open the 1-bit TIFF files in TIFF Assembler Plus and look at it.
When you measure the length of the bearer bars,note that it equals to the repeat length. This indicates that distortion has not been applied. It is possible to output plate-ready files with a distortion applied in the process template, if it is impractical to edit the original file.
Add distortion to a Loose 1-Up Artwork Output process template
- Open the XXLoose1-Up process template.
- From the File menu, select Save As.
- Type
XXLoose1-Up Distort. - Select Create Process Template.
- Expand the Layout section.
- In the Scaling section, select Scale Vector.
- Type the appropriate distortion factor into the Along Width or Along Height box. For the
No Distortion.p1.pdf, in the Along Width box, type97. - From the File menu, select Save.
- From the File menu, select Close.
- Output the
No Distortion.p1.pdfto the XXLoose-1Up Distort process template and open the TIFF’s in TAP. Measure the bearer bars. They should now be less than 16.5 in.