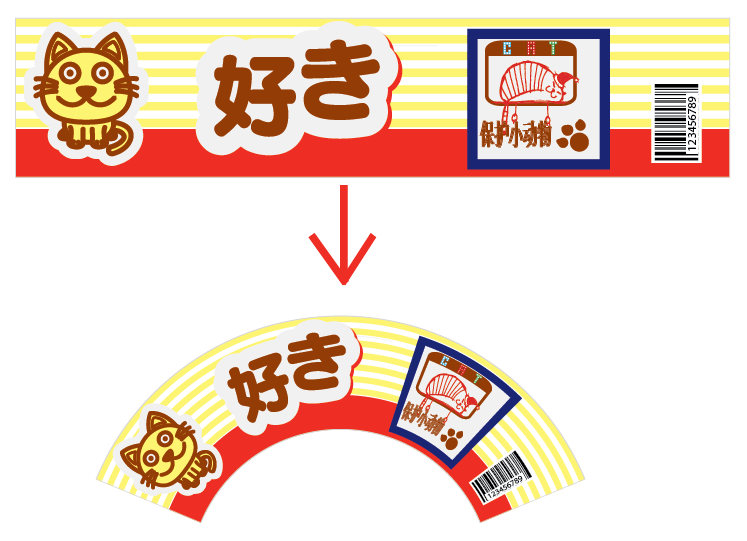
1. Launch Adobe Illustrator and open the document.
  2. In the Illustrator menu bar, go to the Window menu, select Prinergy > Warp > Warp, and then select Conic Grid in the dialog box that appears. 
  3. In the Warp dialog box, set the parameters for the grid:
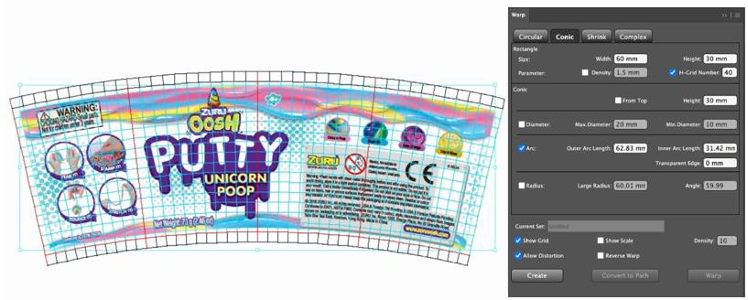
    In the Rectangle areaWidth: Set the width of the source grid area.
    Height: Set the height of the source grid area.
    Density: Set the width and height of a single cell from the source grid.

    H-Grid Number: Set the number of grids in the horizontal direction, which is more intuitive.

    In the Conic Grid area


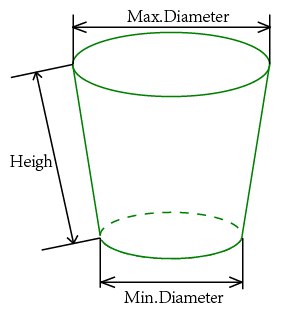
    Set the Height, Max. Diameter, and Min. Diameter as shown in the figure.

    Arc: Create the conic grid based on the outer and inner arc lengths

    In the Current Set area

    Allow Distortion: Use this option to prevent certain objects from deforming.

    Reverse Warp: Use this option to revert a deformed sector shape.

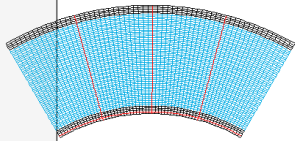
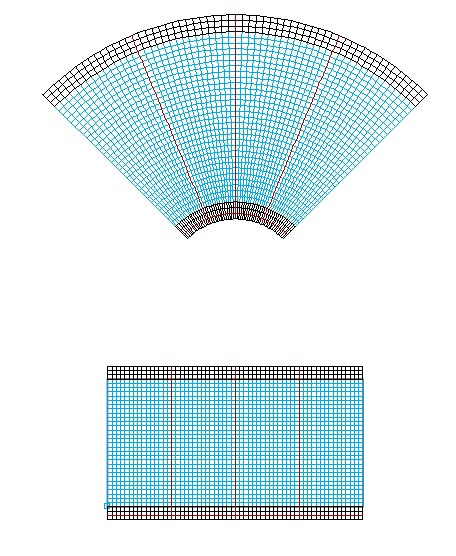
  4. After setting the parameters, click Create to create the source grid and the destination grid.
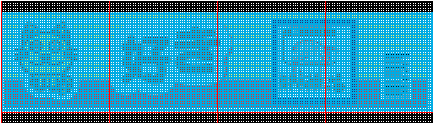
  5. Select the artwork that requires warping, and position it over the source grid (the rectangular grid).  Only graphics positioned in the live area of the source grid will be moved to the destination grid. Any graphics outside the source grid will be clipped out of the destination grid. The following image shows the artwork positioned over the source grid.
  6. Click Warp. The Warp button is active only if your artwork is selected. When you click Warp, your artwork will be warped to fit the destination grid.