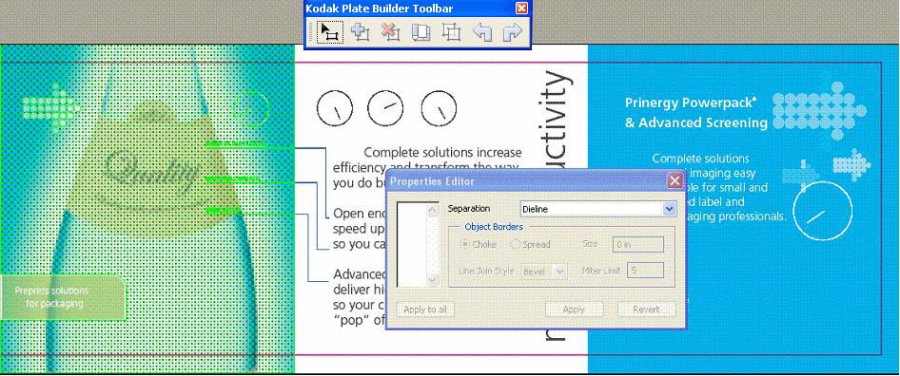
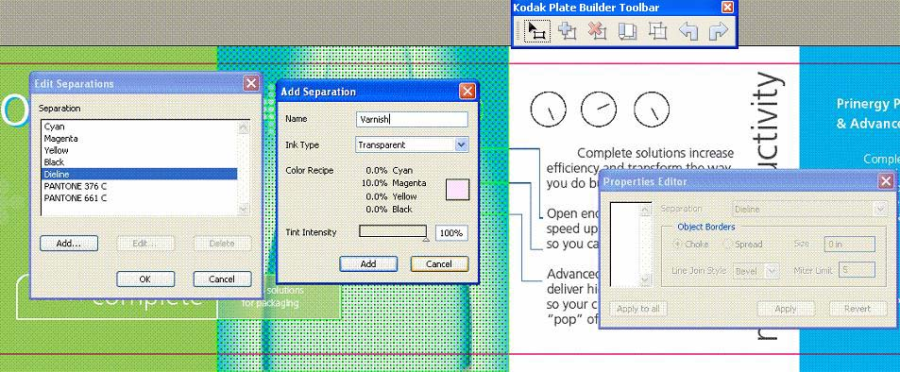
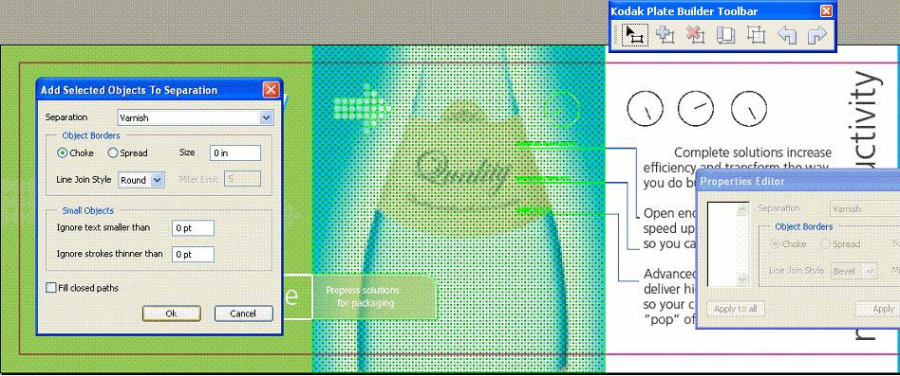
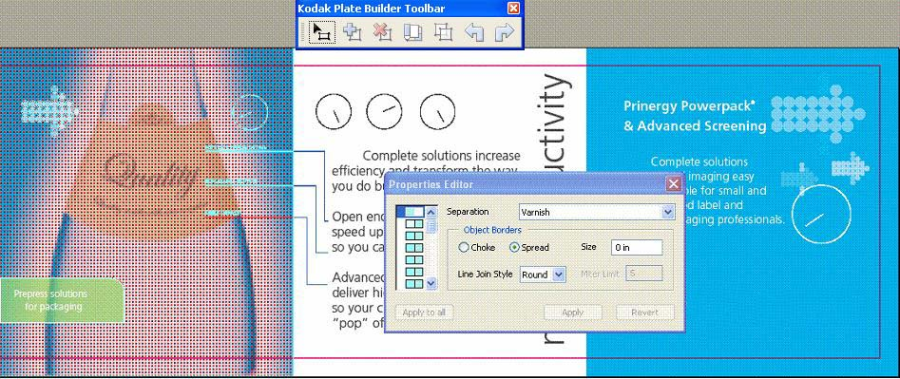
This is an example of a typical Plate Builder workflow for adding a varnish plate.
- Click the Plate Builder Tool button to start a Plate Builder session.
Note: When you start Plate Builder, the Properties Editor dialog box also appears, but you cannot enter settings until you select an object. - Select the objects that you want to add to the varnish plate.

- Add the new separation to your PDF document by clicking the Edit Separation tool and adding a new separation with your desired ink type and color recipe.

- Click the Add Selected Objects to Separation tool. If the varnish object needs to be spread or choked, set the amount in the Add Selected Objects to Separation dialog box.

- Click OK.

Plate Builder will add an object in the shape of the selection to the new varnish separation. The selection highlight turns red, indicating that the object is a member of a Plate Builder separation. - (Optional) Add more objects to the varnish plate, or adjust the spread or choke amount of individual borders using the Properties Editor.


