Obtain the following installation files:

- Create a folder that is accessible via a UNC path and copy the
JobAndFiles.xsl and msxsl.exe files to this folder.
For example, on the J: drive of the primary server, create a DSF folder as follows:
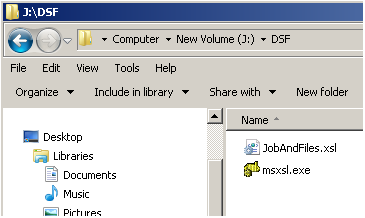
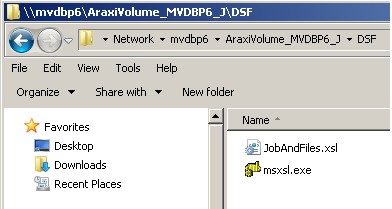
- Make sure that the folder can be accessed via a UNC path. For example:
- In Workshop, create a job named
DSFBucketJob. This job will be used to host a hot folder that processes an XML file that will be extracted from the JDF file. - From Workshop, open Rule Set Manager.
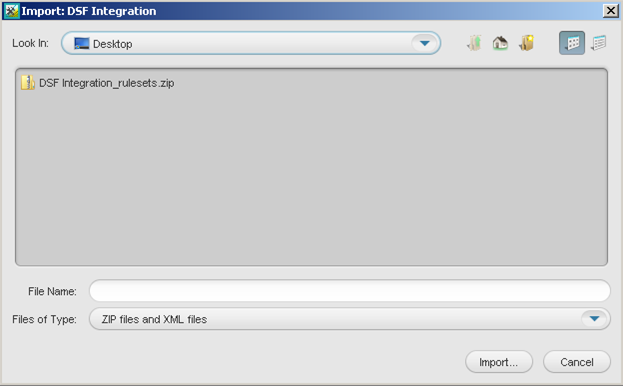
- In Rule Set Manager, from the File menu, select Import, browse to the
DSF Integration_Rulesets.zip file, and import the rules into the newly created group.
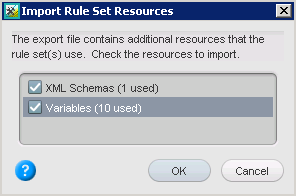
- When prompted whether to import additional resources, select all applicable resources, and click OK.
The imported rules are displayed as follows:
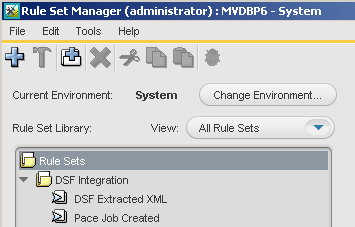
- Open the DSF Extracted XML rule.
- From the Edit menu, select Manage Variables.
- In the Manage Variables Editor dialog box, click the Rule Set Variables tab, and enter the following values for the variables:
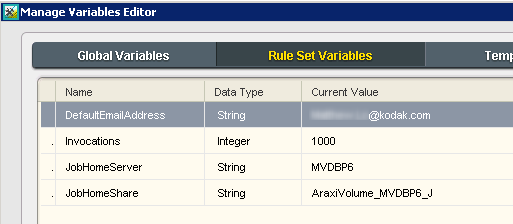
- DefaultEmailAddress—the address to which error emails will be sent
- Invocations—the number of jobs created before a reminder email is sent out to the DefaultEmailAddress to remind the operator to clean up or delete jobs.
- JobHomeServer—the name of the server that will be used in the Create Job action
- JobHomeShare—the name of the share on the JobHomeServer server that will be used in the Create Job action
- Save the rule set. If the Save option is not available, make a change to the Rule Set (such as adding an action after the Email 3 action), then undo the changes, and then save the rule set.
- In the DSFBucketJob job, enable the DSF Extracted XML rule.
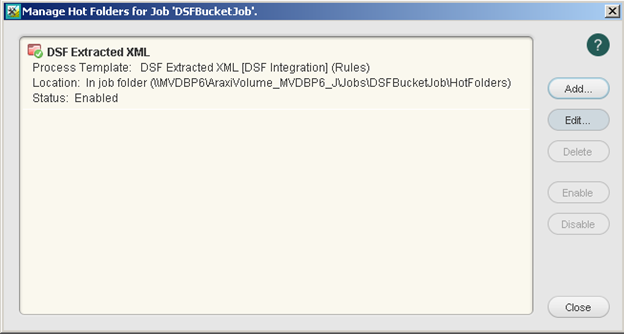
- In the DSFBucketJob job, create a hot folder attached to the DSF Extracted XML rule.
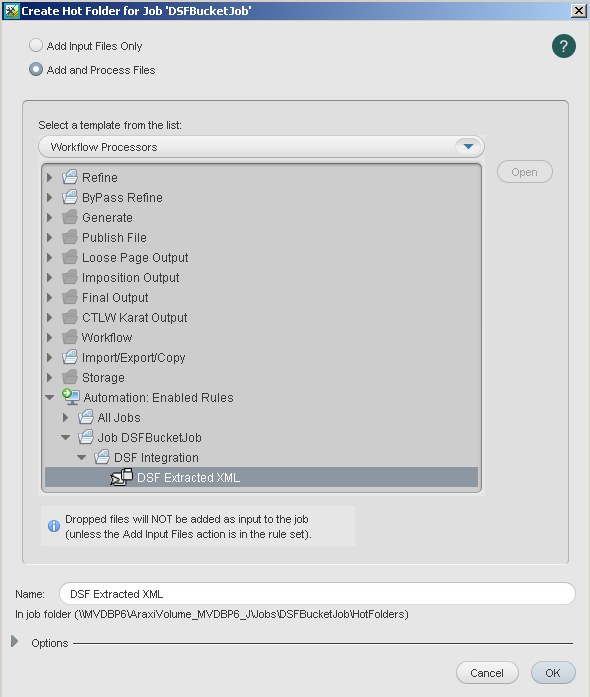
The hot folder is created.
- Open the DSF Job Created rule.
- From the Edit menu, select Manage Variables.
- In the Manage Variables Editor dialog box, click the Rule Set Variables tab, and enter the following values for the variables:
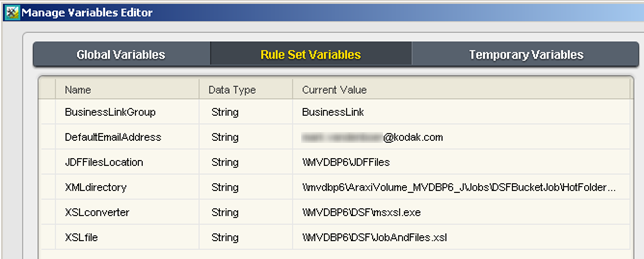
- BusinessLinkGroup—the group in Workshop in which Business Link creates its jobs
- DefaultEmailAddress—the address to which error emails will be sent
- JDFFilesLocation—the folder in which Business Link puts the JDF files. Typically the location is \\primary-name\JDFFiles
- XMLdirectory—the UNC path of the hot folder created in the DSFBucketJob job
- XSLconverter— the UNC path of the
msxsl.exe file - XSLfile— the UNC path of the XSL file used to extract data from the JDF file
- Enable the DSF Job Created rule in the system context.


