 .
.- If you are importing an Excel CSV file, add a Substrate to the layout.
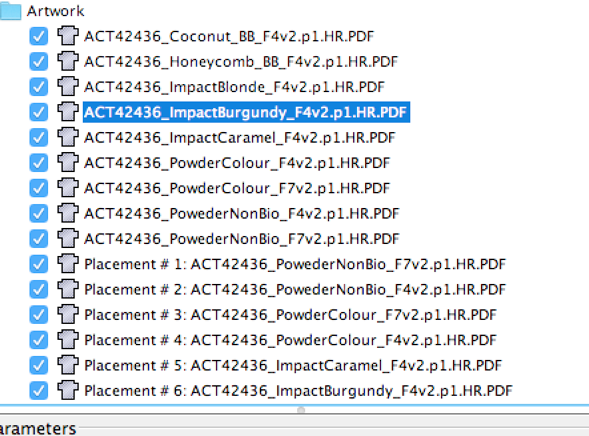
- If you are not importing an Excel CSV file, add a Substrate and import the Artwork that will be used.
Note: If you use SmartLayout with Prinergy Workflow, the artwork will already be present in Pandora.
- If you are importing an Excel CSV file, click Import Excel.
The Artwork is automatically imported, as are the values for Minimum Amount, Grain Direction, Artwork Rotation, Priority, Bleed Top, Bleed Right, Bleed Bottom, and Bleed Left, if those values are included in the Excel file. - If you are not importing an Excel CSV file, manually provide values for Minimum Amount, Grain Direction, Artwork Rotation, Priority, Bleed Top, Bleed Right, Bleed Bottom, and Bleed Left.
Grain direction is dictated by the specified substrate and cannot be modified.
- Guillotine Cut (align items for the minimum number of cuts in the vertical direction)
- Clearance (enter a value)
This is similar to Create Solution, but it also allows you to change the parameters for a 1-up as a "placement". For example, you can have one set for the actual 1-up and a different set for the placement, as seen below:

txt file:- Job Name and Date
- Substrate, Work Area, Stock Coverage, and Press Runs
- For each solution: #-up, Required, and Extra
The Smart Layout is added to the substrate. You can add marks to the layout as needed for identification and your other printing requirements.