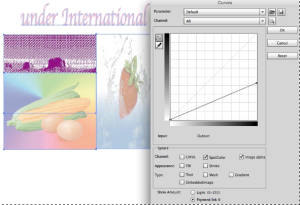
From the Effect menu, select Prinergy > Curves.
You also can launch Curves adjustment from the Illustrator Appearance panel.
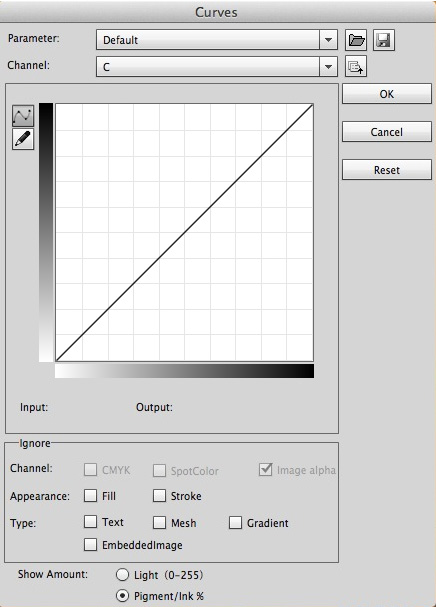
The Curves adjustment panel appears. In this example, all channels are selected.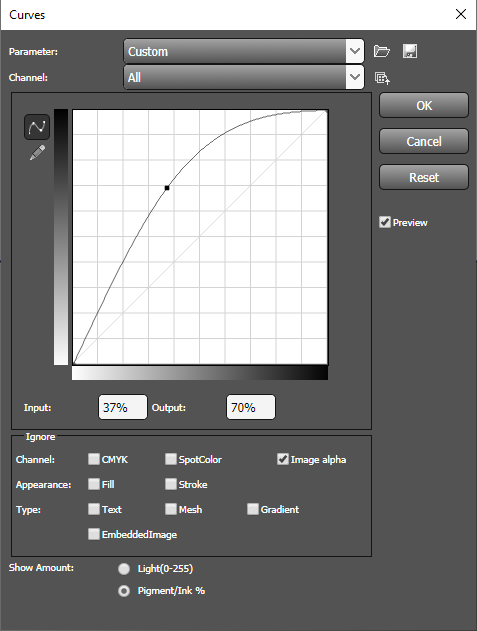
| Parameter | The Curves Adjustment function allows you to open, load, and save parameters and also supports loading Adobe Photoshop curves.
| |
| Open Parameter (button) | To adjust the curve of All channel by loading curves, click the Open button. The loaded curve parameter will be mapped to every ink channel in sequence. For example, if the loaded curve includes adjustment parameters information for three curves, they will be mapped to All, C, and M channels automatically. Other channels remain unchanged. If the loaded curve includes 8 curve adjustment parameters and there are only 6 channels, they will be mapped to the first 6 curves adjustment parameter information. The other two channels are ignored automatically. | |
| Save Parameter (button) | Save the current curve effect with the adjustments you have made. Note: The saved curve includes the curve adjustment parameters of All channel. | |
| Load Parameter (button) | To adjust the curve of the current channel by loading curves, click the Load button. The loaded curve works only on the current adjusted channel and only the first curve adjustment parameter information works on current channel. | |
Channel | Show all inks included in the object. The default Channel is All. Other menu options include C, M, Y, K, and Image alpha. When the selected object includes spot colors, Channel also displays all the object's spot colors. | |
| Click the button and you can adjust according to Curves mode. Curves mode is a continuous adjustment mode. If you adjust a point, other related points also will be adjusted. | |
| Click the button and you can adjust according to Pencil mode. Pencil mode adjusts discrete points. Any adjustments apply only to the current point. | |
| Input | Show and edit the input value of control point. | |
| Output | Show and edit the output value of control point. | |
| Ignore Channel | CMYK | If you select this check box, CMYK ink will not be adjusted. |
| SpotColor | If you select this check box, Spot Color ink will not be adjusted. | |
| Image Alpha | If you select this check box, the Image alpha (Image Transparency) will not be adjusted. | |
| Ignore Appearance | Fill | If you select this check box, Fill will not be adjusted. |
| Stroke | If you select this check box, Stroke will not be adjusted. | |
| Ignore Type | Text | If you select this check box, Text will not be adjusted. |
| Mesh | If you select this check box, Mesh will not be adjusted. | |
| Gradient | If you select this check box, Gradient will not be adjusted. | |
| Embedded Image | If you select this check box, Embedded Image will not be adjusted. | |
| Show Amount | Light (0-255) | Displays the intensity values for RGB images in a range from 0 to 255, with black (0) at the lower-left corner. |
| Pigment/Ink % | Displays the percentages for CMYK images in a range from 0 to 100, with highlights (0%) at the lower-left corner. | |
| Reset | Reset the curve of the current channel to the initial value Y = X. | |
| Preview | You can preview the effects of the Curves before applying them. (Windows version only.) | |
To adjust the color balance of the selected object, from the Channel box, select a color channel or select All channels.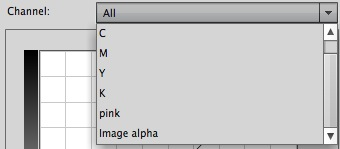
To remove a control point, drag it off the graph.
To adjust and correct color and tone, click one of the control points and use the mouse to move it to a new position.
Or, after selecting the control point, use the Input and Output areas in the Curves dialog box to display and edit the input and output values of the control point.
When adjusting the All channel, all inks will be adjusted, including the image transparency channel (Image alpha).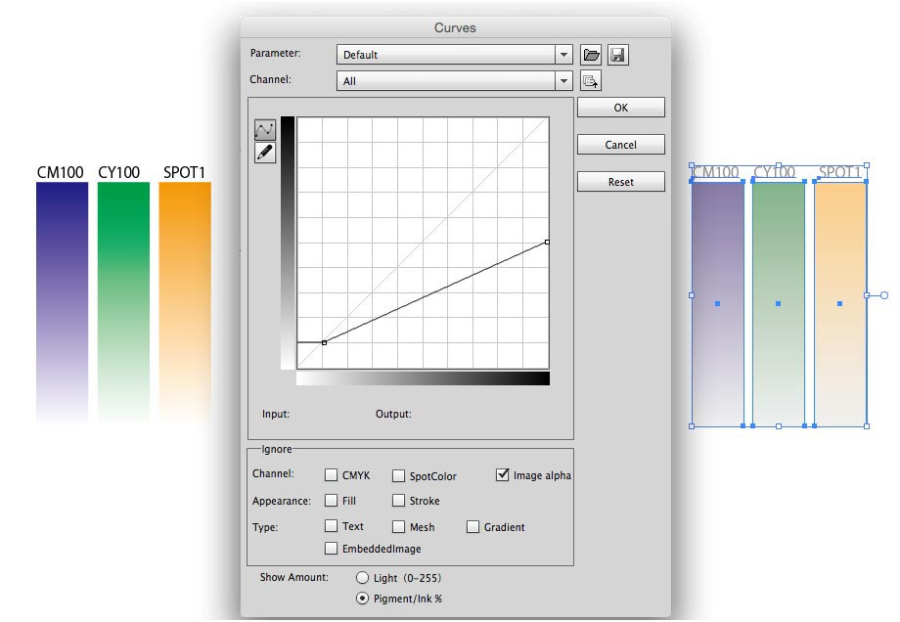
| To make this change: | Perform this action: |
|---|---|
| Adjust the highlights | Move a point in the top portion of the curve. |
| Adjust the midtones | Move a point in the center of the curve. |
| Adjust the shadows | Move a point in the bottom section of the curve. |
| Darken highlights | Move a point near the top of the curve downward. |
| Map the Input value to a lower Output value, thereby darkening the image | Move a point down or to the right. |
| Lighten the shadows | Move a point near the bottom of the curve upward. |
| Map a lower Input value to a higher Output value, thereby lightening the image | Move a point upward or to the left. |
Examples:
Clicking the adjustment tool in the image adds control points to the curve. Moving the control points adjusts the tonality of the image.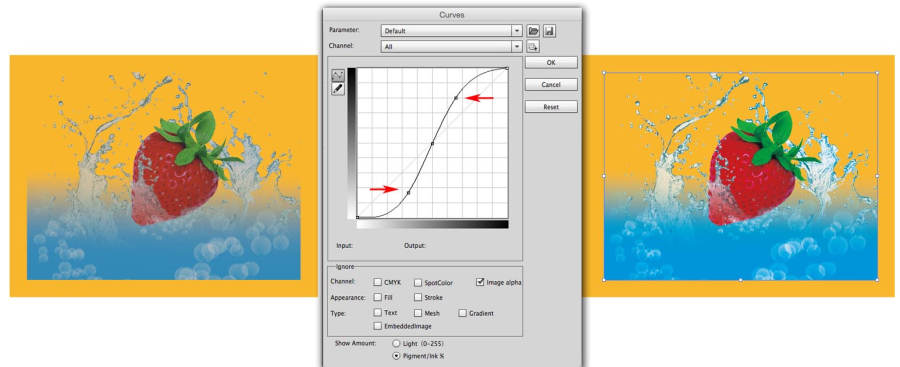
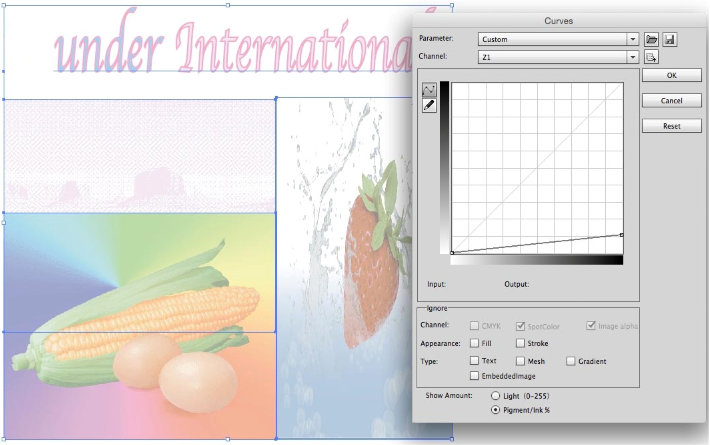
Adjust the transparency effect by selecting Image alpha. When adjusting the Image alpha, under Pigment/Ink % status, you can adjust the lower left point of the curve to change image transparency areas. You can adjust the upper right point of curve to change image non-transparency areas. Making changes to Light (0-255) has the opposite effect.

