Prinergy Workshop is the prepress operating software that you use every day on qualified Macintosh and Windows computers. With Workshop, you create jobs, refine files, assign pages to page sets and imposition plans, monitor job activity and status, and start processes on job elements.
Prinergy Workshop visually groups in software windows all of the information for a job, including source files, imposition plans, status, history, and other data.
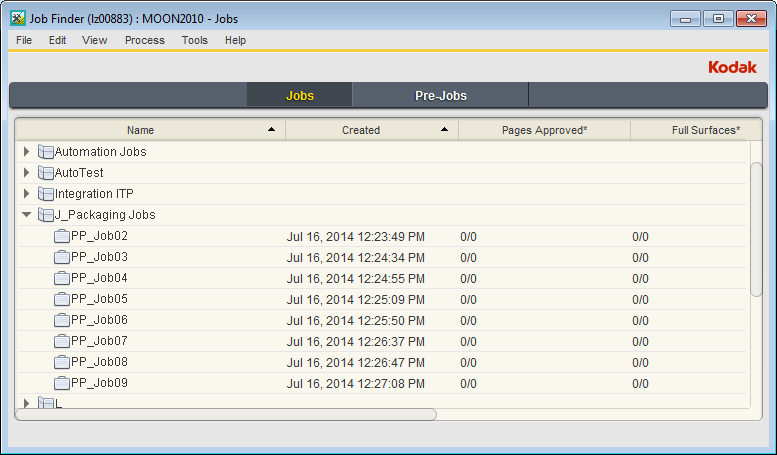
Job Finder window
Job Finder is the first window that appears when you start Prinergy Workshop.
Job Finder is where you:
- Find existing jobs
- Create new jobs and pre-jobs
- Manage existing jobs and pre-jobs
- Set job status and other attributes
- Create and manage groups to organize your jobs
Inside Job Finder are columns that provide information about each job, such as when the job was created, where the job is stored, job status, and so on. You can display and hide these columns.
Job definition
A job is the unit used to organize work. It typically corresponds to all of the components of one publication. To work on a publication, you must create a job for it in Job Finder. When you create a job, Prinergy creates a job folder and database entries for tracking the job.
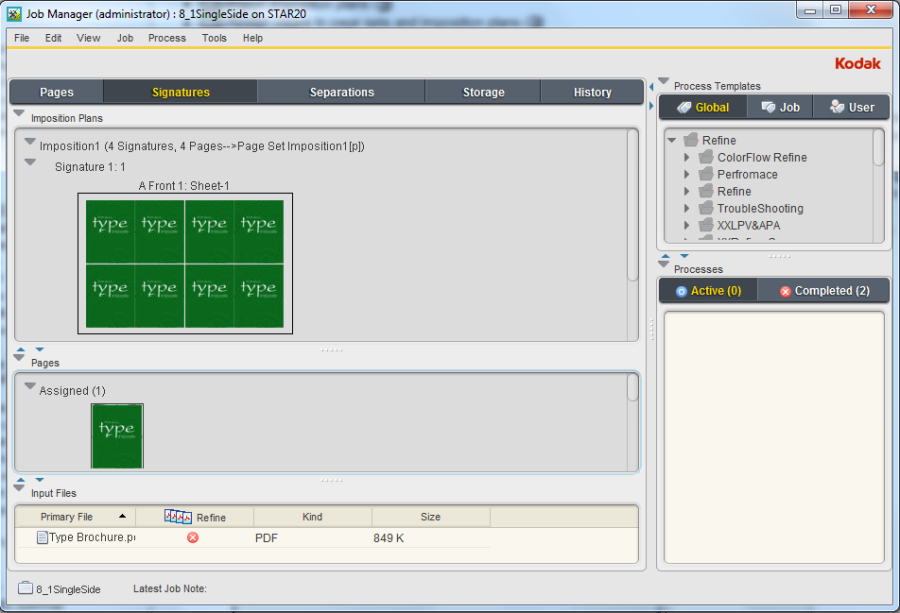
Job Manager window
The Job Manager window appears when you create a new job or pre-job or open an existing job or pre-job from Job Finder.
Job Manager is where you do most of your work on a job:
- Add input files to a job
- Import imposition plans
- Assign pages to page sets and imposition plans
- Start processes such as refining input files, proofing, and outputting to plate or film.
The Job Manager window has five different views:
- Pages View: Displays information about input files, pages (input files that have been processed), and page sets.
- Signatures View: Displays information about input files, pages (input files that have been processed), and imposition plans.
- Separations View: Displays information about the individual separations of a surface.
- Storage View: Lists all of the input files, pages, imposition plans and miscellaneous files that are part of the job. Use this view to check the location and archive status of job files.
- History View: Displays the detailed history of all the activity for a particular job.
Using process templates
A process template is a collection of options and parameters that tells Prinergy how to perform a process. When you start processing a job or element, you must select a process template that contains the processing parameters required. You use Process Template Editor to create, view, and modify process templates and workflow templates.
Process templates contain instructions for a process, while workflow templates link two or more process templates together to offer you more automation.
Process templates used in a Prinergy workflow include:
Prinergy Process Templates | ||
|---|---|---|
Refine | Export | |
Bypass Refine | Archive | Generate Versioned Pages |
Loose Page Output | Retrieve | Copy Job |
Imposition Output | Archive Medium Logical Copy | Workflow Templates |
Publish File | Purge | Factory Read-Only Templates |
Final Output | Import |
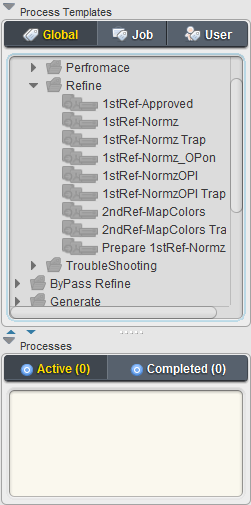
Using the Process Templates pane
All of the standard process templates are listed in the Global Process Templates pane in the Job Manager window.
Customizing Workshop
You can customize Prinergy Workflow Workshop and the information that it displays.
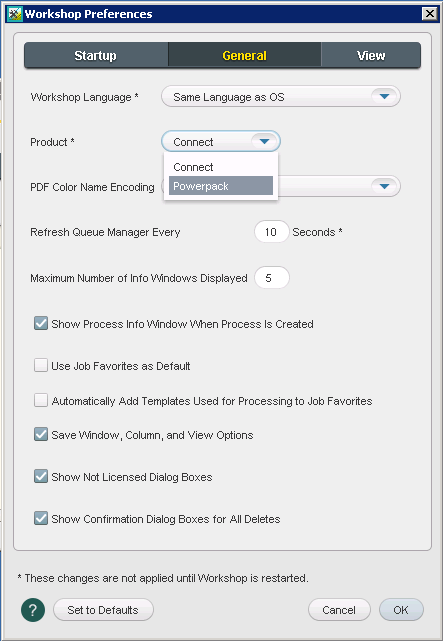
Setting Workshop preferences
By modifying options in the Workshop Preferences dialog box, you can control how Workshop displays information.
Because Workshop saves preference files by logon ID on the workstation, the system maintains your individual preferences even if you share a workstation with other operators. If you use more than one workstation, a unique preference file is saved on each one. For example, if you need to use packaging terminology in the Workshop interface, on the General tab, in the Product list, select Powerpack.
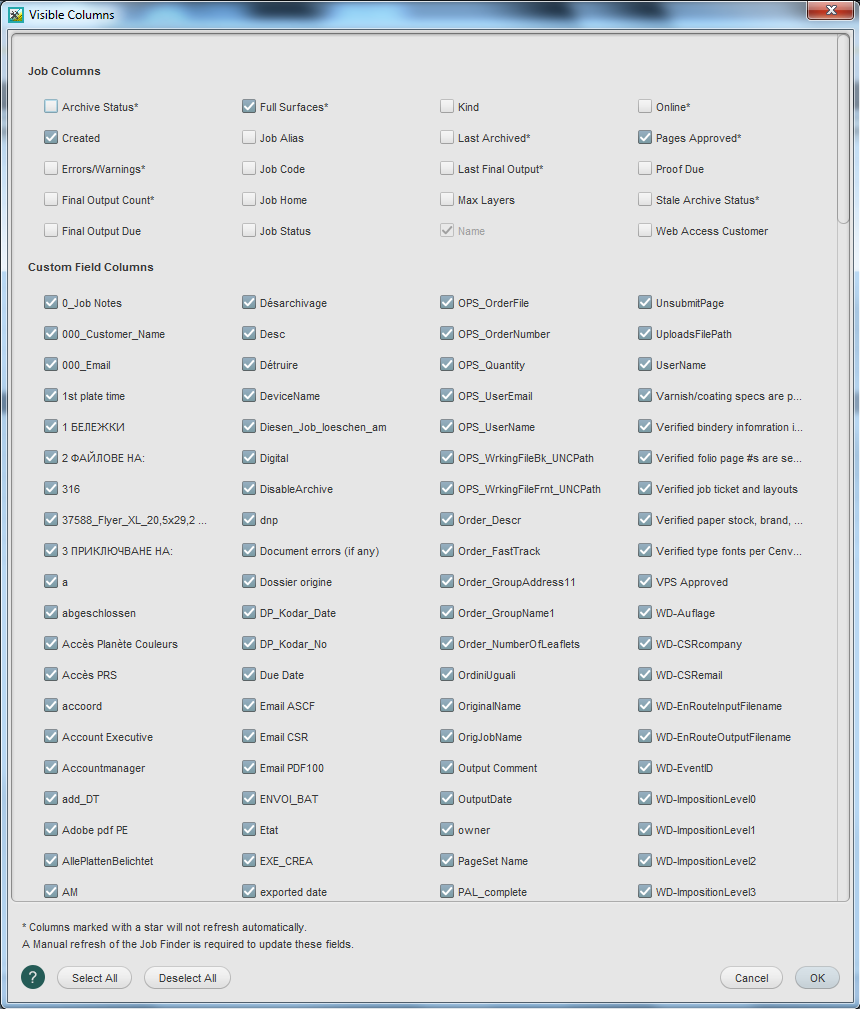
Displaying and hiding columns
Use the Visible Columns dialog box to choose which columns of information will appear in Job Finder or in the different panes of Job Manager.
When Prinergy Workflow executes certain processes, it automatically inserts columns with information about the processes.
To show or hide columns, select View > Visible Columns.
Viewing as a list or as thumbnails
In the Pages or Signatures view, you can view PDF pages as a list or as thumbnails.
Thumbnails are low-resolution RGB images of the refined 1-up artwork. With thumbnails, you can easily assign and unassign PDF pages to an imposition plan.
You may find that the list view is more compact and easier to work with once you are familiar with the system.
To switch views, from the View menu, select Thumbnails or List.
Sorting lists by different criteria
To sort entries in a list by different criteria, click a different column heading.
For example, click the Date Refined column heading to sort by the date the file was refined.
Clicking triangles to show or hide lists
To display a list, click a triangle. To hide a list, click the triangle again.
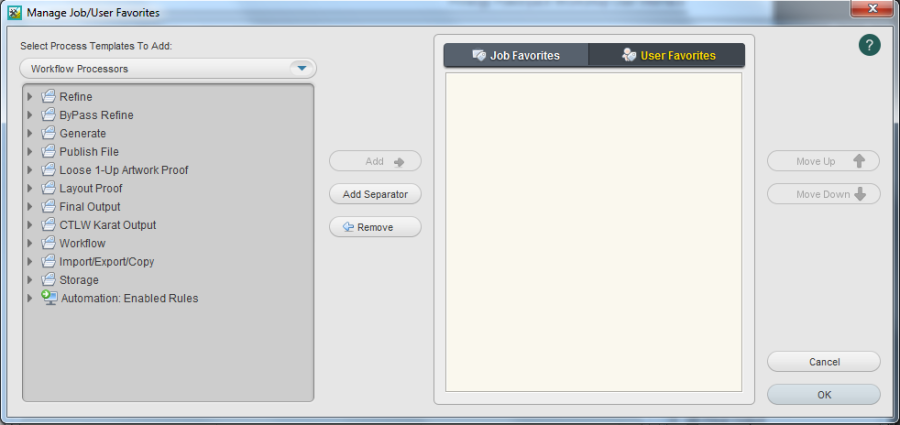
Setting up job and user favorites
You can put frequently used process templates on the Job and User tabs of the Process Templates pane. Process templates on the Job tab are available to anyone who works with the job. Process templates on the User tab are available to you on any job.
To add process templates to the Job or User tab, from the Job menu, select Manage Job/User Templates.
Where is your job located?
A job home is a volume used by the system to store Prinergy jobs on qualified servers. For example, AraxiVolume is the default job volume on a Prinergy primary or secondary server.
A job folder is a folder on a Prinergy server that contains all the system files for a job. In addition, a job folder may contain any input files from your customer and any user-defined subfolders. Job folders are stored in a central directory on a primary, secondary, or tertiary server.
All jobs created on a Prinergy system are located in a Jobs folder that resides on a primary, secondary, or tertiary server. When locating a Prinergy job from a Mac OS workstation, the standard navigational path would be:Jobs on server J drive > Job Name
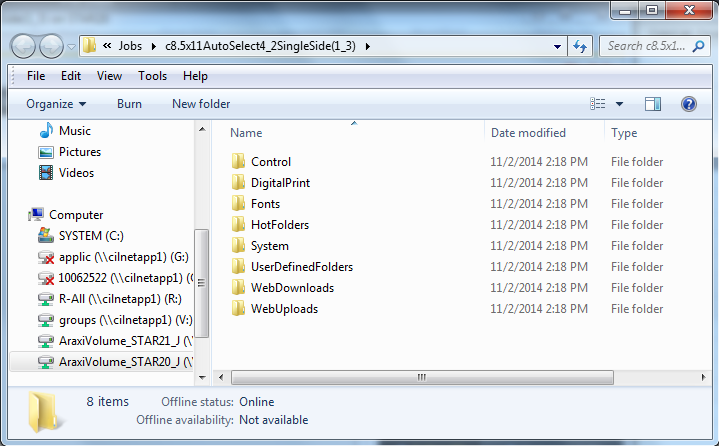
When you create a job using Prinergy Workflow client software, you specify a home server and a home volume for that job. Prinergy then creates a main job folder that contains a series of subfolders.
The following describes the subfolders created as part of a Prinergy job.
Important: The UserDefinedFolders is the only folder that the user is allowed to access and add, delete, and modify its content. Users should not access any other folders, or else, the database will loose track of the job items.
Folder Name | Description |
|---|---|
Control | Stores files that control job processing, such as job template files and APA files. |
DigitalPrint | Stores files waiting for the digital print queue. Files are deleted when they enter the digital print queue. |
Fonts | Stores font files converted using Per-Job Font Converter. |
HotFolders | Stores hot folders that are associated with the job. |
System | Stores Prinergy-generated files related to the job—or required for—refining, preflighting, and importing impositions. |
UserDefinedFolders | Stores folders that Prinergy automatically creates when a new job is created. The folders are generally used to store input files but you can store any job-related files in these folders—for example, folders that you create or custom folders that you set up in Prinergy Administrator. |
VPS-Pages (Sigs) | Stores .VPS loose page PDF proofs or imposition proofs that Prinergy creates. |
WebDownloads | Stores files designated for download by Kodak InSite users—for example, font files or an ICC profile. |
WebNotes | Stores Job Notes generated in InSite |
WebUploads | Stores files that have been uploaded by InSite users—for example, software files or graphics files for a job. |
Important: Do not modify the Prinergy system files. If these are modified, Prinergy may not be able to reference your job and its components.
Quick access to subfolders in a job
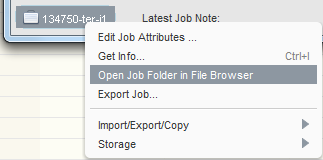
In Job Manager, you can quickly access all subfolders belonging to a job by right-clicking the job name located in the bottom left corner of the window. From the menu, select Open Job Folder in File Browser.
This menu also provides quick access to other job functions, including:
- Export Job
- Import Job
- Copy Job
- Archive Job
- Retrieve Job
