A preset is a named collection of job ticket properties that are saved for reuse at a later time.
In this activity, you will learn how to create a preset and then resubmit the job that you created earlier via the preset.
Prerequisites:
- Follow the steps in the previous task and create a job called
XX_Digital_Preset(where<XX>represents your initials). Copy the
Type Brochure.pdf (Prinergy Activity Practice Files / Type Brochure.pdf)to the job folder, add the input files to the job, and refine the pages.Submit the loose PDF pages to a digital press via the Send to Digital option.
Create a preset
- In Job Finder, open your job
XX_Digital_Preset. - In the Pages area, select all the pages of your job.
- Right-click the selected pages and from the menu that appears, select Send to Digital.
- From the list of digital devices that appears, select the same device you selected in the previous activity.
The Digital Job Ticket Editor appears.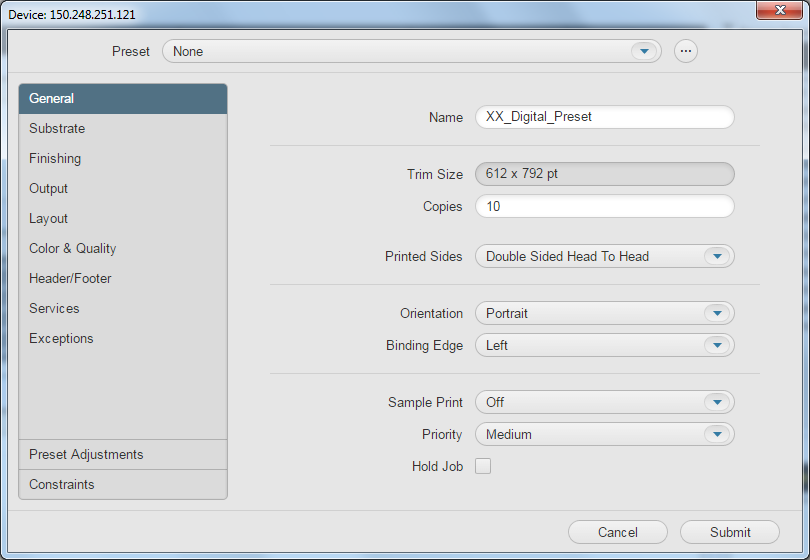
Note: Even though the Preset menu is set to the initial state of None, the last used settings are stored for each job.
So, when you open the Digital Job Ticket Editor for the very first time for a specific job, all the parameters are set to their default settings. However, after submitting any PDF to a digital device, your settings are saved and displayed the next you open the Digital Job Ticket Editor for the same job. - Define the desired settings. in this example, in the Copies box, type
20. To create and save a preset, click
 (located next to the Preset list).
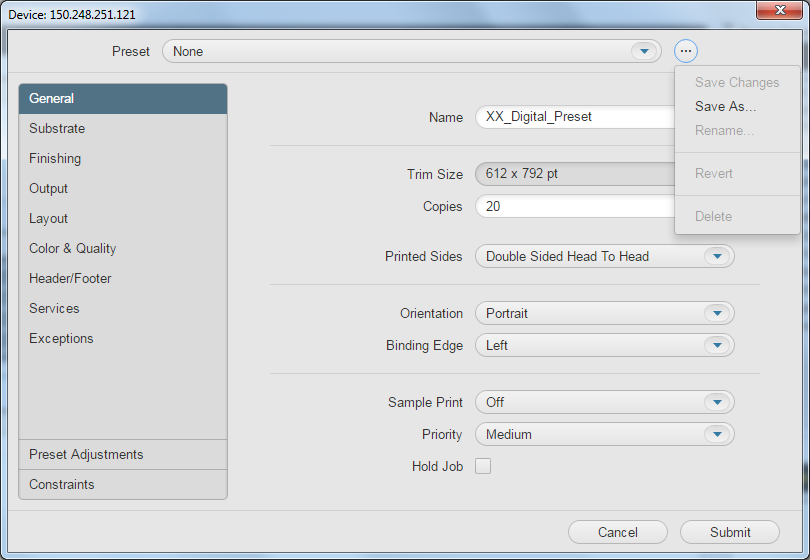
From the menu that appears, select Save As to create a preset of these settings.
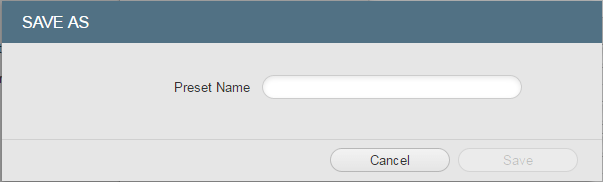
In the Save As dialog box that appears, in the Preset Name box, type a name for your preset, in this example, type
2_Holes_20.Note: it is recommended that you use a unique and meaningful name for your preset,so that you can easily find your preset for future use.
Note: If a name that you type for the Preset Name is already being used, you will be warned and asked if you wish to overwrite the existing preset.Click Save.
- Click Submit.
The document is submitted to the digital device.
You can now use your preset to print other jobs.
Use your preset to submit a new job
In Job Finder, right-click your main group, and select New Job.
In the Create New Job dialog box, select the server name and volume.
In the Create new Job as box, type the job name
XX_Digital_Preset_2(where<XX>represents your initials).Click Create.
Add the
Type Brochure.pdfinput file and refine the pages.- In the Pages area, select all the pages of your job.
- Right-click the selected pages and from the menu that appears, select Send to Digital.
- From the list of digital devices that appears, select the a different digital device.
- In the Digital Job Ticket Editor that appears, in the Preset list, select the preset that you created earlier, 2_Holes_20.
Note: It is recommended that you update the job name for the preset; on the General tab, in the Name box, type the name of your current job.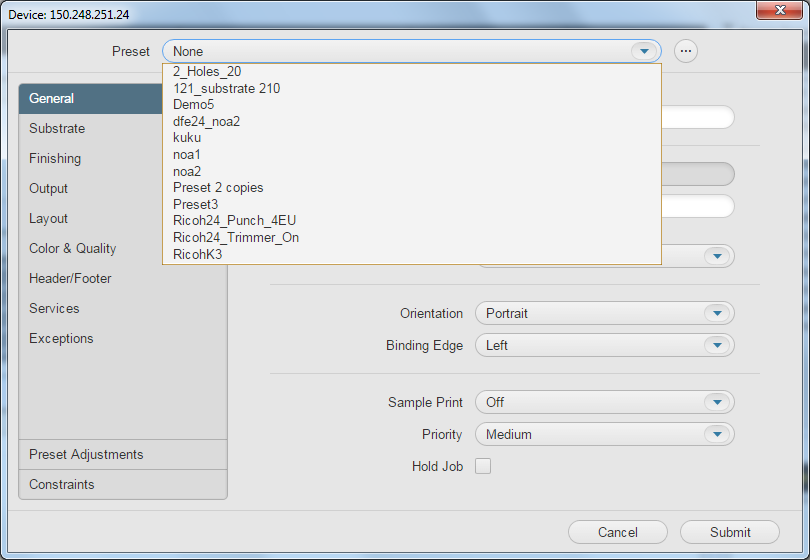
- Click Submit.
The document is submitted to the selected digital device.