You can view your step-and-repeat layout by having the Pandora software dynamically update the placements after you enter parameters in the Step & Repeat dialog box.
- Click the artwork and select Object > Step and Repeat.
In the Original area of the Step & Repeat dialog box, the size of the bounding box of the original artwork appears, and the file name associated with the artwork appears in the File list. A radio button indicates whether front side or back side is in use. - In the Step & Repeat dialog box, Layout area, perform the following tasks as needed:
- To change the position of the original artwork, type new coordinates in the horizontal and vertical boxes in the Position fields.
If you select Center on Substrate, you cannot edit the coordinates in the Position boxes. Note: This option will be unavailable if you have ASPS on for Step-and-Repeat.
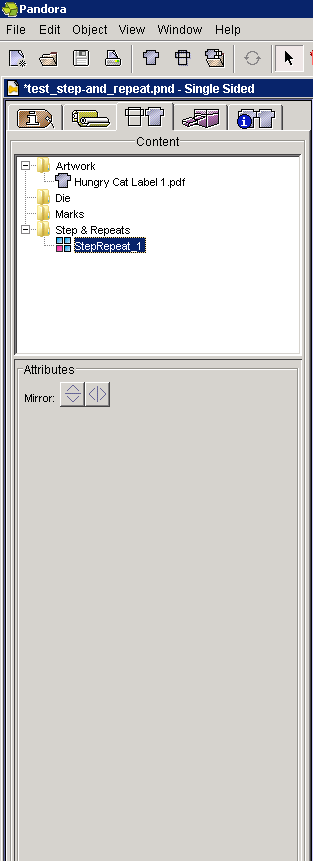
The location coordinates shown under Position are based on the bounding box of the selected item, so these position numbers match those shown on the Geometry palette only when you select the lower-left corner on the Geometry palette reference point diagram. Note: If you stagger the layout using Staircase down or Castletop first lane up, the coordinates under Position are actually the lower-left corner of the bounding box of the original item. - To alter the mirror aspect of the step-and-repeat, in job properties > Attributes, select either the vertical mirror button or the horizontal mirror button.
- To rotate the step-and-repeat, select it in the job properties > Content area, and then select Object > Rotate 0, 90, 180, or 270 degrees.
- To change the position of the original artwork, type new coordinates in the horizontal and vertical boxes in the Position fields.
- In the Steps area:
- In the Repeat boxes, type the required number of horizontal and vertical repetitions in the horizontal and vertical boxes.
- In the list, select one of the following options:
- Distance: Type the horizontal and vertical distance you want from a point on the first item to the same point on the next item. The distance includes the width or height of the item being repeated, plus the space to allow between repetitions. Positive numbers move the placement up and right. Negative numbers move the placement down and left (see the diagram)
- Gap: Type the distance (gap) that you want between the stepped artwork. Positive numbers move the placement up and right. Negative numbers move the placement down and left (see the diagram).

- If you want to print crop marks, select the Apply crop marks to all check box.
- If you expect to use this particular step-and-repeat operation again, you can save the number of repeats, the position settings, and the distance or gap measurement as your job defaults by clicking Save as Default. If the current default settings are more appropriate, skip this step. Note: You will typically want to save Gap parameters as default settings. Saving Distance as the default setting and then using a different sized artwork may cause the artwork to overlap or have significantly large spaces between repeats.
- If you want to dynamically update the placements in the layout view to see your step-and-repeat layout, select the Apply Changes Immediately check box.
- Click OK.
The object is stepped and repeated in the layout view, and the step-and-repeat appears in the Content area of job properties.