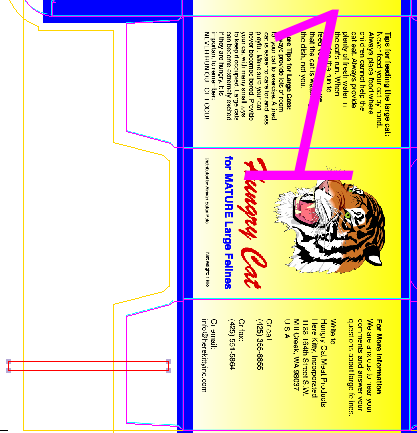
- From the Window menu, select Show Marks Palette.
- Open the
Labels folder, and click LBL_Text.pdf. - Perform one of the following actions:
- Drag the mark to one of the flaps of the placed artwork.
- Click the Add selected mark to job
 Image Modifiedicon located in the Marks palette toolbar. Image Modifiedicon located in the Marks palette toolbar.
The mark appears in the center of the visible portion of the layout. You can then move it to the flap of one of the placed artwork files.
 Image Modified Image Modified
If you have difficulty selecting the mark, select the mark in the Content tab of the job properties view.
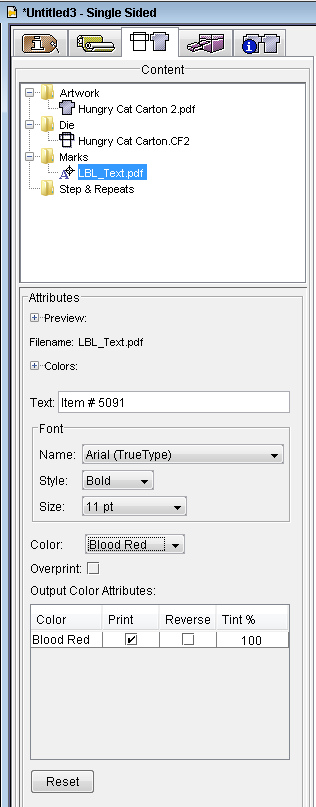
- In the job properties view, under Attributes, make these edits:
- In the Text box, type
Item # 5091. - In the Font section, change the Name, Style and Size to Arial, Bold, 11 pt.
- In the Color list, select Blood Red.
 Image Modified Image Modified
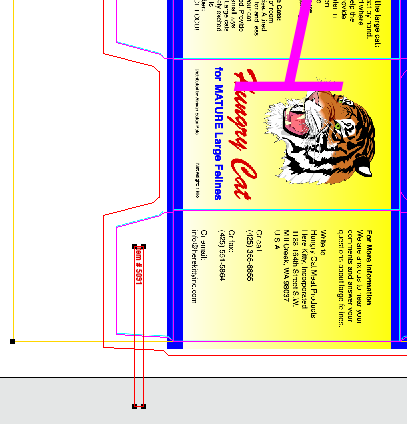
- Using the Geometry palette, rotate the mark -90 degrees. Position the mark accurately in the flap.
- Hold down the Shift key and click the artwork on which you've placed the mark.
 Image Modified Image Modified - Perform one of the following actions:
- From the Object menu, select Bind Mark to Artwork.
- Command-click (right-click) and select Bind Mark to Artwork.
- Perform one of the following actions:
- From the Object menu, select Apply to All.
- Command-click (right-click) and select Apply to All.
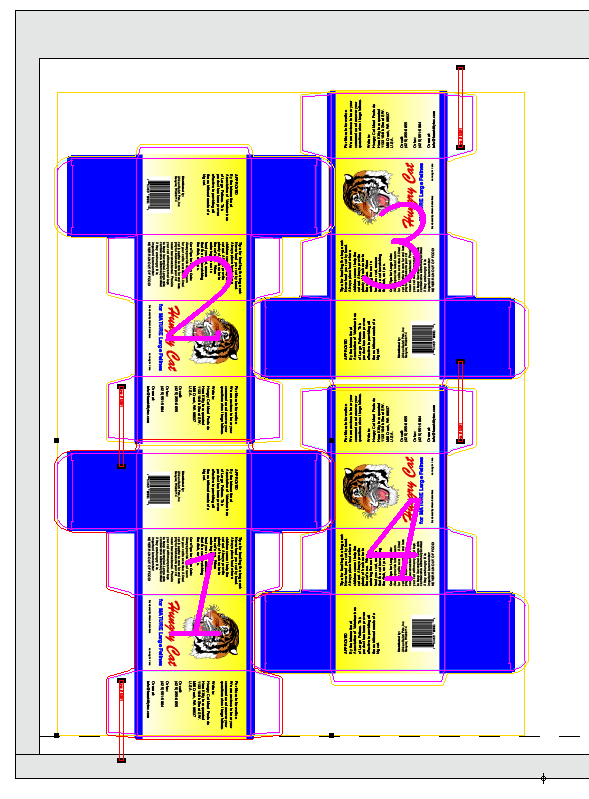
The mark binds to all artwork placements (based on the name of the artwork) regardless of their location or rotation.
 Image Added Image Added
|