| Sv translation | ||
|---|---|---|
| ||
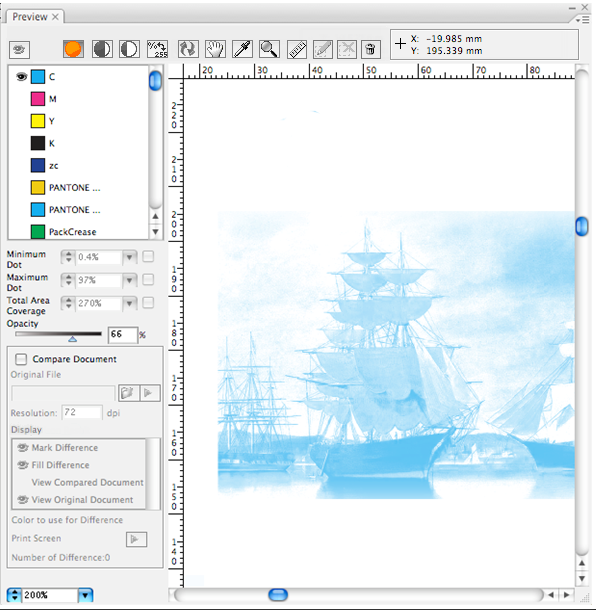
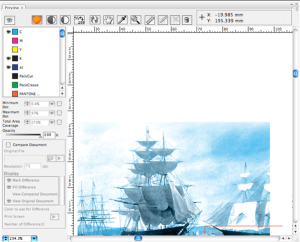
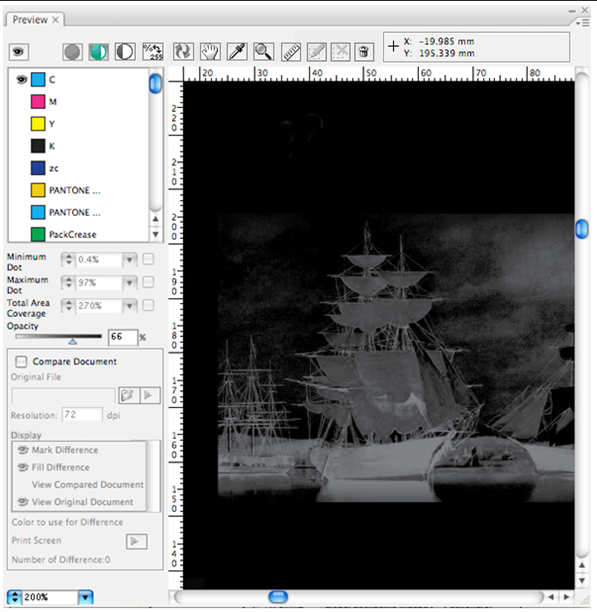
Normal, Negative, and Positive previewNormal Preview By clicking this button you can check a single-color swatch. You can also choose to check the multi-color swatches as a convenient method to preview the effect of multi-color printing. Under the normal preview model the effect you select includes the swatch colors. This image shows the normal preview effect if you select a single color: This image shows the normal preview effect if you select the multi-color display: Negative Preview After clicking this icon, the color appearance button will automatically appear on the first color board of the present color list. If you select negative preview, you are only allowed to select one single color. You cannot select two or more colors simultaneously. This image shows a negative preview display (single color):
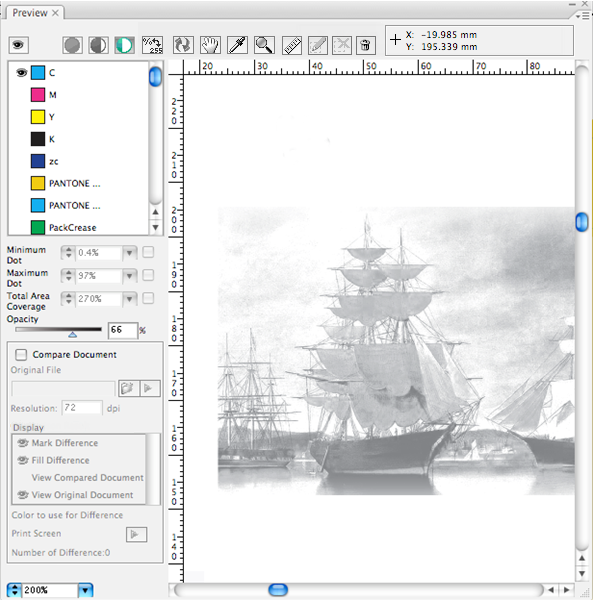
Positive Preview After clicking this icon, the color appearance button will automatically appear on the first color board of the present color list. If you select the positive preview, you are only allowed to select one single color. You cannot select two or more colors simultaneously. This image shows a positive preview display (single color):
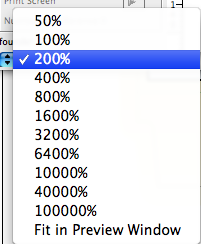
Hand ToolClick the Hand Tool icon Eyedropper Tool and Ink Display ToolWhen using the Eyedropper Tool You can change the eyedropper's densitometer mode (Exact or Rounded) in the Eye Preference option in the side menu. Click this button Zoom In/Out ToolGo to the preview window and click the magnifying glass icon
You are also able to define the zoom value. You can enter the value preceding the % symbol. If you enter 80, then the system will default to 80%. The value entered will not be saved in the list. |
| Sv translation | ||
|---|---|---|
| ||
Normale, negative und positive VorschauNormale Vorschau Durch Klicken auf diese Schaltfläche können Sie ein einfarbiges Farbfeld überprüfen. Auf Wunsch können Sie auch mehrfarbige Farbfelder überprüfen. Dies ist eine praktische Methode, um eine Vorschau des Effekts von mehrfarbigem Druck anzuzeigen. Unter dem normalen Vorschaumodell beinhaltet der ausgewählte Effekt auch die Farbfeldfarben. Diese Abbildung zeigt den normalen Vorschaueffekt, wenn Sie eine einzelne Farbe auswählen: Diese Abbildung zeigt den normalen Vorschaueffekt, wenn Sie die mehrfarbige Anzeige auswählen: Negative Vorschau Nachdem Sie auf dieses Symbol geklickt haben, wird die Schaltfläche „Farbdarstellung“ automatisch auf der ersten Farbtafel der aktuellen Farbliste angezeigt. Wenn Sie die negative Vorschau auswählen, können Sie nur eine einzige Farbe auswählen. Es können nicht zwei oder mehr Farben gleichzeitig ausgewählt werden. Diese Abbildung zeigt eine negative Vorschauanzeige (eine Farbe):
Positive Vorschau Nachdem Sie auf dieses Symbol geklickt haben, wird die Schaltfläche „Farbdarstellung“ automatisch auf der ersten Farbtafel der aktuellen Farbliste angezeigt. Wenn Sie die positive Vorschau auswählen, können Sie nur eine einzige Farbe auswählen. Es können nicht zwei oder mehr Farben gleichzeitig ausgewählt werden. Diese Abbildung zeigt eine positive Vorschauanzeige (eine Farbe):
Hand-WerkzeugKlicken Sie auf das Symbol des Hand-Werkzeugs im Pipetten-Werkzeug und Druckfarbenanzeige-WerkzeugBei Verwendung des Pipetten-Werkzeugs zur Sie können den Densitometer-Modus (Genau oder Gerundet) der Pipette im Seitenmenü in der Option Auge-Einstellung ändern. Schaltfläche Verkleinern-/Vergrößern-WerkzeugGehen Sie zum Vorschaufenster, und klicken Sie auf das Lupensymbol, um die
Sie können auch den Zoomwert festlegen. Sie können den Wert vor dem %-Symbol eingeben. Wenn Sie „80“ eingeben, wird das System standardmäßig auf 80 % eingestellt. Der eingegebene Wert wird nicht in der Liste gespeichert. |
| Sv translation | ||
|---|---|---|
| ||
Prévisualisation normale, négative et positiveAperçu normal En cliquant sur ce bouton, vous pouvez vérifier l'échantillon de couleur unique. Vous pouvez également choisir de vérifier des échantillons de plusieurs couleurs, une méthode pratique pour prévisualiser les effets d'impression en plusieurs couleurs. Selon le modèle de prévisualisation normale, l'effet que vous sélectionnez inclut les couleurs des échantillons. Cette image représente l'effet de prévisualisation normale si vous sélectionnez une couleur unique : Cette image représente l'effet de prévisualisation normale si vous sélectionnez l'affichage en plusieurs couleurs : Aperçu négatif Après un clic sur cette icône, le bouton d'apparition des couleurs s'affiche automatiquement sur le premier tableau de couleurs de cette liste de couleurs. Si vous sélectionnez Aperçu négatif, vous n'êtes autorisé qu'à sélectionner une seule couleur. Vous pouvez sélectionner deux ou plusieurs couleurs simultanément. Cette image montre un affichage de prévisualisation négatif (couleur unique) :
Aperçu positif Après avoir cliqué sur cette icône, le bouton d'apparition des couleurs apparaîtra automatiquement sur le premier tableau de couleurs de cette liste de couleurs. Si vous sélectionnez l'aperçu positif, vous n'êtes autorisé qu'à sélectionner une seule couleur. Vous pouvez sélectionner deux ou plusieurs couleurs simultanément. Cette image montre un affichage de prévisualisation positif (couleur unique) :
Outil MainCliquez sur l'icône Outil Main Outil Pipette et outil Affichage de l'encreLorsque vous utilisez l'outil Pipette Vous pouvez modifier le mode du densitomètre de la pipette (Exact ou Arrondi) dans l'option Préférences visuelles du menu latéral. Cliquez sur ce bouton Outil Effectuer un zoom avant/arrièreRendez-vous dans la fenêtre de prévisualisation et cliquez sur l'icône Loupe
Vous pourrez également définir la valeur de zoom. Vous pouvez saisir la valeur précédée du symbole %. Si vous saisissez 80, alors le système paramétrera la valeur par défaut sur 80 %. La valeur saisie ne sera pas enregistrée dans la liste. |
| Sv translation | ||
|---|---|---|
| ||
Vista previa normal, negativa y positivaVista previa normal Al hacer clic en este botón, puede comprobar una muestra de un solo color. También puede optar por comprobar las muestras multicolor como método cómodo para acceder a una vista previa del efecto de la impresión multicolor. En el modelo de vista previa normal, el efecto que seleccione incluye los colores de muestra. Esta imagen muestra el efecto de vista previa normal si selecciona un solo color: Esta imagen muestra el efecto de vista previa normal si selecciona visualización multicolor: Vista previa negativa Después de hacer clic en este icono, el botón de apariencia de color aparecerá automáticamente en el primer tablero de colores de la lista de colores actual. Si selecciona la vista previa negativa, solo podrá seleccionar un color. No puede seleccionar dos o más colores al mismo tiempo. Esta imagen muestra una visualización de vista previa negativa (un solo color):
Vista previa positiva Después de hacer clic en este icono, el botón de apariencia de color aparecerá automáticamente en el primer tablero de colores de la lista de colores actual. Si selecciona la vista previa positiva, solo podrá seleccionar un color. No puede seleccionar dos o más colores al mismo tiempo. Esta imagen muestra una visualización de vista previa positiva (un solo color):
Herramienta ManoHaga clic en el icono de la herramienta Mano Herramienta Gotero y herramienta Visualización de tintasCuando utilice la herramienta Gotero Puede cambiar el modo de densiómetro del gotero (Exacto o Redondo) en la opción Preferencia de vista del menú lateral Haga clic en este botón Herramienta Acercar o alejar zoomVaya a la ventana de vista previa y haga clic en el icono de la lupa
También puede definir el valor de zoom. Puede introducir el valor antes del símbolo %. Si introduce 80, el sistema cambiará por defecto a 80 %. El valor introducido no se guardará en la lista. |
| Sv translation | ||
|---|---|---|
| ||
正常、负像和正像预览标准预览 单击此按钮,可选中单色色板。您也可以选择检查多色色板,这是预览多色打印效果的一种简便方法。在普通预览模型下,您选择的效果包括色板颜色。 此图所示为当您选择一种颜色时的正常预览效果: 此图所示为当您选择多色显示时的正常预览效果: 负像预览 单击此图标后,颜色外观按钮将自动显示在当前颜色列表的第一个颜色板上。如果选择负像预览,则只允许选择一种颜色。您不能同时选择两种或多种颜色。 此图所示为负像预览的显示效果(单色):
正像预览 单击此图标后,颜色外观按钮将自动显示在当前颜色列表的第一个颜色板上。如果选择正像预览,则只允许选择一种颜色。您不能同时选择两种或多种颜色。 此图所示为正像预览显示(单色):
手形工具单击预览窗口中的手形工具 取色器工具和油墨显示工具使用取色器工具 您可以在侧边菜单的 Eye 首选项选项中更改取色器的密度计模式(精确或四舍五入)。 单击此按钮 放大/缩小工具转至预览窗口,然后单击放大镜图标
您还可以定义缩放值。您可以在 % 符号前输入该值。如果输入 80,则系统将默认为 80%。输入的值不会保存在列表中。 |