- If it is not already open, launch the Pandora software.
- From the File menu, select Open, and open the
MarksPractice.pnd job you created in Activity 3. - From the File menu, select Save As.
- In the Save As dialog box, browse to the location where you are storing your activity jobs.
- In the Save As box, type
ActivityTwelve_UseMarks and click Save. - If the Marks palette is not currently shown, from the Window menu, select Show Marks Palette.
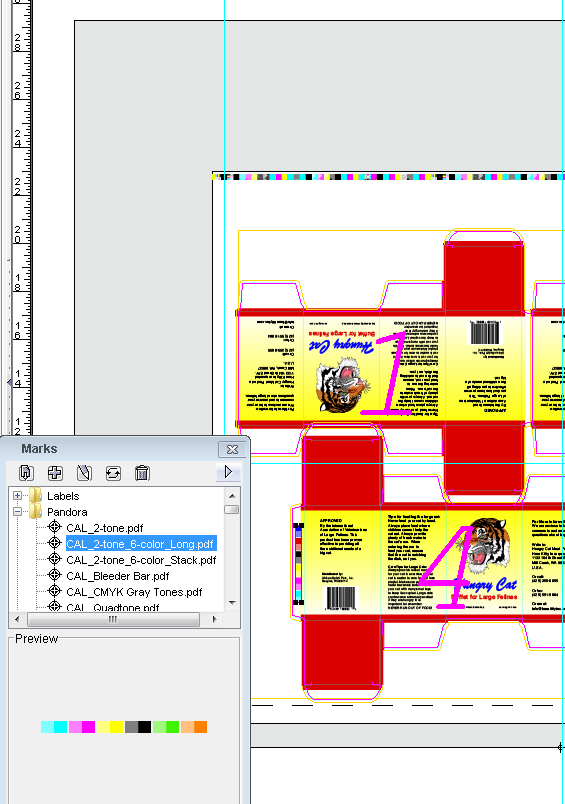
- Open the Pandora folder, and select
CAL_2-tone_6-color_Long.pdf. - Perform one of the following actions:
- Drag the mark to the layout.
- Click the Add selected mark to job icon
 located in the Marks palette toolbar. located in the Marks palette toolbar.
The mark appears in the center of the visible portion of the layout. You can then move it to the flap of one of the placed artwork files.
- Position the mark in the white flap of one piece of the
Hungry Cat Carton 1.pdf artwork.
Note: You will need to rotate the mark to fit in the flap as shown.
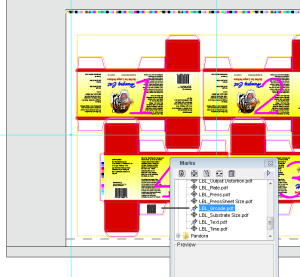
 Open the Labels folder and select LBL_Qrcode.pdf. Perform one of the following actions: - Drag the mark to the layout.
- Click the Add selected mark to job icon located in the Marks palette toolbar.
The mark appears in the center portion visible portion of the layout. You can then move it a flap (other than the flap where you placed the CAL_2-tone_6-color_Long.pdf mark ) on one of the placed artwork files.
- Position the mark in an alternate white flap on the
Hungry Cat Carton 1.pdf artwork.
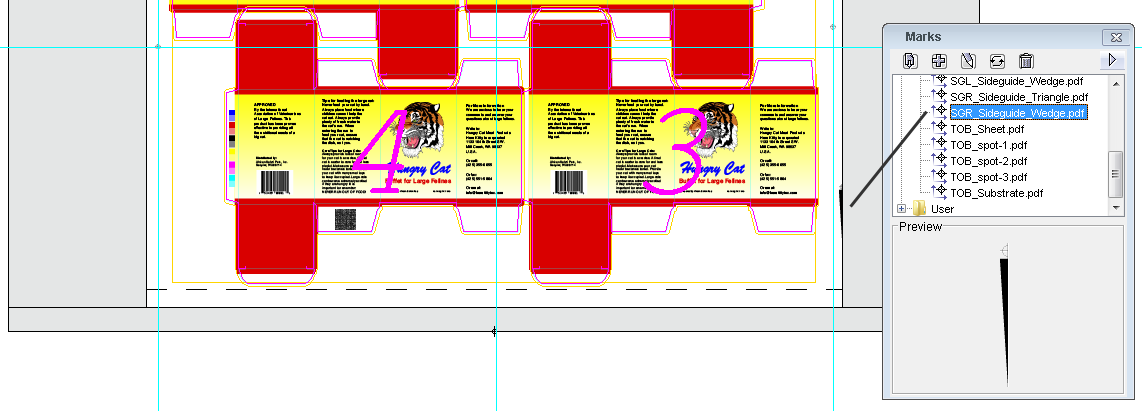
 - Open the SmartMarks folder and drag the
SGR_Sideguide_Wedge.pdf mark to the layout.
|