| Sv translation | ||
|---|---|---|
| ||
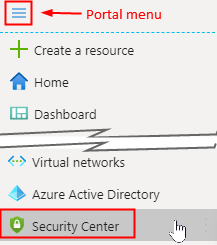
If Security Center is not there, select All services and select from there there
3. In Security Center | Overview, Click on Azure Defender box 4. Then, click on Just in time VM at the bottom of the screen menu under ADVANCED CLOUD DEFENSE, select Just in time VM accessNote: all subscription VMs should be listed on main (right-side) menu 5. Check VM(s) needed access and click on Request access (on right – top of the VMs list) 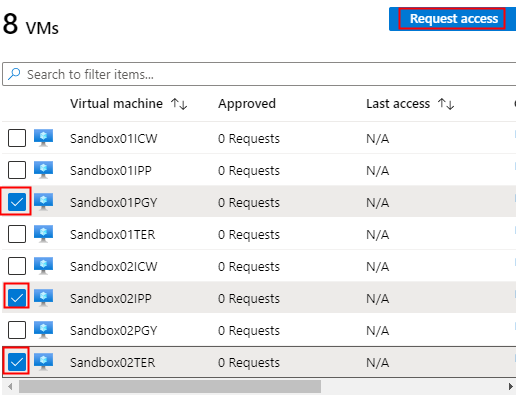
6. On the Toggle column, click On for eachserver (Port 3389) Note: the following steps assume that the access is given to user(s) for the internal (private) IP address or subnet ranges 7. Enter IP addresses or subnet ranges and click Open ports (bottom right) After the request is processed (this may take several minutes), the VM server(s) selected in step 48. Few seconds later these VMs servers will be available for RDP 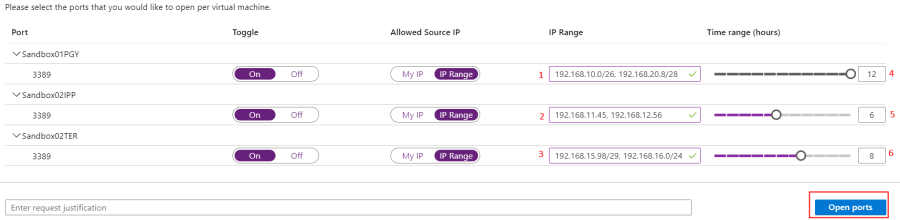 Important Note: Selecting My IP (in Allowed Source IP column) is selecting your client machine internet facing IP, not your company (VPN) private IP address
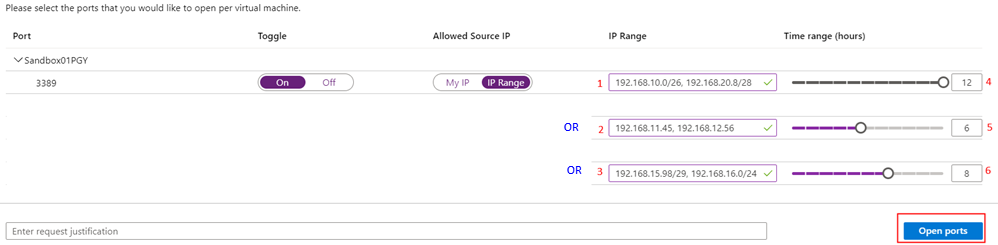
Explanation of IP ranges column: |


| Sv translation | ||
|---|---|---|
| ||
Erklärung der Spalte IP-Bereiche: |
...